
In this article

In this article
Imagine this: you’ve formed your bezel, soldered it to a black plate, polished it to perfection… and the moment has come. You drop in the gorgeous gemstone you’ve been hoarding for too long, and start to close the metal around the edge. Everything’s going great…
Until you hear that tiny, stomach-dropping crack.
(And if you haven’t heard that sound yet, good. Let’s keep it that way.)
💡 Quick note before we dive in:
Not every gemstone is cut out for bezel setting - or any setting for that matter. The best stones for bezel setting are sturdy, non-fractured cabochons like quartz, agate, and garnet. Fragile beauties like opal doublets, emerald, or turquoise with matrix are more likely to crack when the metal is pushed over their edges, especially in the hands of someone new to stone setting. So, for now let’s focus on the stones that can handle a little pressure (and won’t break your heart faster than a bad ex).
Bezel setting has a bit of a reputation. At first glance, it looks deceptively easy... just pop in a stone, press the edges down, and voilà, right? And honestly, when it all goes to plan, it is that easy.
But when things don’t go perfectly (like when the stone won’t sit flat, the edge refuses to close, or a mysterious crack appears out of nowhere), that’s when most jewelers start wondering what on earth went wrong.
Whether you’ve never set a stone or you’ve had a few “learning experiences” already, the secret to success isn’t just in your torch work or your tools. It starts long before you light anything... with the stone you choose.
Every jeweler I know has sacrificed at least one beautiful gem to the bench gods. One of my first was a gorgeous fibrous malachite with a ribbon of matrix running right down the middle. It looked deep green and perfectly witchy… until one gentle push with a bezel pusher turned it into Elphaba’s worst nightmare. I swear it still haunts me from the scrap pile.
But here’s the good news: picking the right stone for bezel setting doesn’t have to feel like a gamble.
Once you know what to look for, you’ll save yourself hours of frustration (and a small fortune in cracked cabochons).
Why Good Bezels Go Bad
Here’s the truth: not all gemstones are cut out for bezel life. Some are tough little workhorses that can handle being thrown from a 10th floor window. Others are divas in disguise... gorgeous, temperamental, and liable to crack the second the pressure is on.
Part of that comes down to how stones are built. Some have cleavage or fracture planes (which basically means they split easily) and others are just too fragile to tolerate even a tiny amount of pressure. Even their shape can make or break your success.
I’ve got multiple diplomas in gemology, so take it from me: you don’t need to become a gemmologist to understand this stuff. You just need to know which stones make your first bezel experience smooth sailing and which ones belong in the “not yet” pile.

Shape Matters (More Than You Think)
If you’re new to bezel setting, round or oval cabochons are your best mates. Their smooth curves spread pressure evenly and make it easier to push down the metal without drama.
Once you start venturing into fancy shapes like squares, pears, or marquise cuts, the tension ramps up. Sharp corners act like little stress magnets, ready to chip if you so much as look at them funny. Picture this... you’re easing one side down, and the opposite corner suddenly springs up like a toddler on a sugar rush. Before you know it, there’s a chip, a wobble, and one more piece for your drawer of shame.
Pro Tip: Stick with round or oval cabochons until you’ve got a good few under your belt. Your nerves will thank you.
Even a perfect shape can cause chaos if the proportions aren’t right. A tall, domed stone might be a little tricky, but one that’s paper thin can break before you even get it in the setting. Getting those proportions right is what separates the confident from the cursed.
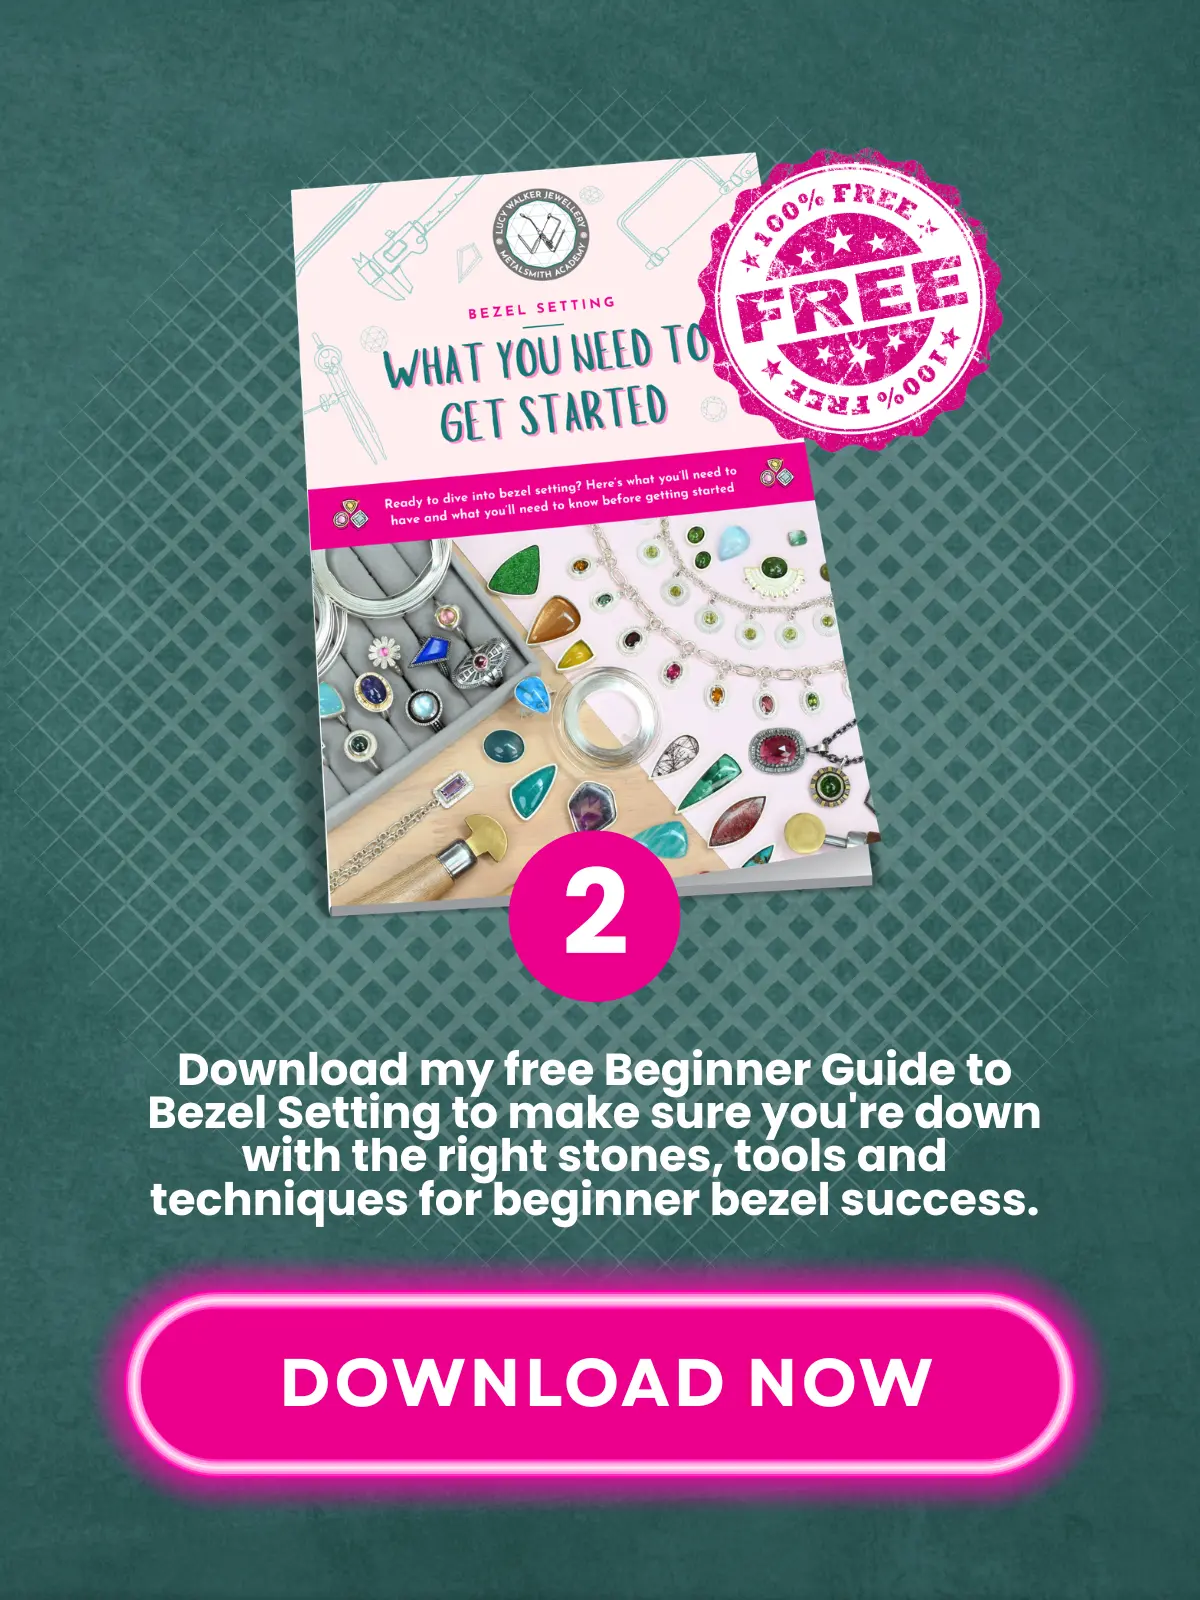
If you’re keen for some guidance on how to measure that properly, check out my free Beginner Bezel Setting Guide over here.
Depth = Durability (and Sanity)
Thin stones might look elegant, but they’re heartbreak waiting to happen. They don’t flex, they snap, so they’re harder to set and can crack faster than you can say “why me.”
A good rule of thumb: if it’s thinner than a US quarter, handle it with care! Thicker stones distribute pressure more evenly and are more forgiving as you push the bezel down.
Pro Tip: Avoid skinny stones until you’ve survived a few solid cabochon rounds. Confidence before chaos.
Depth also dictates how you build your bezel. Taller stones need higher walls to secure the stone. Get that ratio wrong and your stone will either fall out, or sit so low it looks like it's sunk into the bezel…
Getting the height right is the part that trips up even experienced jewelers. Once you understand how to read your stone’s depth and match it to the bezel wall, that whole “will it set?” moment disappears. It’s one of those lightbulb lessons that makes everything else about setting stones suddenly click.

Spotting Hidden Flaws Before They Break Your Heart
Sometimes it’s not you. It’s the stone. Even the prettiest gem can hide fractures that only reveal themselves when it’s too late.
Hold your stone up to a bright light and tilt it gently. If you see a flash or line running across the surface, think twice before using it. A small inclusion (that’s a natural mark inside the stone) is fine, but big cracks are bad news.
Then there’s the sneaky stuff... treatments. Some lower-grade sapphires and rubies are filled with glass to make them look clearer. They sparkle beautifully but that glass filling can easily pop out when you go to push the bezel over.
Pro Tip: If a gemstone seems suspiciously cheap or “too good to be true,” it probably is. Keep those for practice pieces.
Someone DM’d me after her glass-filled ruby gave up mid-setting (she didn't know it was glass filled)… She’d done everything right (perfect soldering, flawless fit) but the stone still shattered. I suggested she retry the same design with a quartz cabochon. And guess what? It came out absolutely stunning. Same technique, different outcome.
The Confidence Curve
Choosing the right stone isn’t just about avoiding cracks. It’s about setting yourself up for progress. Every bezel you make is a tiny masterclass in control, patience, and courage.
Start with reliable stones that behave. Build muscle memory and confidence. Then, once you’ve got a few smooth settings under your belt, branch out into trickier shapes and more delicate materials.
No one earns their bezel stripes by starting with emeralds or knife-edge thin opals.
Pro Tip: Your first few stone settings should be boringly perfect... save the drama for Netflix.
Your Shortcut to Stress-Free Stone Setting
If you’ve been avoiding stone setting because it feels intimidating, or if you’ve already cracked a few gems and are ready for redemption, take this as your sign to try again. The secret isn’t magic... it’s choosing the right stones for your skill level and knowing what to look for before you start.
The right gem will make your first bezel a joy instead of a panic attack. It’ll teach you control, patience, and that brilliant little rush of pride when you finish a piece and think, “Hell yes, I made that.”
If you want to skip the guesswork and learn exactly how to pick, measure, and set stones the smart way, grab my Beginner Bezel Setting Guide. It walks you through the tools, wire gauges, and gemstone checks that make every first bezel a confidence boost instead of a crack-inducing nightmare.
You’ve got this. And trust me... your next bezel is going to be epic.
Ready and raring to nail this bezel business? Here’s how I can help:


Share Post




Get free Unlimited Access to The Metalsmith Academy for 7 Days
*Cancel anytime, no lock-in contracts.


Unleash Your Creative Spark Today
Ready to take your jewelry-making skills to the next level? Join The Metalsmith Academy and start making pieces of jewelry you’re proud to show off. Don't let self-doubt hold you back - join The Metalsmith Academy today and begin your journey toward becoming a jewelry-making pro!
Join The Metalsmith Academy Now
*Cancel anytime, no lock-in contracts
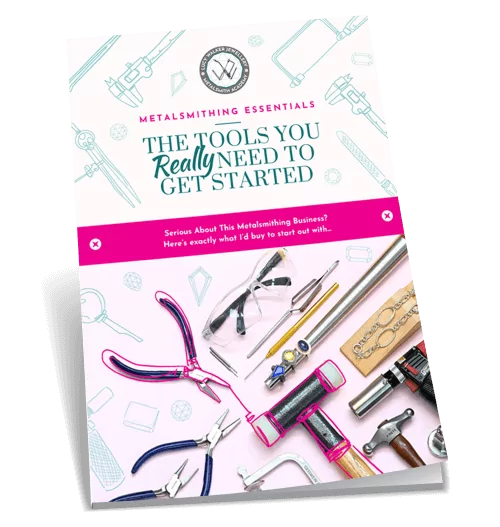
Get Started for free With Our Jewelry-Making Tools Ebook
New to the metalsmithing malarkey and wondering what tools you really need to spend your hard-earned money on?! Where to splurge, and where to save (money, time and sanity?) Download our highly-popular eBook and start creating your jewelry-making obsession collection today!
Privacy Policy
Last Updated: 1 March 2021
Lucy Walker Jewelry PLT (“LWJ” and any reference to “we”, “us” or “our” shall mean LWJ) respects and is committed to the protection of your personal data and your privacy. This Personal Data Protection Notice (“Privacy Notice”) explains how LWJ collects and handles your personal data in accordance with the Personal Data Protection Act 2010 of Malaysia and other applicable privacy laws we are to adhere to. Please note that LWJ may amend this Privacy Notice at any time without prior notice and will notify you of any such amendment via our website or by such other means of communication as deemed suitable by LWJ.
1. Personal Data
1.1 Type of personal data
Personal data means any information which relates to you or in respect of a third party and which was collected or provided to LWJ for any of the purposes stated in Section 2 below (“Purposes”).
Your personal data may include, but is not limited to, your name, address, email address, contact information and IP address.
1.2 Source of personal data
LWJ collects your personal data whether directly from you or indirectly from third parties such as your third party representatives in connection with any submission, transaction, arrangements and/or enquiries made with LWJ including when you send us enquiries, register for an account on our website, purchase products or memberships from us, or join our online competitions and contests.
1.3 Obligatory personal data
All information requested for in the relevant forms and documents is obligatory to be provided by you unless stated otherwise.
Should you fail to provide the obligatory information, we may be unable to process your request and/or provide you with relevant services and products.
2. Purposes of collecting and further processing (including disclosing) your personal data
Your personal data is collected and further processed by LWJ as required or permitted by law and to give effect to your requested commercial transaction, including the following (Purposes):
(a) to assess and process your request for our products and services;
(b) to administer and give effect to your commercial transaction
(c) to facilitate your participation in, and our administration of, any events including contests, promotions or campaigns;
(d) to administer and communicate with you in relation to our products, services, promotions and/or events;
(e) to process any payments related to products and services requested by you;
(f) for internal investigations, compliance, audit or security purposes including without limitation for crime detection, prevention and prosecution;
(g) to conduct research for internal marketing analysis and analysis of customer patterns and choices;
(h) to better manage our business and your relationship with LWJ;
(i) to respond to your enquiries and to resolve any issues and disputes which may arise in connection with any dealings with LWJ;
(j) to comply with LWJ’s legal and regulatory obligations in the conduct of its business including to meet any disclosure requirements of any law binding upon LWJ;
(k) to contact you and/or provide you with information regarding products, services, upcoming events, promotions, advertising, marketing and commercial materials which may be of interest to you;
(l) to ensure that the content from our website is presented in the most effective manner for you and for your computer and/or device;
(m) for LWJ’s internal records management; or
(n) for any other purpose that is required or permitted by any laws, regulations, guidelines including the requirements of any governmental or regulatory authorities.
Where you have indicated your consent to receiving marketing or promotional updates from LWJ, you may opt-out from receiving such marketing or promotional material at any time. You may select the “unsubscribe” option provided in our email blasts or you may contact LWJ at the contact details provided in Section (6) below.
3. Disclosure or transfer of personal data (within or outside of Malaysia)
Classes of third parties
Your personal data may be disclosed or transferred to relevant third parties (within or outside of Malaysia) as required under law, pursuant to relevant contractual relationship (for example, our third party service providers) or for the Purposes (or directly related to Purposes).
Your personal data may be disclosed to the following classes of third parties:
Third parties appointed by us to provide services to us or on our behalf (such as banks or financial institutions, auditors, lawyers, company secretary, information technology (IT) system / software vendors, contractors, marketing consultants and other advisers);
Any financial institutions, merchants, credit card associations, or payment gateways in connection with your use of any credit or debit card in any transactions made with us;
Law enforcement agencies including courts, tribunals or authorities, whether governmental or quasi-governmental having jurisdiction over LWJ;
Relevant governmental agencies, statutory authorities, industry regulators and local councils; and
Any persons, authorities or regulators to whom LWJ is permitted or required to disclose to under the laws of any country.
4. Websites
4.1 Links to other sites
Content in any website run by LWJ (“LWJ Websites”) may include links to third party websites. LWJ is not responsible for the content on such linked third party websites and users should observe the separate privacy policies applicable to the respective third parties website.
4.2 Cookies
LWJ may collect information about your visits to the LWJ Websites without you actively submitting such information. Unidentifiable information may be collected using various technologies, such as cookies, and web beacons. Cookies are small text files that are transferred to your computer’s hard disk by a website. Web beacons (also referred to as GIF files, pixels or Internet tags) help LWJ recognise a unique cookie on your browser. Your internet browser automatically transmits to LWJ some of this unidentifiable information, such as the URL of the LWJ Website you just visited and the browser version your computer is operating.
Passive information collection technologies can make your use of the LWJ Websites easier by allowing LWJ to provide better service, customise the LWJ Websites based on consumer preferences, compile statistics, analyse trends, and otherwise administer and improve the LWJ Websites. Certain features of the LWJ Websites may not work without use of passive information collection technologies. Information collected by these technologies cannot be used to identify you without additional identifiable information and LWJ will not collect additional identifiable information with information collected through the use of such tracking technologies.
5. Right to access and correct personal data
You have the right to access and correct your personal data held by us (subject always to certain exceptions). We will make every endeavour to ensure your personal data is accurate and up to date therefore we ask that if there are changes to your information you should notify us directly at the contact details set out in Item (6) below
6. Limiting the processing of personal data, further enquiries and complaints
If:
you would like to obtain further information on how to limit the processing of your personal data;
you have any further query; or
you would like to make a complaint in respect of your personal data,
you may contact :-
Designation : Business Director
Email Address : shaun@lucywalkerjewellery.com
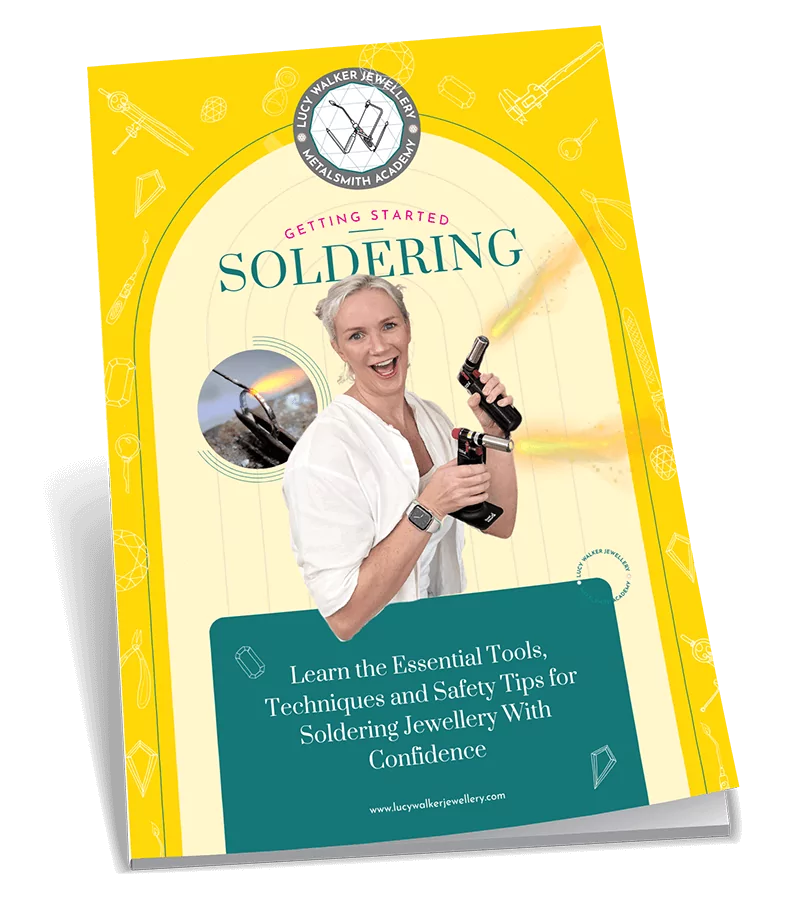
Download the Getting Started Soldering Guide now for FREE
Ready to overcome your flaming fears and master the #1 technique every metalsmith needs to create stunning jewelry? This outrageously comprehensive guide will give you the down-low on everything you need to know to start soldering with confidence!Ready to overcome your flaming fears and master the #1 technique every metalsmith needs to create stunning jewelry?
Just enter your details below and we’ll send it directly to your inbox.
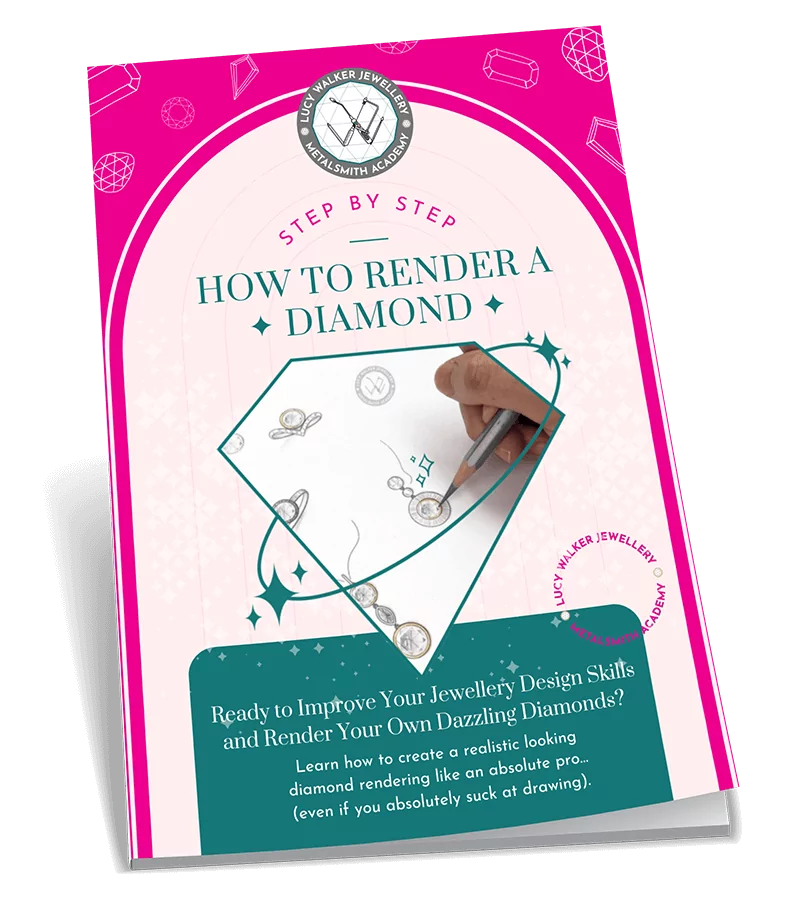
Download our Diamond Rendering Tutorial (PDF) now for FREE
Ready to learn the easier-than-you-think trick for rendering dazzling diamonds like a pro… even if drawing is soooo not your thing?! This handy PDF tutorial will be your sneaky shortcut to bring your diamond designs to life, without spending hours sketching.
Just enter your details below and we’ll send it directly to your inbox.

Download our $200 Jewelry-Making Tools List now for FREE
Ready to get the most bang for your buck and build your own beginner’s toolkit for less than $200? This 23-page guide will turn you into a smart and savvy jeweler, with all the tools you need to create elegant, high-quality, non-boring jewelry on a budget.
Just enter your details below and we’ll send it directly to your inbox.
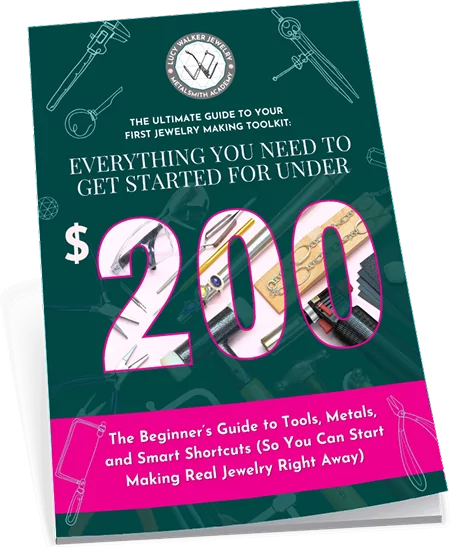
Download our $200 Jewelry-Making Tools List now for FREE
Ready to get the most bang for your buck and start making your own jewelry for less than $200?
Just enter your details below and we’ll send the free guide directly to your inbox.
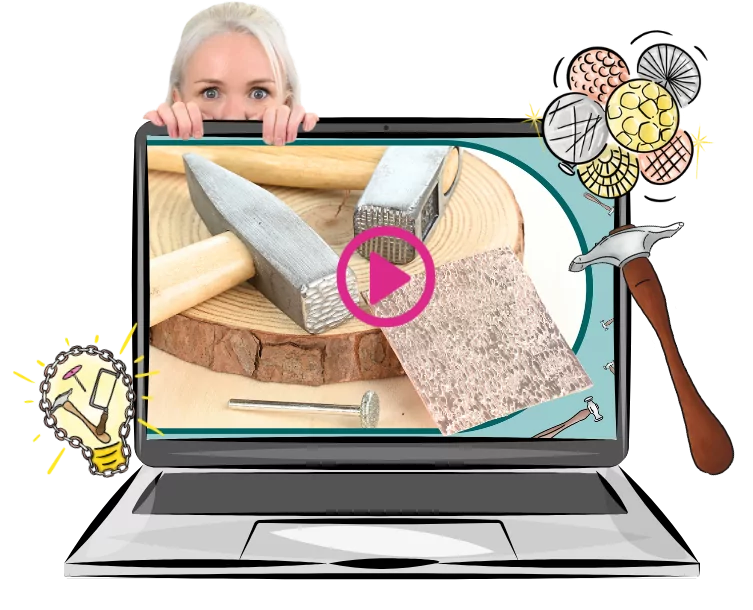
Turn a $4 Dud into a Texture Stud
In this fast and fun tutorial, you’ll learn how to transform a cheap-as-chips hammer into a seriously impressive texture tool - no fancy budget required.
Just enter your details below and we’ll send a link to watch directly to your inbox.
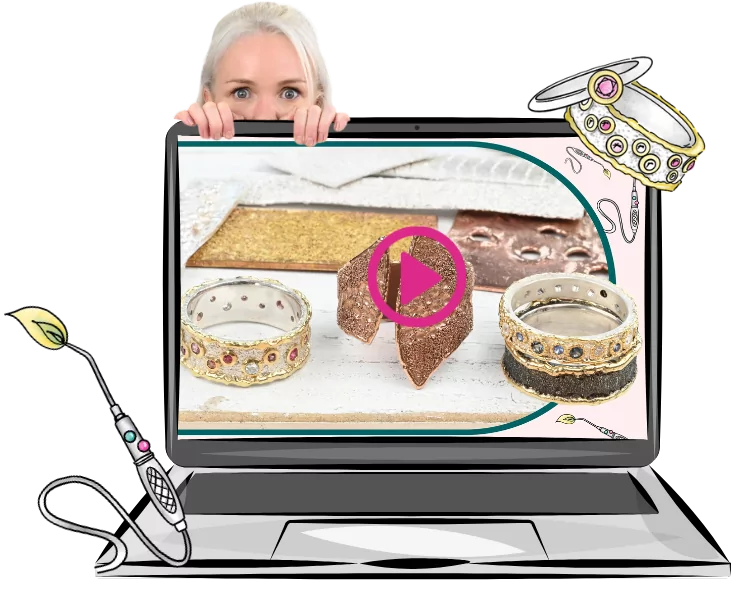
Love Playing With Fire? You’ll Love This.
In this free 20-minute video, you’ll learn how to turn metal dust into magic and master the art of wild, organic, melty textures - using nothing but a torch and a bit of control.
Just enter your details below and we’ll send a link to watch directly to your inbox.
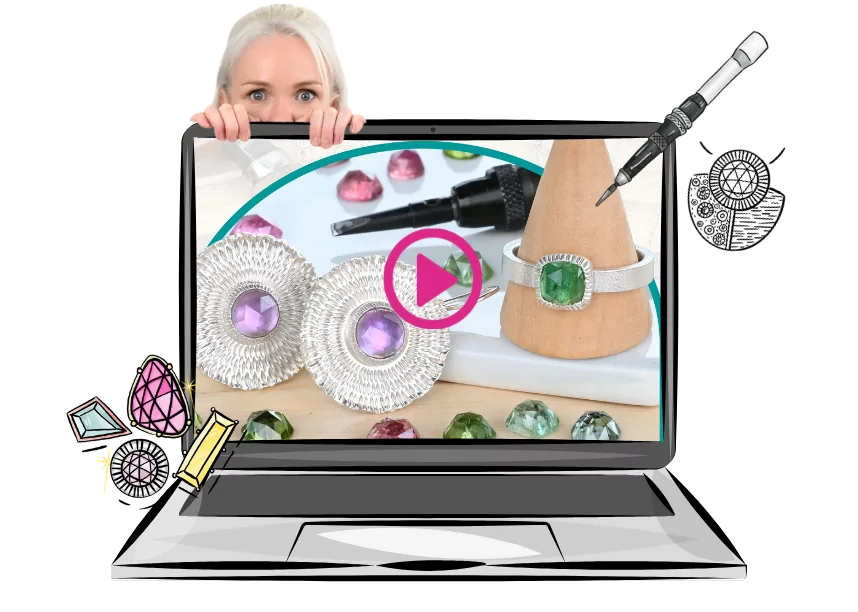
Learn How to Make Starburst Bezels (In Under 15 Minutes)
Ready to add some serious sparkle to your settings with this ridiculously satisfying technique? It’s quick, it’s fun, and these textured bezels are way easier to make than they look.
Just enter your details below and we’ll send a link to watch directly to your inbox.
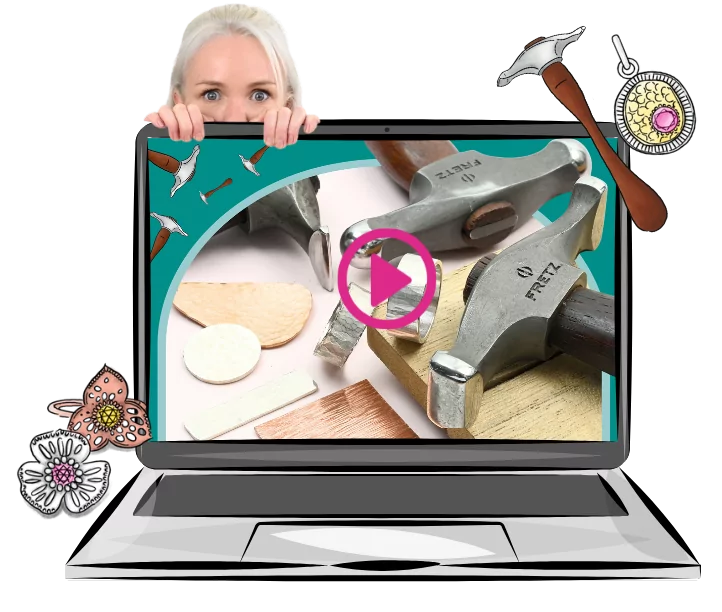
Unlock the Secrets to Gorgeous Hammer Textures
There’s a right way to whack metal - and this free 18-minute video shows you how. Say goodbye to messy textures and hello to finishes that actually look intentional (and professional).
Just enter your details below and we’ll send a link to watch directly to your inbox.
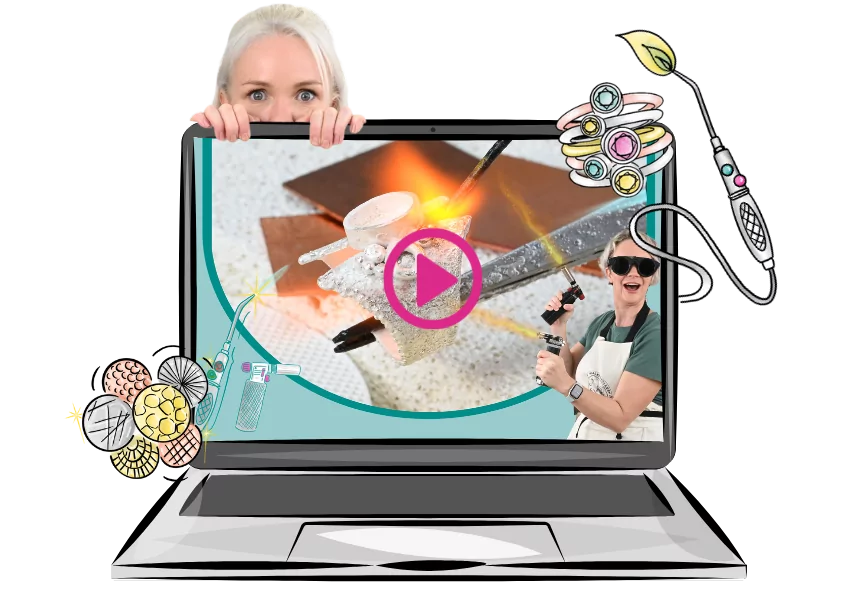
Struggling With Soldering? Start Here.
There’s a right way to whack metal - and this free 18-minute video shows you how. Say goodbye to messy textures and hello to finishes that actually look intentional (and professional).
Just enter your details below and we’ll send a link to watch directly to your inbox.
Download our FREE Jewelry-Making Tools eBook Now
Ready to build your must-have metalsmithing toolkit? Despite popular belief, you don't need all the tools to get started - or much at all! This eBook will take the guesswork out of your tool-buying and show you what you actually need (and what you can avoid wasting your coins on).
Just enter your details below and we’ll send it directly to your inbox.
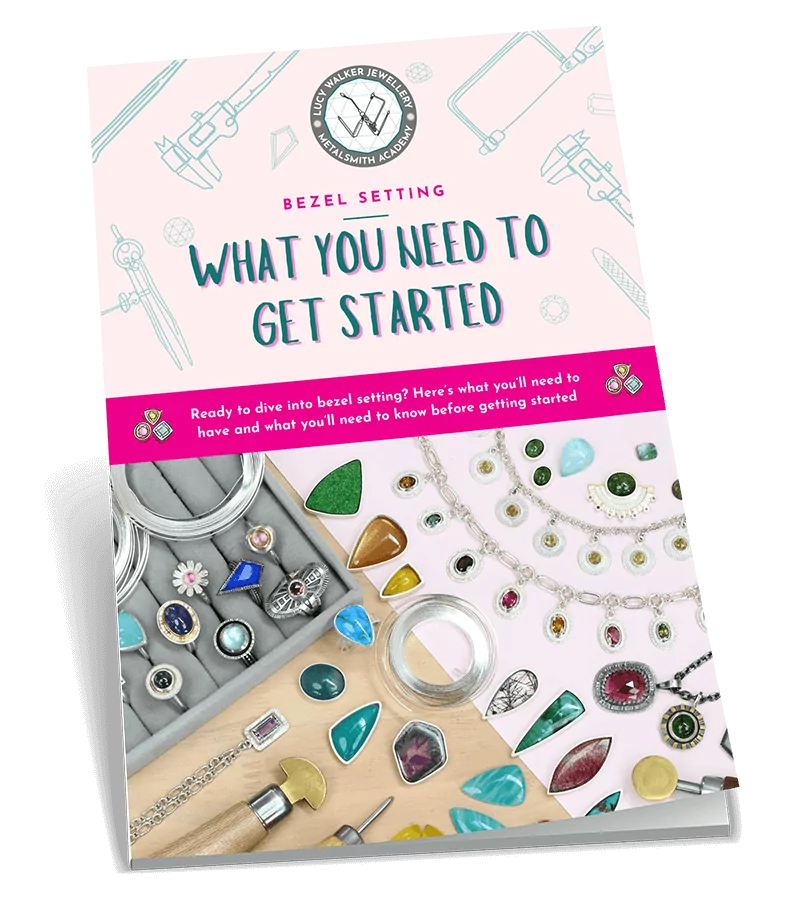
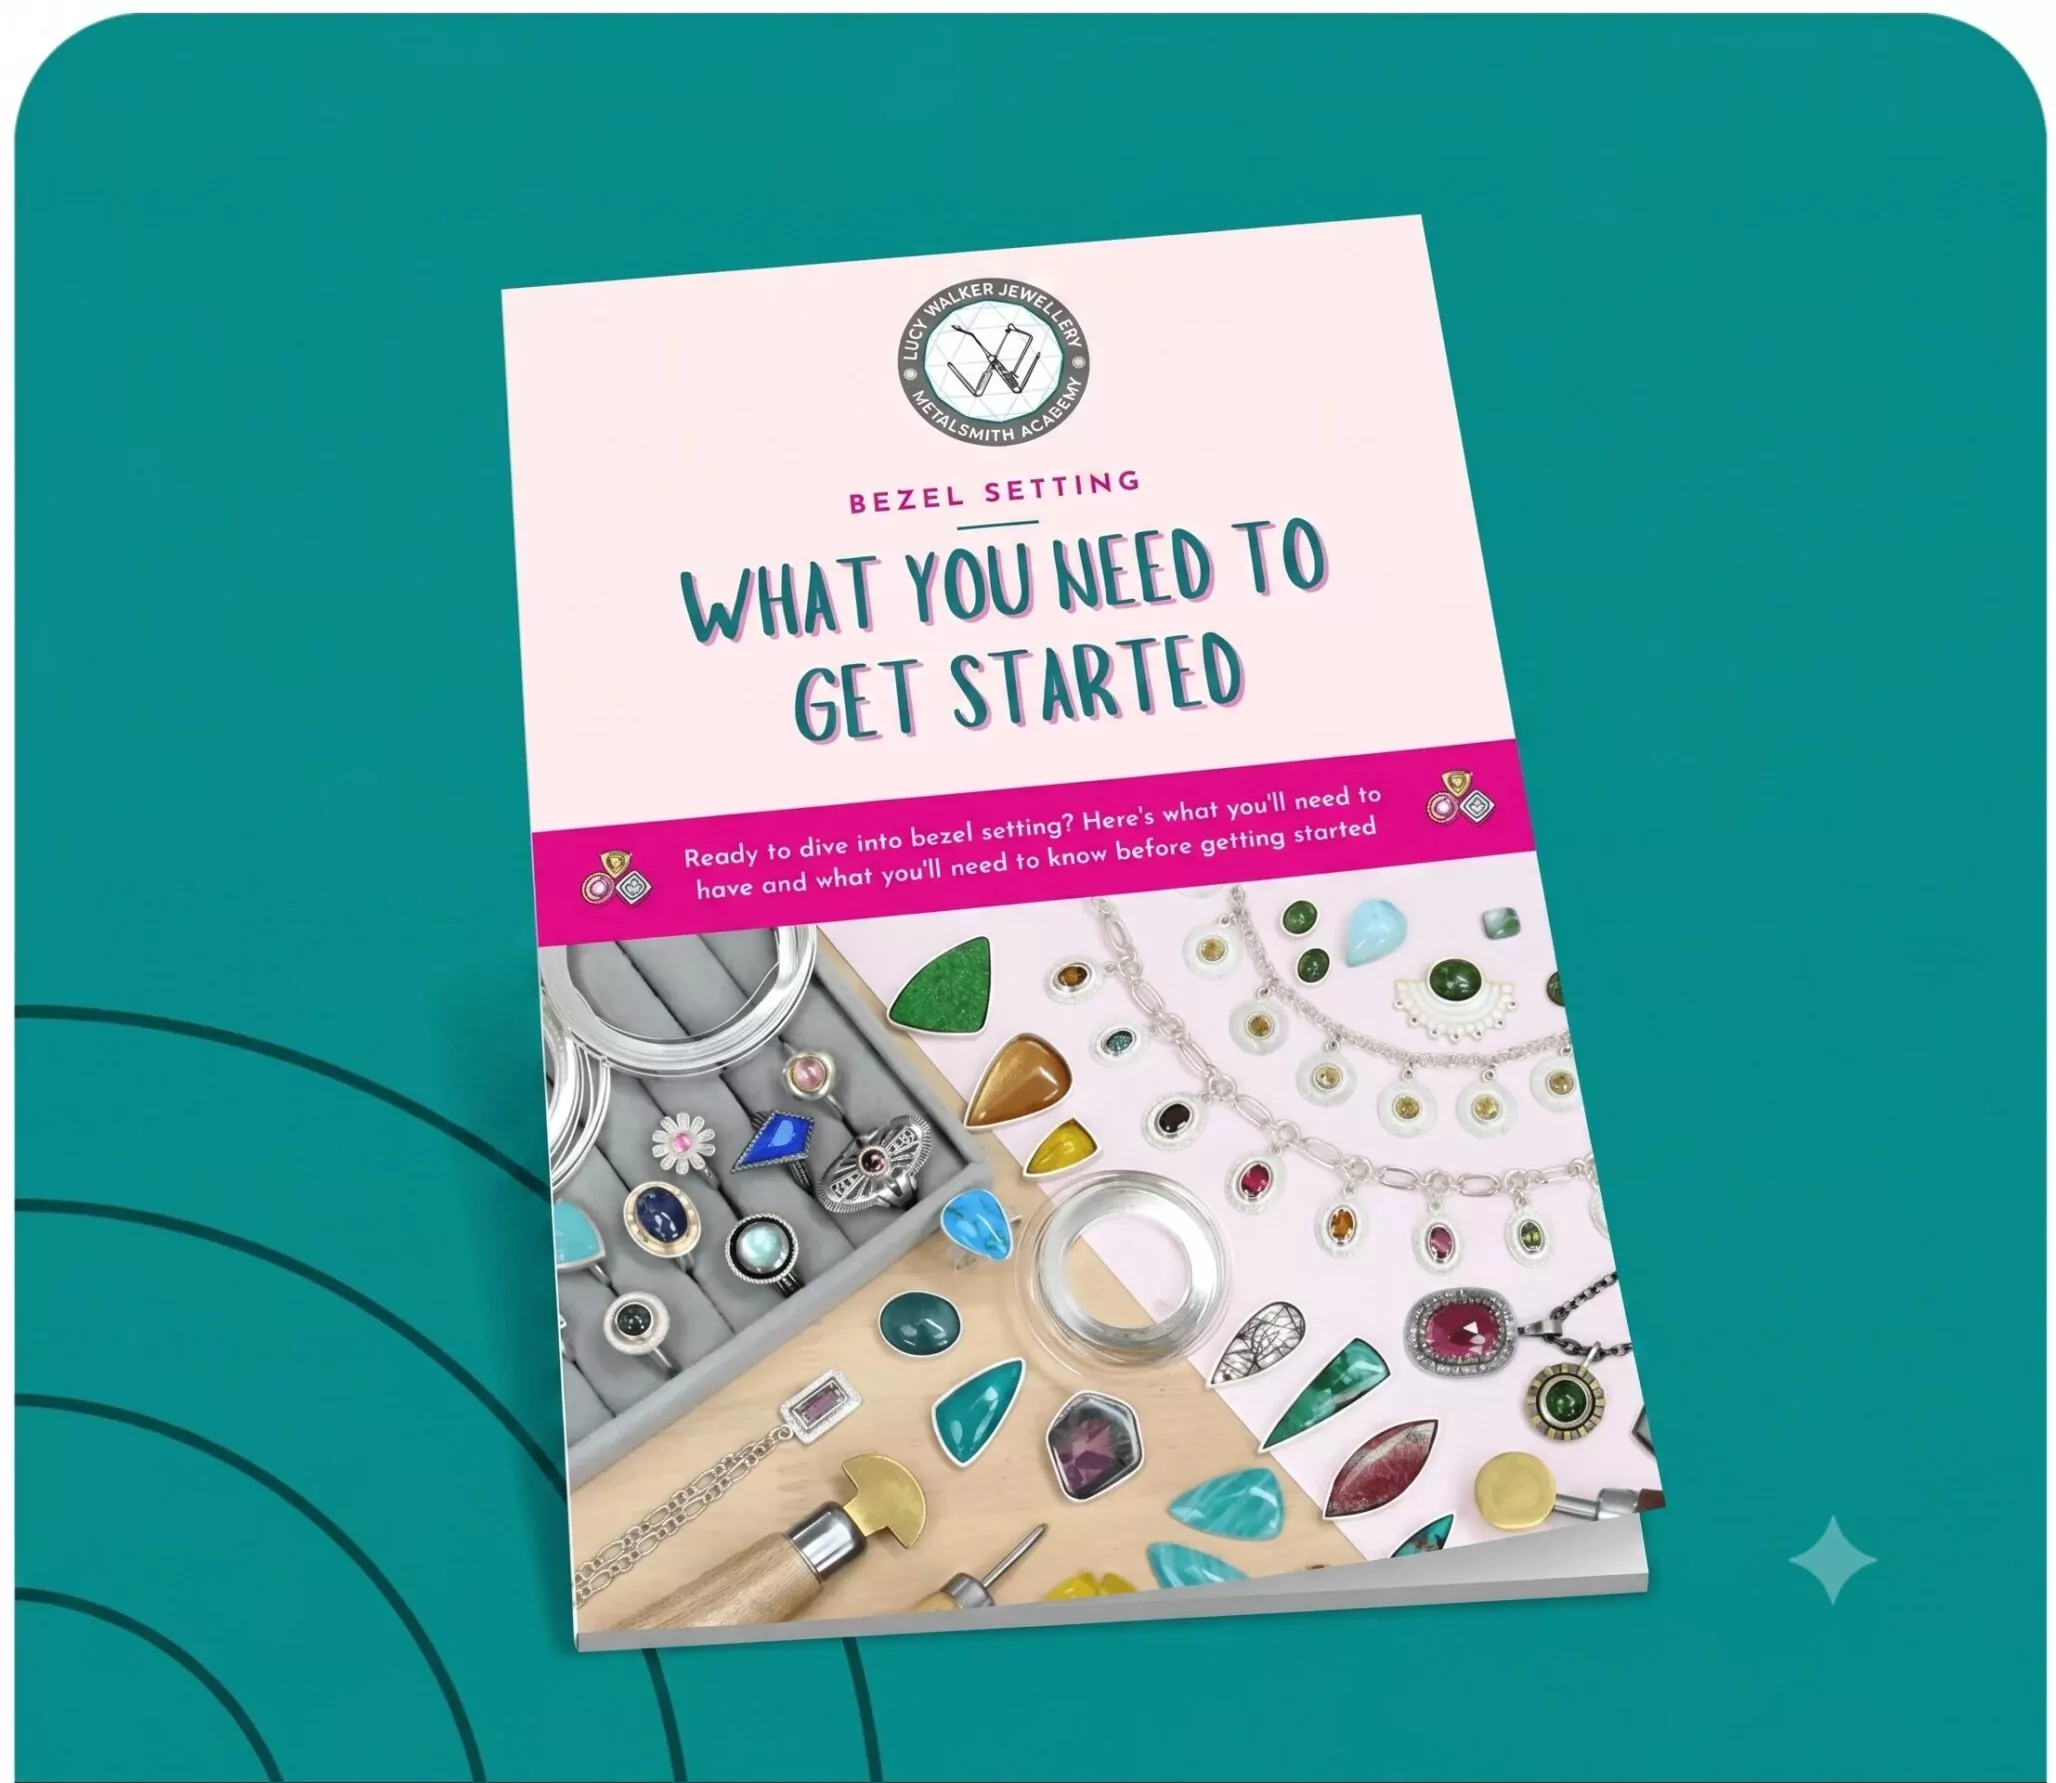
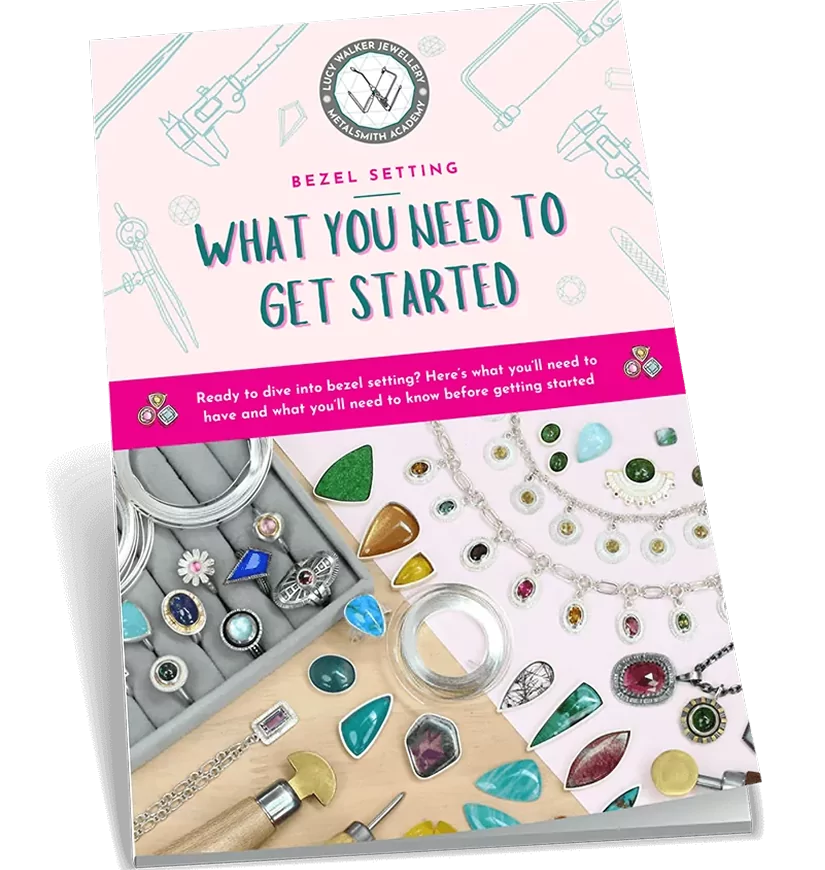
Download Our Beginners Guide to Bezel Setting now for FREE
Ready to learn all about bezel setting, so you can start putting your stash of gemstones to use? This guide is the perfect place to start.
Just enter your details below and we’ll send it directly to your inbox.
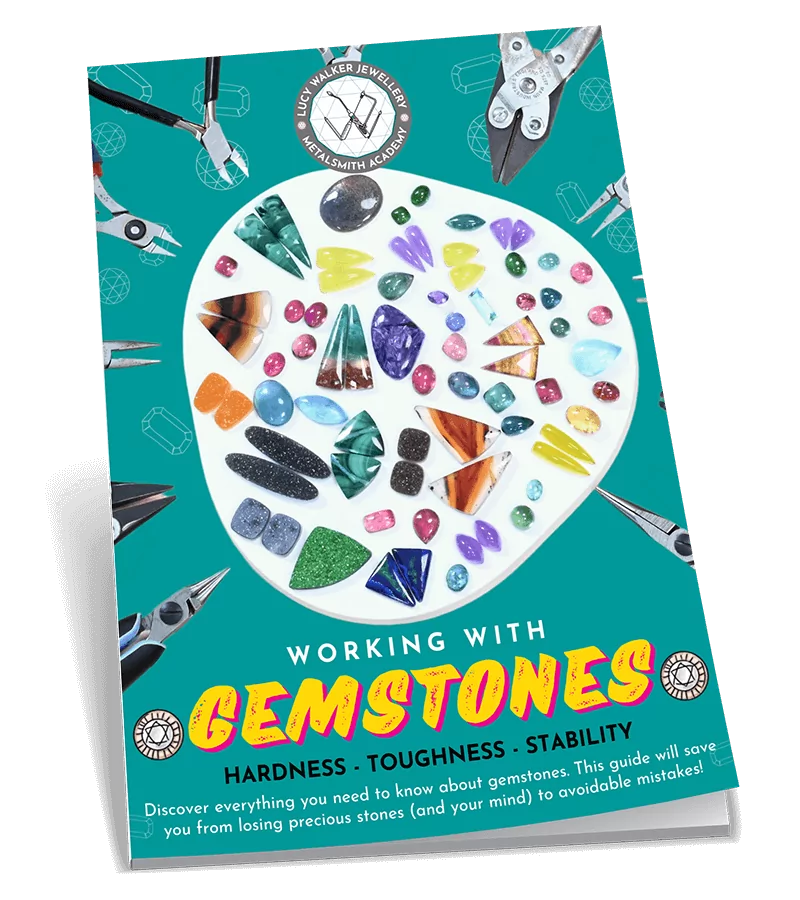
Download Our FREE Guide to Working With Gemstones now
Ready to officially become a Gemstone Guru and discover what you really need to know about choosing and using stones in your jewelry? This 31-page guide will help you select the right gemstones for your projects, and help you avoid buying gems that will cause you drama later on.
Just enter your details below and we’ll send it directly to your inbox.
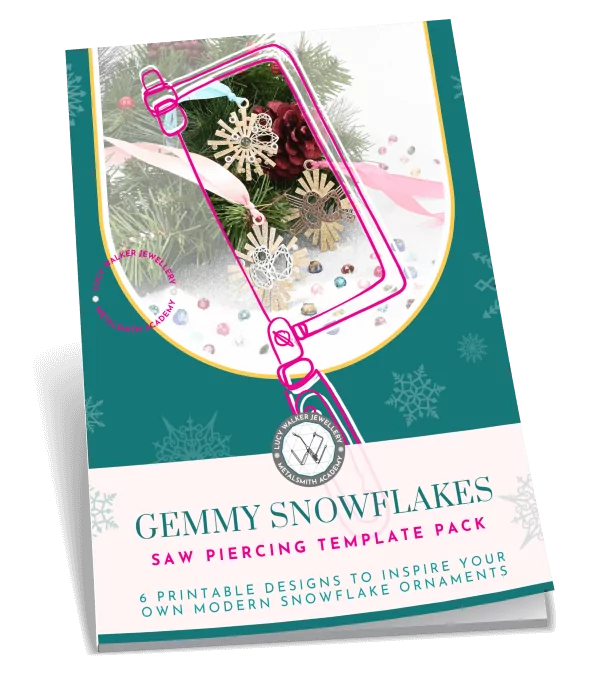
Download Our “Gemmy Christmas” Saw Pierced Template Pack Now for FREE
Ready to deck the halls with your own handmade and irresistibly festive Christmas ornaments? These 8 ready-to-use saw piercing templates are inspired by festive snowflakes and the shapes of your favorite gems! Just print them, stick them, and get saw piercing.
Just enter your details below and we’ll send it directly to your inbox.
Download our FREE Jewelry Design eBook: Finding Inspiration From Anywhere
Ready to train your creative muscles to glean inspiration from (literally) anywhere, and design more creative jewelry? Learn our favorite method to find inspiration, elevate your designs, and create one-of-a-kind pieces that stand out from the crowd.
Just enter your details below and we’ll send it directly to your inbox.
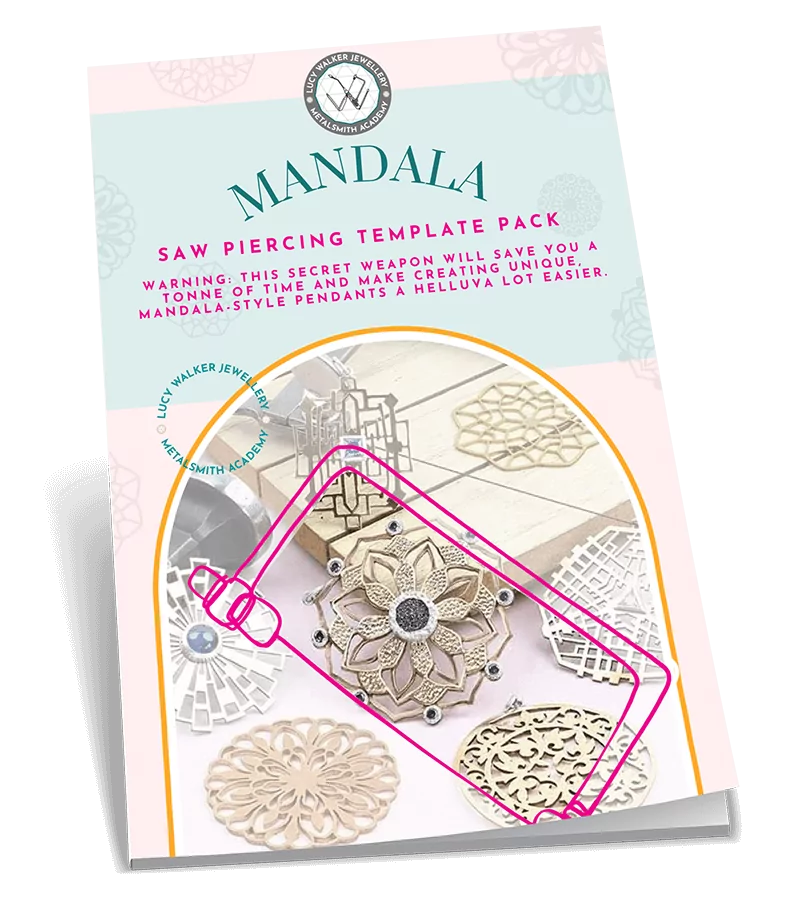
Swipe This Mandala Saw Piercing Template Pack Now for FREE
Warning: this secret weapon will save you a ton of time and make creating unique, mandala-style pendants a helluva lot easier. Skip the drawing and design phase, and simply download our designs, print them out, and pick up your saw frame to get creating!
Just enter your details below and we’ll send it directly to your inbox.
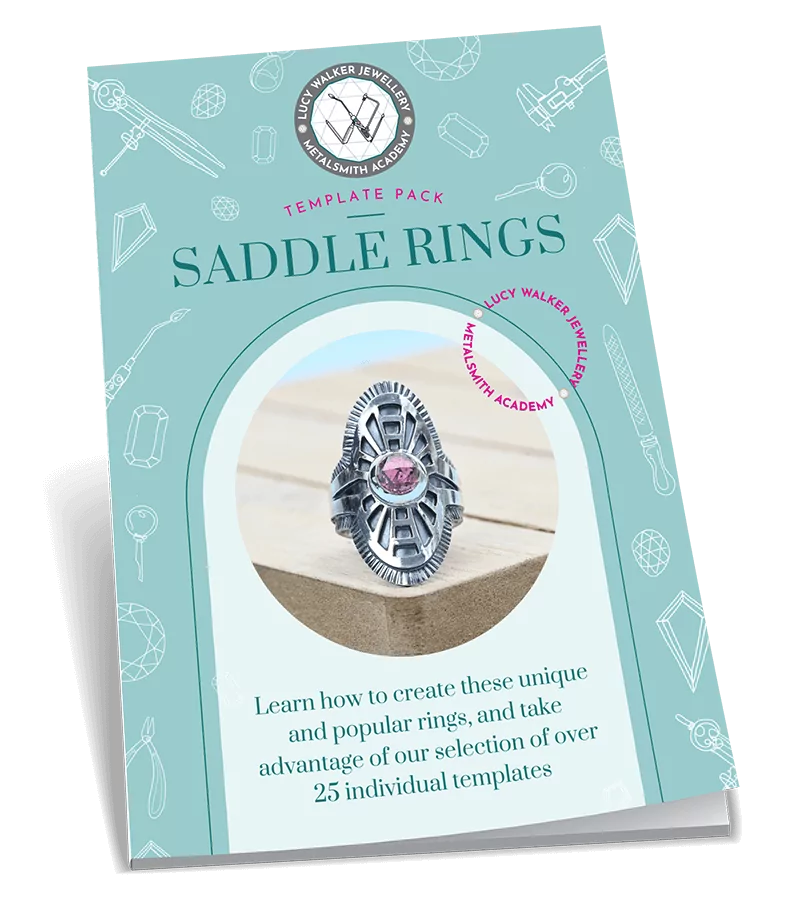
Download Our Pack of 27 Saddle Ring Templates Now for FREE
Ready to ditch the creative block, and get down to business creating your own beautiful, unique, and highly saleable saddle rings? These 27 design templates will get you creating stunning jewelry sooner! Plus, with 13 pages of step-by-step instructions on how to make your rings, you’ll be seriously set-up for success!
Just enter your details below and we’ll send it directly to your inbox.
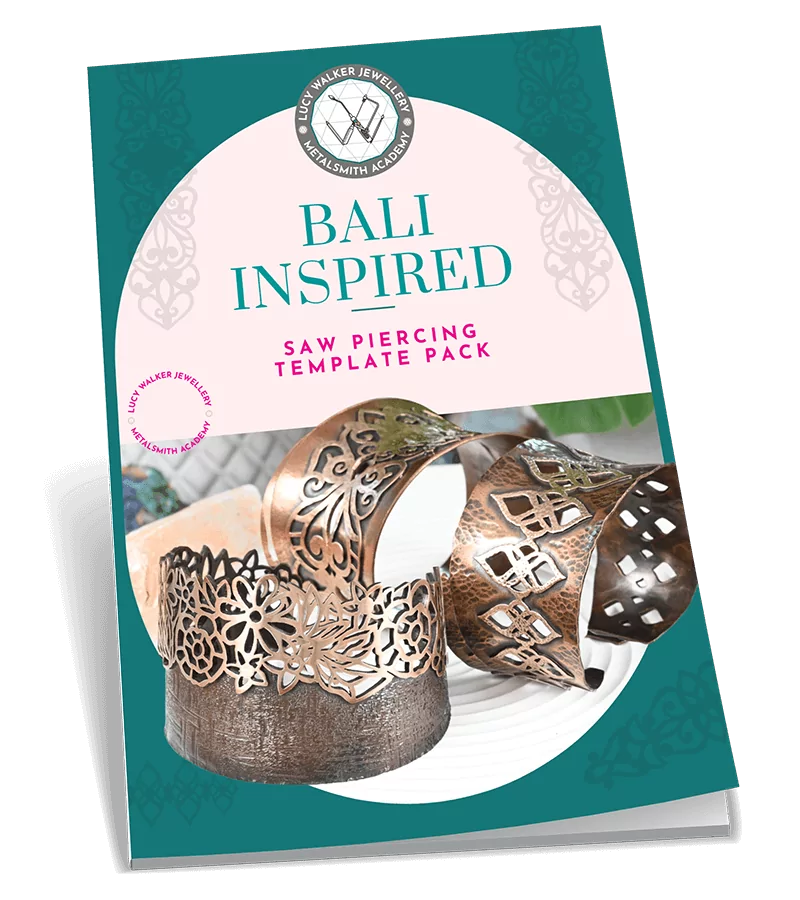
Download this Bali-Inspired Bangle Template Pack now for FREE
Swipe our printable Bali-inspired designs and add a touch of island paradise to your jewelry pieces! With 7 printable designs to choose from, you can skip the design phase, and simply print, trace, and get saw piercing.
Just enter your details below and we’ll send it directly to your inbox.
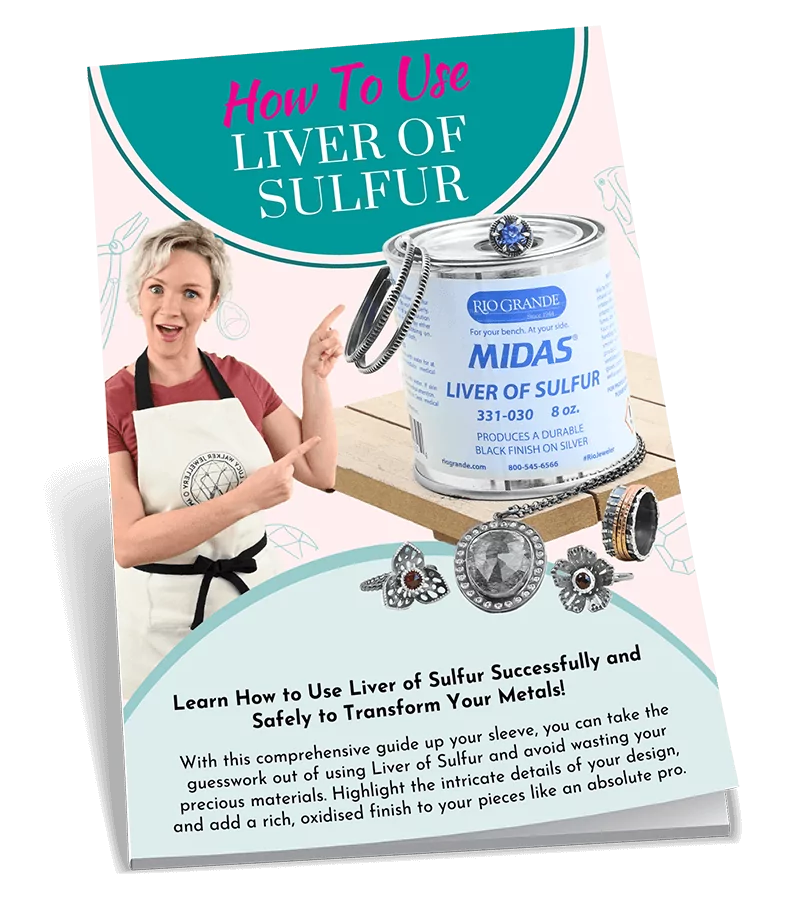
Download Our Simple, One-Stop Guide to Liver of Sulfur for FREE
Ready to learn how to give your metal jewelry a one-of-a-kind look with Liver of Sulfur? With so much competing information online about using Liver of Sulfur, this guide will strip things back and give you what you actually need to know. You’ll be ready to give this stinky substance a go in no time!
Just enter your details below and we’ll send it directly to your inbox.
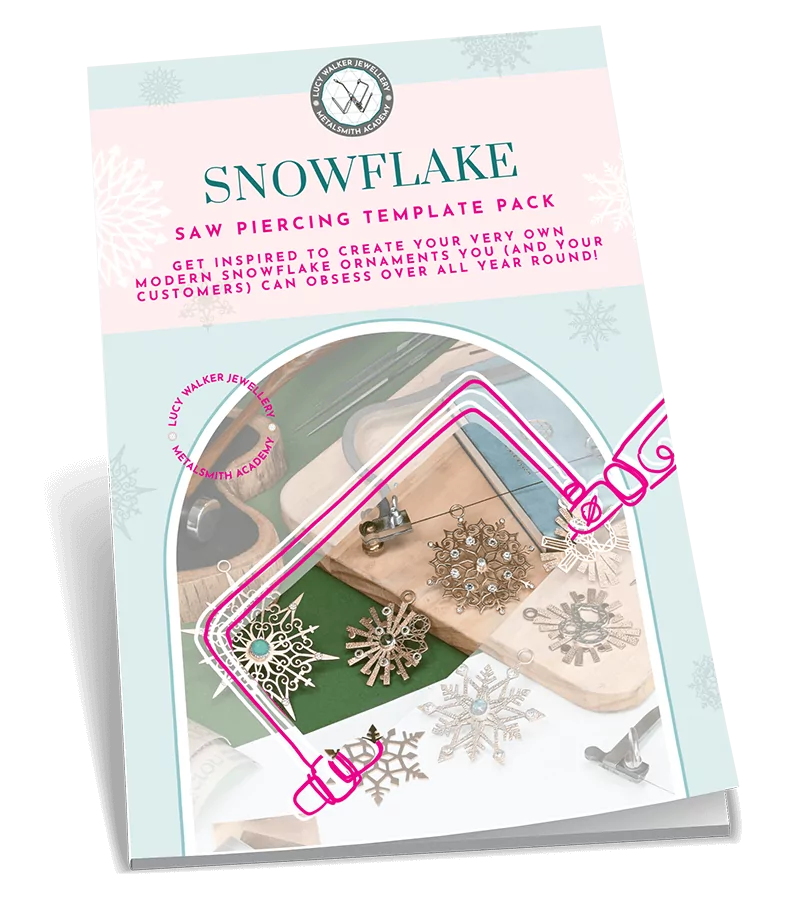
Download the Saw Pierced Snowflake Template Pack now for FREE
Get inspired to create your very own modern snowflake ornaments you (and your customers) can obsess over all year round! Avoid the creative block of designing your own, and instead steal these handy printable templates to make your saw piercing a dream.
Just enter your details below and we’ll send it directly to your inbox.
Sign up Now for Your Free Access to our Metalsmith Academy Membership Portal
Just pop your name and email below, and we’ll send through your free login details straight to your inbox.

Sign-up for Our Newsletter and Get Jewelry-Making Goodness Landing in Your Inbox Every Week
You’ll never be short of inspiration again with this newsletter in your life. Just enter your email below, and we’ll send you through all the non-annoying tips, sales, blog posts, and other jewelry-making malarkey you can dream of. Say hello to your new favorite weekly read!
Master the Art of Polishing Sand Cast Rings
Learn how to clean up and polish your rings to a pro-level finish - even with all that pesky porosity. This 35-minute step-by-step video shows you exactly how it’s done.
Enter your details below and we’ll send a link to watch directly to your inbox.
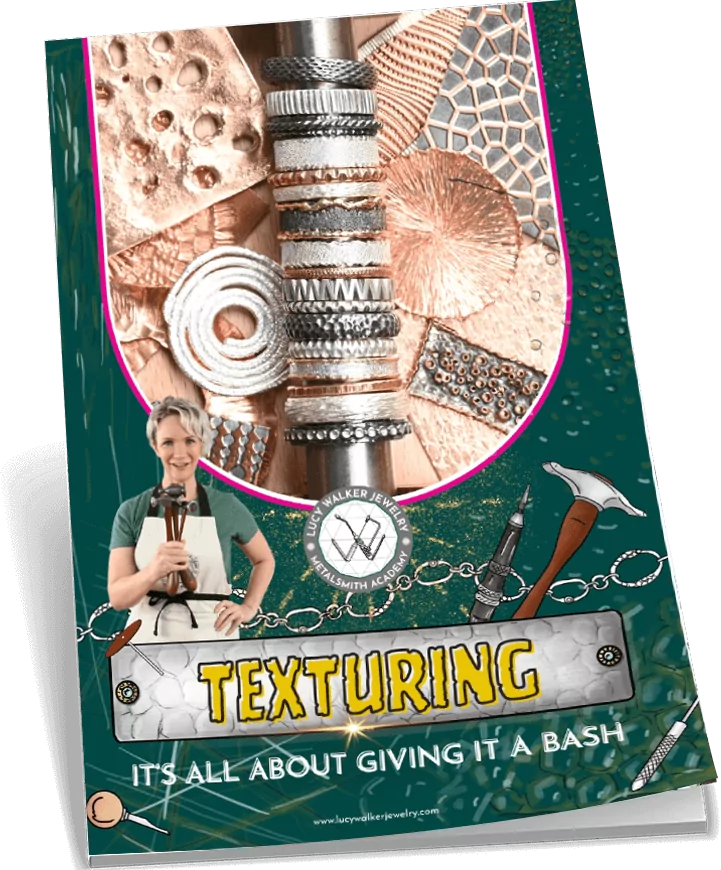
Download the FREE Jewelry Texturing Guide
Get inspired with 40+ texture ideas, techniques, and design inspirations! Enjoy pages of real samples, close-up photos and finished jewelry pieces to get your creative juices flowing.
Just enter your details below and we'll send a link directly to your inbox.