
In this article
In this article
There’s nothing as satisfying as finishing a piece of beautiful, one-of-a-kind jewelry that YOU made with your own calloused hands. You just sit there looking at it, saying to yourself “well done you little boss ass jeweler, you”. The problem is, the process to get to that point can often take you through the ringer! No matter how far along you are in your jewelry-making journey, we all hit bumpy patches that leave us questioning our life choices and sanity.
After 2 decades doing this jewelry-making malarkey, boy have I learned some lessons along the way. Some lessons have even been told straight to my face by some of the best jewelers in the world (there’s something humbling about being called an idiot by someone who’s worked with Harry Winston, Cartier and Tiffany & Co.) Just kidding, I’m really grateful to have learned Mr Miyagi style from some amazing people.
And, I’m just as grateful to have had experience figuring out how to do things on my own too… Because it’s made me way better at supporting other jewelers on the self-taught path through my in-person schools, online classes, and Metalsmith Academy membership.
Long story short, there’s always a learning curve when it comes to making jewelry…
But how many of those mistakes can be avoided with the right support and advice!? Turns out, a s&%# ton!
I WISH I could jump in my time machine and warn early-in-the-game Lucy about all of the traps she was about to find herself in (after I gave her all the winning lotto numbers for 2007, of course). But alas, that “genuine working DeLorean” I won at a Christmas raffle turned out to be a fake, so I’ve turned my attention to helping YOU avoid those traps instead.
To create this article, I’ve pulled together some nuggets of wisdom from my own experience (plus the thousands of conversations I’ve had with jewelry-makers over the past 20 years) and I’ve condensed them into this handy little guide to make your life easier.
Turns out, “success” isn’t this allusive concept hidden away for the select few. In a big part, it’s as simple as being aware of sabotaging mindsets and easy-to-avoid technical stuff. Things that might seem small, but actually can save you a whole lot of drama down the line if you know them now.
So without further ado:
Here are 12 lessons to help you avoid the avoidable, dodge the mindset traps, and box (clasp) step your way to metalsmithing mastery.
Whether you’re a total newbie or have a drawer full of half-finished projects, don’t let intimidating techniques or self-doubt stop you! There are simple ways to push past the hurdles, master the needed skills, and unleash your full jewelry-making potential. Let’s dive into them now.
Lesson #1: Don’t Get Caught in the Comparison Trap
The Pesky Problem:
When you’ve put so much love, time, and attention into something you’re proud of, it’s easy to play the comparison game - whether it’s drooling over flawless Instagram feeds, scrolling online forums at 2 AM, or side-eyeing the competition at craft fairs. And when Imposter Syndrome crashes the party, it loves to be a wanker and whisper, “You’re not good enough.” Next thing you know, you’re spiraling into self-doubt instead of celebrating your creations.
And as Oprah or Ghandi or Theodore Roosevelt (can’t remember which one) said: comparison is the thief of joy. A comparison mindset will leave you feeling like you’re…
- not good enough at tricky techniques (even though literally no one is born knowing how to make a prong setting)
- not creative enough to compete on pricing (even though you slaved over your pieces for hours and they’re truly one-of-a-kind).
- too slow to keep up with your peers (even though they’re on their own path and they’re probably out there jealous of you too)
- not achieving your sales goals as fast as you should be (even though even LVMH lost money last year because #timesarebloodytough)
The Solution:
It’s easier said than done, but simply focus on your own journey. Another’s success does not mean you are failing - it just means they’re on a different timeline. And that perhaps you have a different definition of “success”. Here are a few actionable ways to stop constantly looking over your shoulder:
✔️ Shift your mindset from competition to community. Instead of thinking of other jewelry makers as your rivals, think of them as your colleagues. Focus on learning from them so that you can grow your skill set.
✔️ Limit social media consumption. If you find yourself discouraged rather than inspired after scrolling through your feed, take a break from social media. If going cold turkey is too hard, curate your feed so that you are only following people who spark your creativity and motivate you.
✔️ ️Put on the figurative horse blinders and do you. Don’t worry if you don’t see anyone else doing what you’re doing. The beauty of jewelry making is that it’s a creative art. As you master techniques, put your own twist on things.
Pro Tip: Next time you catch yourself comparing, flip the script and ask yourself, “what can I learn - from their journey?”. Instead of sulking in envy, let someone else’s success light a fire under your ass to motivate you.
Lesson #2: Don’t Get Bogged Down By Too Much Information
The Pesky Problem:
With an endless amount of information and often conflicting advice at our fingertips, it’s all too easy to feel paralyzed and not know where to begin. Without a clear order of operations, it’s easy to be overwhelmed by countless YouTube videos, online classes, and Pinterest how-to guides.
The Solution:
The only thing you should be drowning in is compliments (and maybe the odd strong drink after a particularly trying day in the studio). Knowing more information won’t make you a better jeweler. Knowing the right information at the right time (and putting in the hours to practice) will! Here are a few ways to avoid being slowed down by too much information:
✔️ Focus on nailing just a few new skills at a time. Trying to learn granulation, enamelling and filigree all at once (before even learning to solder) is a recipe for a mental breakdown and most likely a physical meltdown.
✔️ Choose quality, not quantity of sources. Instead of frantically opening a gazillion windows and going down YouTube rabbit holes, limit yourself to a few trusted experts and focus on what you can learn from them.
✔️ Follow a structured learning path. Instead of jumping from technique to technique, focus on mastering one foundational skill at a time. If you treat each step in the process as if it’s the only step, you’ll be amazed at what you can achieve!
✔️ Build on skills progressively. It’s tempting to jump ahead to learn a technique you’re itching to try, but start with mastering the beginner-friendly techniques before moving on to advanced ones. Slow and steady, yadda yadda. Even experienced jewelers can benefit from going back to basics once in a while.
Pro Tip: Follow a proven roadmap (like my A-Z Student Roadmap in my Metalsmith Academy #shamelessplug) that guides you from essential foundational skills to pro-level techniques. Whether you’re a newbie or have many years of experience under your belt, paying attention to the basics makes a massive difference!
Lesson #3: Don’t Get Low When the Solder Won’t Flow
The Pesky Problem:
Okay this one’s not a mindset shift, it’s a practical one, but bloody hell would younger-hotter Lucy want to know this one. Soldering can be a serious pain in the ass at the start. Maybe you’ve lined everything up, slathered on the flux, and fired up your trusty torch…and the solder just sits there, refusing to budge. It’s okay! No big deal! It happens to everyone, honey! Before you trade in your underperforming old flame for a new one, here’s something to try.
The Solution:
If your solder won’t flow, your flame might just be too small for the job! Add a few extra inches and see if that helps get things going. As our wise member Marianne puts it, “If you can learn heat control, you can solder anything.” Before you rage-quit, try these tips to get that solder moving:
✔️Turn up the heat. When we say turn up the heat, especially with sterling silver, we don't mean make the flame hotter, but make it bigger. Heating up a large piece of silver (which is a very conductive metal) with a teeny tiny flame is just not going to work - the heat conducts away from the join faster than our little flame can throw it out. Don't be afraid to go big.
✔️Clean your metal and flux thoroughly. Clean tools and pieces ensure the solder can flow properly - and when I say clean, I mean entirely grease, dirt and gubbins free!* (*Dried flux is no problem though. Oh and if your flux has burned off before you even manage to place the solder, just reapply and try again.
✔️Make sure you’re actually using solder. Yes, really. You have no idea how many times folks have told me they tried to solder with 22 gauge sterling silver wire, instead of 22 gauge wire silver solder. Just double check, and know you're in good company if you've made this mistake.
Pro Tip: If your torch is the size of a puny lighter and you’re trying to solder a chunky statement piece, you will suffer, and it will 100% not work! Upgrade to a bigger torch and master that flame control. You'll have that solder sucking into that join like a pile of Columbia’s finest (coffee) gets sucked into my gob in the morning.

Lesson #4: Strike the Balance Between Creativity and Technique
The Pesky Challenge:
There’s three types of jewelers: ones who only care about the technical stuff, ones who only care about the creative stuff, and ones who way over-generalize about how many types of jewelers there are. I may sit in the 3rd box, but I have watched jewelers struggle time and time again to strike the balance between the first 2! It’s also something I personally struggle with a lot… I’m drawn to organic looking jewelry, but when it comes to my own work, I get stuck in my head when things don’t look clean or crisp enough! I can just feel the judgement from my mentors of long ago for my “creative” design choices.
It’s a shame though… because falling into the technician trap can leave us obsessed with following the “rules”, instead of ever actually “creating”. Leaning too far into “I’m an artist” territory leaves you with interpretive jewelry that is uncomfortable to wear, or falls apart because it’s just not well made. Let’s avoid both!
The Solution:
At the end of the day, making jewelry is an art form - it should be fun for f#$%’s sake! There’s always more than one way to do something and don’t let any self-proclaimed jewelry guru tell you otherwise. The goal is to find the technical method that works best for you, and still produces high-quality results. This is why I go to painstaking lengths to ensure my video tutorials focus not only on the “how” but also the “why” of every step. That way you can understand it and then put your own unique spin on the jewelry you create! Here’s some tips to help you strike the “creative VS technical” balance:
✔️ Experiment -then evaluate. Give yourself permission to try new things and build the habit of stepping back to assess what worked (and what didn’t). A little post-project reflection helps turn happy accidents into repeatable techniques.
✔️ Schedule both play and practice. Yes, carve out time to explore creatively - but also dedicate time to refine core skills. Set mini-challenges like “5 clean solder joins” or “perfect that saw piercing” to keep your technique razor-sharp.
✔️ Use limitations to refine your process. Got the wrong gauge wire or a slightly warped bezel? Great - ask yourself, “What technique can I apply here to make this work?” This is where creativity and technical know-how come together beautifully.
Pro Tip: Try a "no-expectations project" - create a piece where mistakes are encouraged, and see what you come up with and learn! Innovation happens when you push your creativity as far as you can with the tools and skills on hand.
Lesson #5: Treat Your Hands Like the Most Important Tools in Your Kit
The Pesky Problem:
Jewelry making isn’t just an art form - it’s a full-on hand workout with a side of potential battle scars. Between the death grip on your pliers, precise repetitive movements, and the occasional burn or cut, your precious paws take a beating. Yet, few jewelers give much thought to hand and wrist care.
The Solution:
While I plan to be rich enough to make myself new, diamond-bedazzled hands out of pure gold one day, in the meantime (and while AI and my bank account develop), I treat my hands like my MOST precious tool. Because whether you're hammering metal, setting stones, or working with delicate materials, strong and flexible hands are essential. Here’s how to keep your hands on side:
✔️ Work in the most comfortable and ergonomic position you can (whilst not slouching). Using specialist work holding tools such as ring clamps and ball vices will make things a lot easier on your hands, rather than trying to grip onto tiny pieces while working. And check your posture! Make sure your flex shaft is at the right height - these things are heavy, and if you’ve got it wrong, you’ll be straining your wrists. Also check that your bench pin is at boob height (unless you’re 70). We want to avoid slouching at the bench when possible.
✔️ Pay attention to your wrists. Are you forcing them to bend at odd angles? If so, consider changing the orientation you're working in. See if you move the work into a different position to make things a little more comfy.
✔️ Warm up and take breaks. Just like athletes stretch before training, jewelers should do simple hand stretches before long hours at the bench. Take frequent breaks to avoid prolonged strain.
✔️ Prioritize hand strength and care. Regular hand and wrist exercises can prevent strain and injury over time. Avoid getting pickle and other chemicals on your skin, and moisturize regularly just to make sure your hands stay in good shape. Oh, and if you do accidentally saw into your finger? Don't freak out! Just wash it well, dip it in some vodka (or preferred antiseptic) and put a plaster on it. We don't want dirt getting in any cuts - capiche!?
Pro Tip: Just remember to treat your hands better than any other tool you own. They’re your most important ones, and unlike a rolling mill or any other fancy tool, they’re irreplaceable.
Lesson #6: Make Peace With Rejection…and Just Keep Swimming
The Pesky Problem:
Whether it be jewelry, paintings, or Tinder dates, no one style is going to be everyone’s cup of tea. Rejection is par for the course around here… but that’s not to say it doesn’t hurt! Maybe you make dismal sales at a market, your “flash sale” is a flop, or you just don’t get those likes you were hoping for on socials, constantly copping it on the chin can leave us feeling black and blue. But we’ve gotta remember, it happens to the best of us, and you mustn't take it as a personal attack on your pieces.
The Solution:
If I had a dollar for every time I heard someone say they were rejected and they were going to give up, I’d be doing snow angels in diamonds. As Barbara, one of the many supportive and insightful members of our Metalsmith Academy pointed out in this previous blog, it’s important to “just keep swimming”! So when push comes to shove, here are a few tips to help you develop a thicker skin:
✔️ Accept that rejection is part of the business (and let’s face it, life in general!). Even the best jewelers don’t get into every show or sell every piece.
✔️ Separate your work from your worth. Rejection doesn’t mean your work isn’t great - it just means it wasn’t the right fit for that person or opportunity.
✔️ Reframe rejection as feedback. Ask, “What can I learn from this?” Often, a rejection is an opportunity to improve and grow.
Pro Tip: Don't air your dirty laundry in public, it can come back and bite you in the ass later. You might be mad or upset, so talk to your friends or have a bitch in a private forum about it - don't share it all over Facebook.
Lesson #7: Like Your Jewelry, Confidence Looks Good on You!
The Pesky Problem:
If you’ve lacked confidence when creating jewelry, let me diagnose you with a little thing called “being human”. (If you haven’t, you’re probably a cyborg and I’m not sure how you got here?) Maybe you’re lacking confidence to try new techniques or actually use those fancy stones in your stash? Maybe you’re struggling to invest in your passion and go “all in” on this jewelry-making thing? Maybe you’re lacking confidence to sell your jewelry, so you’re just sitting on mounds of silver with no idea where it’s going? Ahh, but as they say, confidence is a state of mind… so how can we get ours out of the self-doubt gutter and into “I can do this!” land?
The Solution:
Embrace the sneaky little gremlin of insecurity by reframing the little monster into your biggest cheerleader who just wants to see you win! A little insecurity and imposter syndrome aren’t always bad things. They can push you to make you the best you can possibly be. Just don’t let these insecurities piss on your parade, or stop you from trying new things and pushing yourself further. It’s better to be a great jeweler with a few insecurities than a hack jeweler who thinks they’re the best thing since sliced bread.
Here’s some practical ways to kick those “what ifs” to the curb:
✔️Find yourself a mentor. They don’t have to be some fancy jewelry guru, just someone who’s a few steps ahead of you and isn’t afraid to get real when you need it. Ask them to give you honest feedback on your designs, technical skills, pricing, and whatever else is on your mind, and most importantly: listen to them!
✔️Start with small wins. Sell a few pieces to friends, family, or at local markets to build confidence before setting your sights on bigger venues.
✔️Remind yourself that if you love it, someone else will too. Your jewelry designs won’t resonate with everyone, but they will resonate with the right audience.
Pro Tip: Join a judgment-free online group of fellow jewelry-making badasses like those in the Metalsmith Academy who are at different parts of the same journey. Every morning, me and other experts log into the forum to provide tangible solutions for member issues. Sometimes, all you need is an encouraging outside perspective to remind you you’ve got what it takes!

Lesson #8: Price Your Work Like a Boss, Not a Bargain Bin
The Pesky Problem:
One of the biggest mindset struggles for jewelers is uncertainty or lack of confidence in deciding what their work is worth. It’s all too easy to undervalue your time and have intrusive thoughts such as…
- "No one would pay that much for my work."
- "I feel guilty charging for something I love doing."
- "My work isn't good enough to sell at that price."
The Solution:
Here are some tips to prevent pricing from becoming an emotional issue rather than a business decision:
✔️Work backwards. Set a price point you want to sell at either wholesale or retail and work backwards to make that happen. We have to be realistic too… just because something took you 10 hours to make, doesn't always mean someone will be willing to pay for your time to do that.
✔️Practice stating your prices confidently. Practice boldly stating your prices like the badass jeweler that you are. Role-play with good friends and supportive family members ‘til it feels natural.
✔️Recognize that your ideal customer exists. Not everyone will be your buyer, and that’s okay. The right people will appreciate your craftsmanship and pay for it.
Pro Tip: When it comes to pricing formulas, don't get too fancy, make sure you can see instantly what portion of the price is profit. For example:
(Cost of Materials + (Time Spent x Hourly Rate)) x 2 = Wholesale Price
(Wholesale Price x 2.5 = Retail Price)
And remember… Ignore gurus telling you they can teach you how to get 6-figure sales. Just because a company looks successful, doesn’t mean it is. I can make 7 figures by buying a diamond for $2,000,000 and selling it for $1,000,000. Profit is what matters, not sales.
Lesson #9: Don’t Break the Bank on Expensive Tools You Don’t Need
The Pesky Problem:
Many jewelers fall into the trap of believing they need the latest and most expensive tools to create high-quality work. Spoiler: you don’t. And while this tip is brimming with innuendos, I’m going to hold myself back because I want you to hear this LOUD AND CLEAR: it’s not about the size of the gear you’ve got - it’s about how you use it.
(That’s what she said. Omg Lucy, have some self control.)
The Solution:
Don’t be a tool whore (like me). Those fancy designer tools I’m sure you’ve stumbled across might look nice, but ask yourself: are they really all that different and worth spending your pennies on? Or, is it better to opt for more affordable tools instead? Knowing when to splurge on quality tools or save your pennies is essential, but it can be hard to know the difference! Here’s some tips to stock your stash mindfully:
✔️ Start with the basics. A few wisely selected tools will serve you far better than a cluttered workspace full of rarely used equipment.
✔️ Avoid impulse buying. Just because a shiny new tool looks cool, doesn’t mean it’s essential. Focus on what truly enhances your workflow. Give yourself a budget - I bet you can build a toolkit of essentials for less than $200 if you’re thrifty!
✔️ Make the most of what you already have. Many professional jewelers only use 20% of their tools regularly - the rest might as well be paperweights.
Pro Tip: Before buying a new tool, ask yourself: “Have I hit a real limitation with my current setup, or am I just tempted by a shiny new gadget?” My personal favorite unsexy-but-incredibly-time-saving tools have been a guillotine shear and a ring stretcher. Who’d have thunk it?
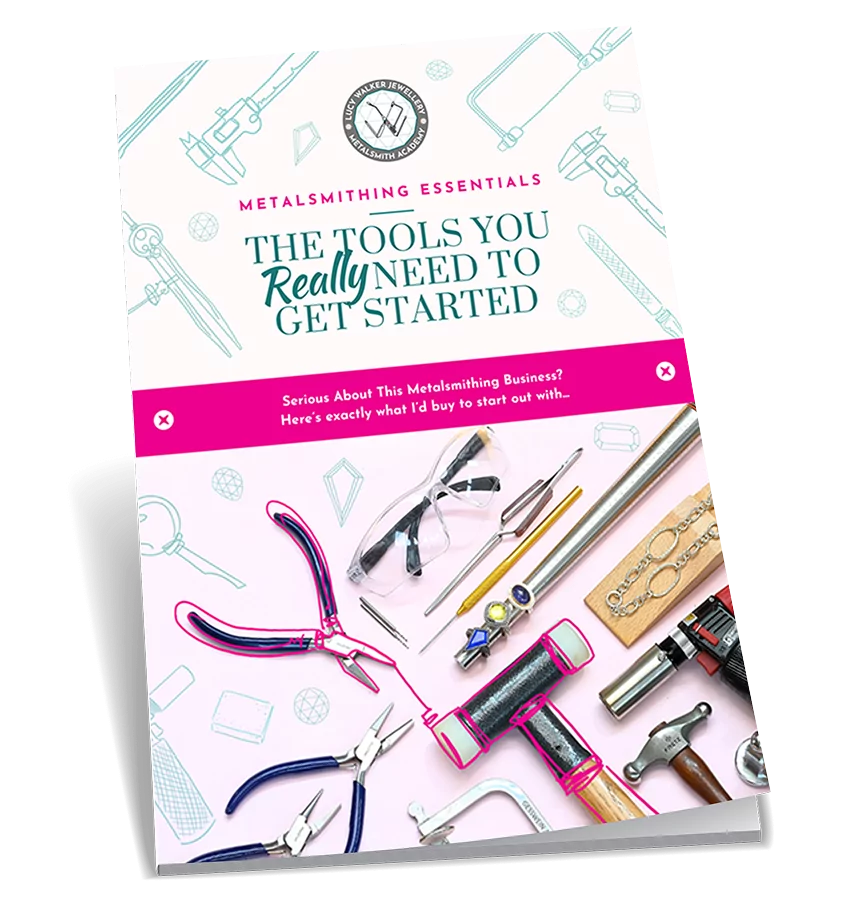
If only there was a guide for buying a beginner-friendly toolkit for under $200: Here it is! Have a bit more cash to splash? Check out this free guide to must-have tools .
Lesson #10: The Devil is in the Details
The Pesky Problem:
Sometimes a jeweler’s mind starts wandering to their next project even as they are finishing the one at hand. When you’ve been working on one piece for a while, it can be tempting to hurry through and move on to the next without adequately cleaning things up.
The Solution:
Here’s a little secret about what separates the hobby jewelers from the pros: attention to detail is just as important as skill! Pros focus on each and every step instead of rushing through sanding, polishing, or finishing. Here’s how to become more detail-oriented:
✔️ Slow your roll. Put on some groovy music and spend extra time cleaning up solder joins, smoothing rough edges, and getting that perfect high polish or textured finish.
✔️ Use the right tools at the right time. A professional finish often comes down to using the correct files, abrasives, and polishing compounds.
✔️ Model your pieces for a day. As you’re wearing your piece, you may notice discomfort from a sharp edge or a weakness in a clasp before selling.
Pro Tip: Always view your piece with the scrutiny of a dermatologist checking a mole. Use bright lighting and a magnifier before calling it “done.” You’ll catch tiny imperfections that make a big difference in the final result.
Lesson #11: Boost Perceived Value With a Bit of Creative Bling
The Pesky Problem:
Charging for your work is one thing. Making a profit for your work is another. Did you know it’s actually really difficult to make a profit on a standard diamond ring? We can’t compete with Blue Nile over here (and don’t want to). Sure, using higher quality materials allows you to command higher prices, but they also cost you more to make - so how can we strike a balance that tips the scales in the right direction for us?
The Solution:
Realistically, you’ll struggle to make money on copper, brass, or bronze jewelry - but that’s not to say you should put in a 6-figure order for 22kt gold to practice with! Build your confidence and skills, and when you’re ready, you might want to graduate onto higher-quality materials like sterling silver and even gold. If you want to price your jewelry higher, focus on unique designs and distinctive gemstones.
Here are a few ways to improve the value of your jewelry:
✔️ Use unique statement stones. Hack: use bold, unique and eye catching stones that aren't available everywhere. A unique stone can be a real talking point when selling your work. But always make sure the stones you're using can stand up to daily wear.
✔️Focus on developing an exceptional, distinctive style. See lesson #4 - lean into the artistic uniqueness of your pieces and create signature designs that no one else offers.
✔️Focus on quality craftsmanship. People will pay much more for a beautiful, well-made piece that will last them a lifetime. Attention to detail separates professional work from amateur jewelry- joints should be seamless, stones should be set precisely and securely, and there should be no sharp edges.
Pro Tip: Tell a story that conveys the inspiration behind your designs and the reasoning behind your material choices (especially if you use ethical materials or traditional artisan techniques). People love to wear jewelry with meaning - sell the experience!
Lesson #12: Strive for Progress, Not Perfection
The Pesky Problem:
Unless you’re some kind of jewelry-making prodigy, chances are that your first attempts at any new skill will look more like trash than treasure. Just ask my first customer (my grandma). Chipped gems, wonky prongs, messy solder, and dull AF finishes are annoying. But they aren’t the end of the world. Keep going - your breakthrough moment is just being dramatic and fashionably late.
The Solution:
The first time you do something, it’s not going to be the best. Every great jeweler once made uneven bezels and messy solder joins. When disappointed by your finished products not matching your expectations, channel those Negative Nancy vibes into productive practice instead:
✔️ Practice the basics. Instead of jumping into a full piece, practice soldering on scrap metal until you master heat control.
✔️ Break down techniques into micro-skills. Instead of saying, “I want to get better at soldering,” focus on one aspect of it - e.g., controlling heat, using the right flux, or getting cleaner joins using less solder.
✔️ Make 10 similar pieces. Each will be better than the last. The first two can go to your sisters, the third (almost perfect) piece to your mom, and the rest you can sell.
Pro Tip: Keep a F*ck-up journal. Write down what went wrong, how you fixed it, and what you learned. Over time, you’ll see the improvement! If the mess-ups are happening too often, focus on making smaller, simpler, sellable pieces that won’t spark a mental breakdown if you screw them up.
Here’s my final two cents…
We all face challenges along the way in our jewelry-making journey. Some feel like minor speedbumps we can roll on over with a scraped exhaust pipe. Others feel like landmines that leave us wondering why the f*&# we didn’t just choose to take up knitting instead?!
The real test in our jewelry-making journey is what we DO with those challenges. Will we let them make us as angsty as a teenager? Will we choose to retreat to our “comfort zone” and never venture out? Will we throw in the towel entirely and go shopping for wool?
OR, will we use our challenges to give us the kick-up-the-ass we ALL need, so we can create even more beautiful, well-made jewelry, and turn this passion of ours into something meaningful?!
“That last one, Lucy, I’m going to do that!!!” - you, now you’ve got all that sage AF advice above in your pocket.
Remember:
- Creativity isn’t a paint-by-numbers process - loosen up, experiment, and don’t be afraid to make a mess. That’s where the magic happens.
- Stop stalking other jewelers like an ex on Instagram - focus on improving yourself.
- Know your worth and price according to logic, not emotion.
- Success is basically just failing spectacularly until it finally works.
Keep all this in mind as you go forward, and before you know it you’ll be making jewelry so good even you won’t believe you made it!
Lucy xxx

Inside our value-packed online membership, you’ll find all the skills, steps, and tools you need to start making high-quality jewelry from home. With 30+ online classes and 100+ resources, hands-on support from expert jewelers, and a friendly community of like-minded jewelers, you’ll be unstoppable at making your goals a reality. Whether you’re brand new to the game or a seasoned pro, you’ll find everything you need to get unstuck and level up your skills - all in one seamless, flexible, and fun online portal.
Unlock your potential, progress faster, and actually enjoy your jewelry-making journey inside the Metalsmith Academy.

Share Post


Get free Unlimited Access to The Metalsmith Academy for 7 Days
*Cancel anytime, no lock-in contracts.

Unleash Your Creative Spark Today
Ready to take your jewelry-making skills to the next level? Join The Metalsmith Academy and start making pieces of jewelry you’re proud to show off. Don't let self-doubt hold you back - join The Metalsmith Academy today and begin your journey toward becoming a jewelry-making pro!
Join The Metalsmith Academy Now
*Cancel anytime, no lock-in contracts
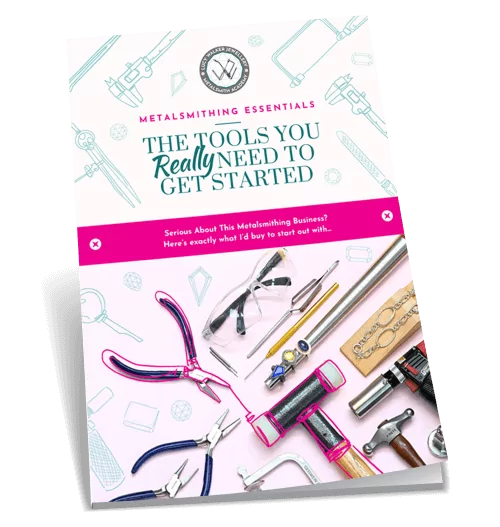
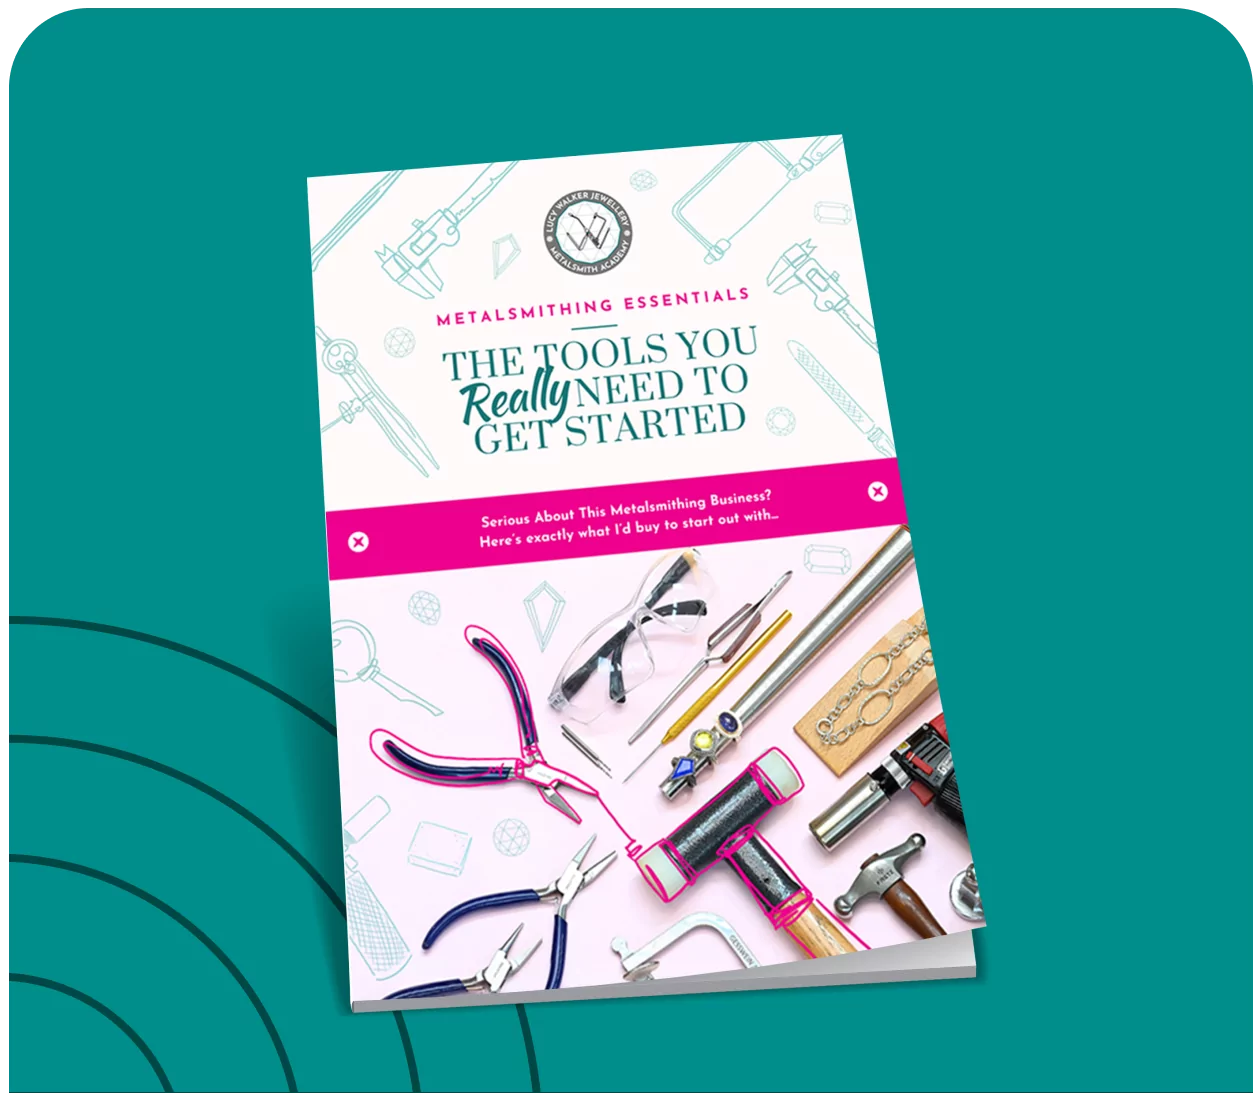
Get Started for free With Our Jewelry-Making Tools Ebook
New to the metalsmithing malarkey and wondering what tools you really need to spend your hard-earned money on?! Where to splurge, and where to save (money, time and sanity?) Download our highly-popular eBook and start creating your jewelry-making obsession collection today!
Privacy Policy
Last Updated: 1 March 2021
Lucy Walker Jewelry PLT (“LWJ” and any reference to “we”, “us” or “our” shall mean LWJ) respects and is committed to the protection of your personal data and your privacy. This Personal Data Protection Notice (“Privacy Notice”) explains how LWJ collects and handles your personal data in accordance with the Personal Data Protection Act 2010 of Malaysia and other applicable privacy laws we are to adhere to. Please note that LWJ may amend this Privacy Notice at any time without prior notice and will notify you of any such amendment via our website or by such other means of communication as deemed suitable by LWJ.
1. Personal Data
1.1 Type of personal data
Personal data means any information which relates to you or in respect of a third party and which was collected or provided to LWJ for any of the purposes stated in Section 2 below (“Purposes”).
Your personal data may include, but is not limited to, your name, address, email address, contact information and IP address.
1.2 Source of personal data
LWJ collects your personal data whether directly from you or indirectly from third parties such as your third party representatives in connection with any submission, transaction, arrangements and/or enquiries made with LWJ including when you send us enquiries, register for an account on our website, purchase products or memberships from us, or join our online competitions and contests.
1.3 Obligatory personal data
All information requested for in the relevant forms and documents is obligatory to be provided by you unless stated otherwise.
Should you fail to provide the obligatory information, we may be unable to process your request and/or provide you with relevant services and products.
2. Purposes of collecting and further processing (including disclosing) your personal data
Your personal data is collected and further processed by LWJ as required or permitted by law and to give effect to your requested commercial transaction, including the following (Purposes):
(a) to assess and process your request for our products and services;
(b) to administer and give effect to your commercial transaction
(c) to facilitate your participation in, and our administration of, any events including contests, promotions or campaigns;
(d) to administer and communicate with you in relation to our products, services, promotions and/or events;
(e) to process any payments related to products and services requested by you;
(f) for internal investigations, compliance, audit or security purposes including without limitation for crime detection, prevention and prosecution;
(g) to conduct research for internal marketing analysis and analysis of customer patterns and choices;
(h) to better manage our business and your relationship with LWJ;
(i) to respond to your enquiries and to resolve any issues and disputes which may arise in connection with any dealings with LWJ;
(j) to comply with LWJ’s legal and regulatory obligations in the conduct of its business including to meet any disclosure requirements of any law binding upon LWJ;
(k) to contact you and/or provide you with information regarding products, services, upcoming events, promotions, advertising, marketing and commercial materials which may be of interest to you;
(l) to ensure that the content from our website is presented in the most effective manner for you and for your computer and/or device;
(m) for LWJ’s internal records management; or
(n) for any other purpose that is required or permitted by any laws, regulations, guidelines including the requirements of any governmental or regulatory authorities.
Where you have indicated your consent to receiving marketing or promotional updates from LWJ, you may opt-out from receiving such marketing or promotional material at any time. You may select the “unsubscribe” option provided in our email blasts or you may contact LWJ at the contact details provided in Section (6) below.
3. Disclosure or transfer of personal data (within or outside of Malaysia)
Classes of third parties
Your personal data may be disclosed or transferred to relevant third parties (within or outside of Malaysia) as required under law, pursuant to relevant contractual relationship (for example, our third party service providers) or for the Purposes (or directly related to Purposes).
Your personal data may be disclosed to the following classes of third parties:
Third parties appointed by us to provide services to us or on our behalf (such as banks or financial institutions, auditors, lawyers, company secretary, information technology (IT) system / software vendors, contractors, marketing consultants and other advisers);
Any financial institutions, merchants, credit card associations, or payment gateways in connection with your use of any credit or debit card in any transactions made with us;
Law enforcement agencies including courts, tribunals or authorities, whether governmental or quasi-governmental having jurisdiction over LWJ;
Relevant governmental agencies, statutory authorities, industry regulators and local councils; and
Any persons, authorities or regulators to whom LWJ is permitted or required to disclose to under the laws of any country.
4. Websites
4.1 Links to other sites
Content in any website run by LWJ (“LWJ Websites”) may include links to third party websites. LWJ is not responsible for the content on such linked third party websites and users should observe the separate privacy policies applicable to the respective third parties website.
4.2 Cookies
LWJ may collect information about your visits to the LWJ Websites without you actively submitting such information. Unidentifiable information may be collected using various technologies, such as cookies, and web beacons. Cookies are small text files that are transferred to your computer’s hard disk by a website. Web beacons (also referred to as GIF files, pixels or Internet tags) help LWJ recognise a unique cookie on your browser. Your internet browser automatically transmits to LWJ some of this unidentifiable information, such as the URL of the LWJ Website you just visited and the browser version your computer is operating.
Passive information collection technologies can make your use of the LWJ Websites easier by allowing LWJ to provide better service, customise the LWJ Websites based on consumer preferences, compile statistics, analyse trends, and otherwise administer and improve the LWJ Websites. Certain features of the LWJ Websites may not work without use of passive information collection technologies. Information collected by these technologies cannot be used to identify you without additional identifiable information and LWJ will not collect additional identifiable information with information collected through the use of such tracking technologies.
5. Right to access and correct personal data
You have the right to access and correct your personal data held by us (subject always to certain exceptions). We will make every endeavour to ensure your personal data is accurate and up to date therefore we ask that if there are changes to your information you should notify us directly at the contact details set out in Item (6) below
6. Limiting the processing of personal data, further enquiries and complaints
If:
you would like to obtain further information on how to limit the processing of your personal data;
you have any further query; or
you would like to make a complaint in respect of your personal data,
you may contact :-
Designation : Business Director
Email Address : shaun@lucywalkerjewellery.com
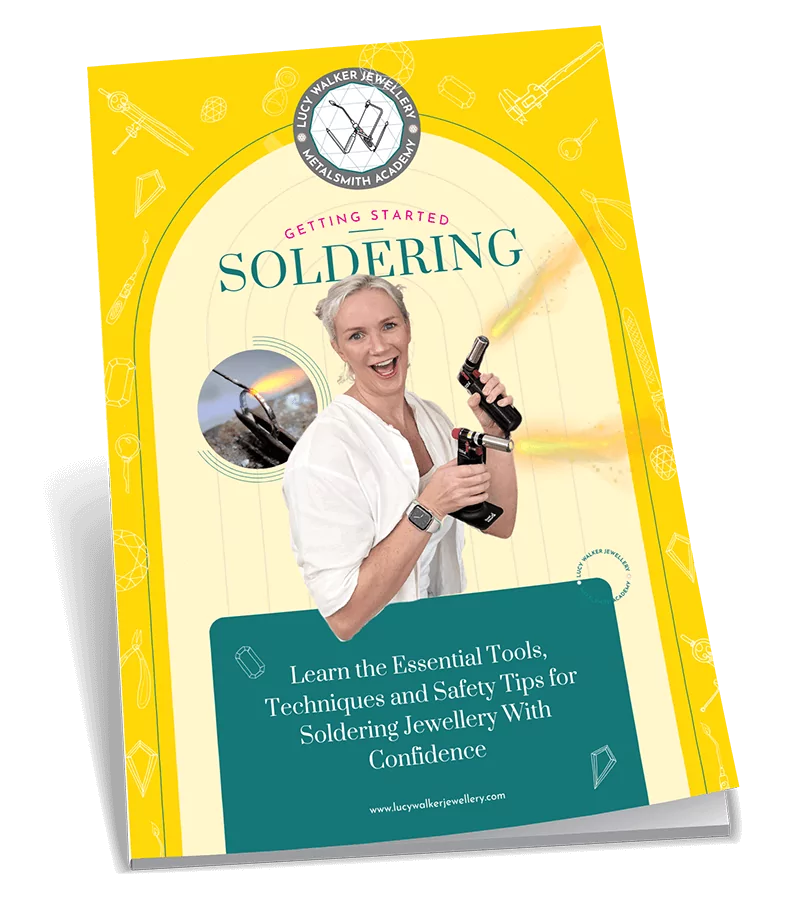
Download the Getting Started Soldering Guide now for FREE
Ready to overcome your flaming fears and master the #1 technique every metalsmith needs to create stunning jewelry? This outrageously comprehensive guide will give you the down-low on everything you need to know to start soldering with confidence!Ready to overcome your flaming fears and master the #1 technique every metalsmith needs to create stunning jewelry?
Just enter your details below and we’ll send it directly to your inbox.
Download our Diamond Rendering Tutorial (PDF) now for FREE
Ready to learn the easier-than-you-think trick for rendering dazzling diamonds like a pro… even if drawing is soooo not your thing?! This handy PDF tutorial will be your sneaky shortcut to bring your diamond designs to life, without spending hours sketching.
Just enter your details below and we’ll send it directly to your inbox.
Download our $200 Jewelry-Making Tools List now for FREE
Ready to get the most bang for your buck and build your own beginner’s toolkit for less than $200? This 23-page guide will turn you into a smart and savvy jeweler, with all the tools you need to create elegant, high-quality, non-boring jewelry on a budget.
Just enter your details below and we’ll send it directly to your inbox.
Download our $200 Jewelry-Making Tools List now for FREE
Ready to get the most bang for your buck and start making your own jewelry for less than $200?
Just enter your details below and we’ll send the free guide directly to your inbox.
Turn a $4 Dud into a Texture Stud
In this fast and fun tutorial, you’ll learn how to transform a cheap-as-chips hammer into a seriously impressive texture tool - no fancy budget required.
Just enter your details below and we’ll send a link to watch directly to your inbox.
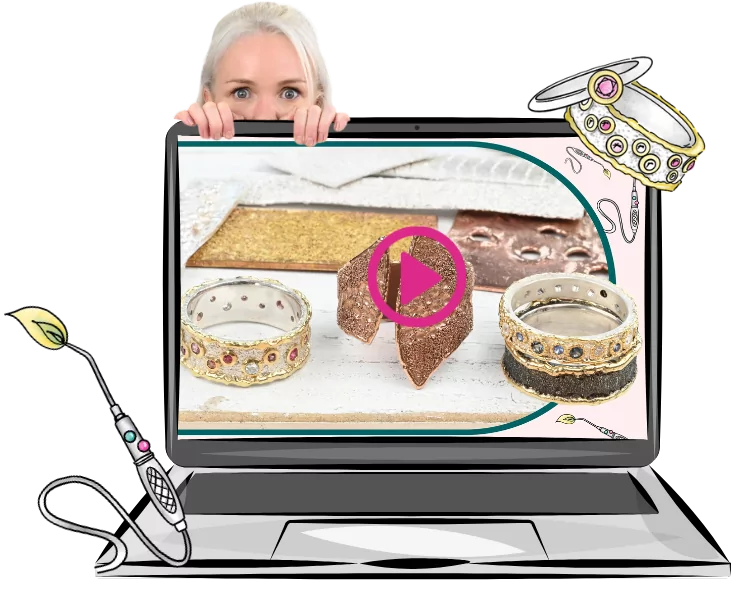
Love Playing With Fire? You’ll Love This.
In this free 20-minute video, you’ll learn how to turn metal dust into magic and master the art of wild, organic, melty textures - using nothing but a torch and a bit of control.
Just enter your details below and we’ll send a link to watch directly to your inbox.
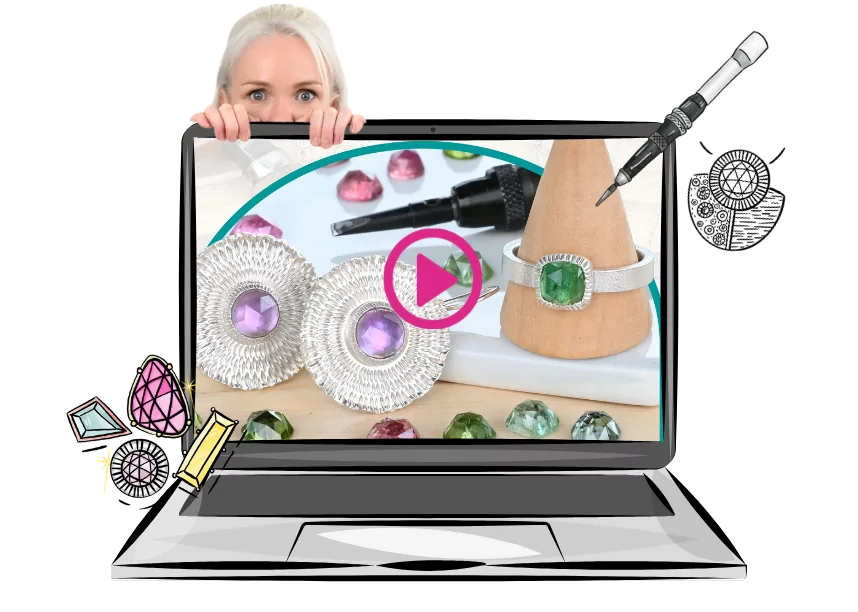
Learn How to Make Starburst Bezels (In Under 15 Minutes)
Ready to add some serious sparkle to your settings with this ridiculously satisfying technique? It’s quick, it’s fun, and these textured bezels are way easier to make than they look.
Just enter your details below and we’ll send a link to watch directly to your inbox.
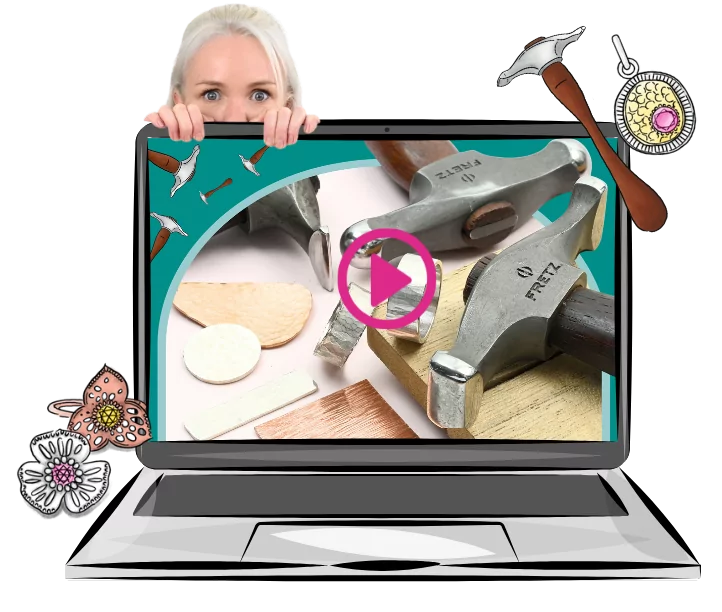
Unlock the Secrets to Gorgeous Hammer Textures
There’s a right way to whack metal - and this free 18-minute video shows you how. Say goodbye to messy textures and hello to finishes that actually look intentional (and professional).
Just enter your details below and we’ll send a link to watch directly to your inbox.
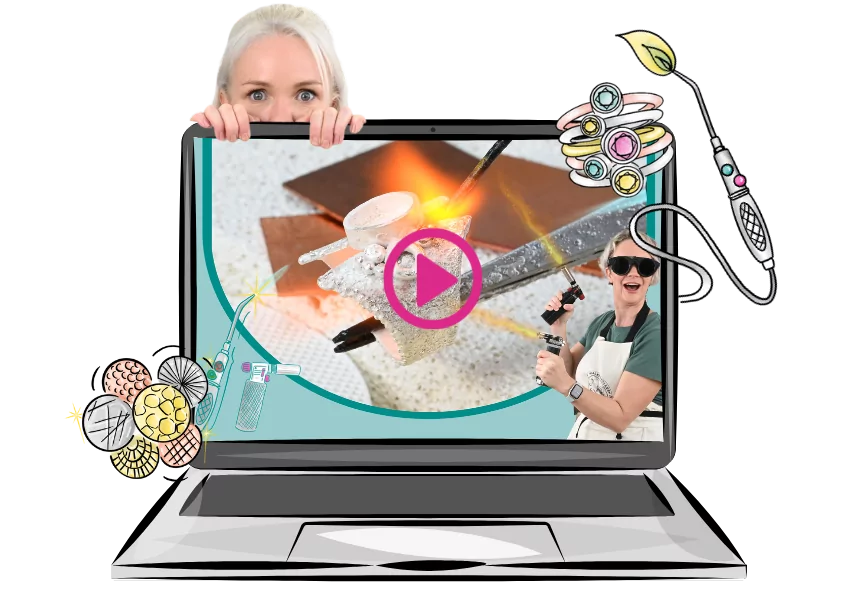
Struggling With Soldering? Start Here.
There’s a right way to whack metal - and this free 18-minute video shows you how. Say goodbye to messy textures and hello to finishes that actually look intentional (and professional).
Just enter your details below and we’ll send a link to watch directly to your inbox.
Download our FREE Jewelry-Making Tools eBook Now
Ready to build your must-have metalsmithing toolkit? Despite popular belief, you don't need all the tools to get started - or much at all! This eBook will take the guesswork out of your tool-buying and show you what you actually need (and what you can avoid wasting your coins on).
Just enter your details below and we’ll send it directly to your inbox.
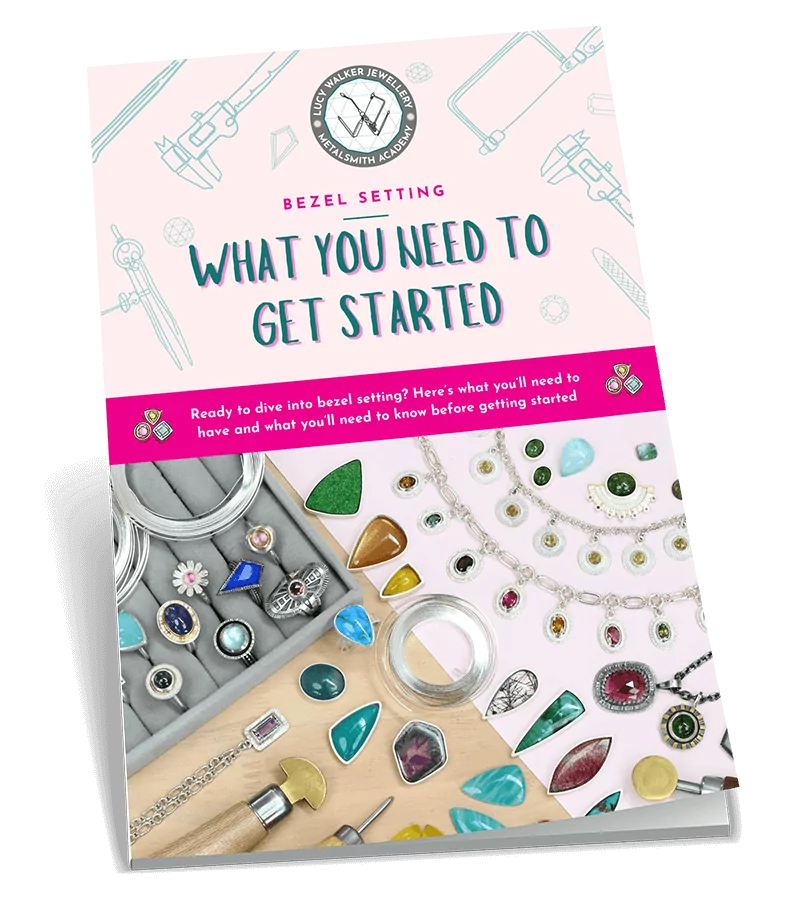
Download Our Beginners Guide to Bezel Setting now for FREE
Ready to learn all about bezel setting, so you can start putting your stash of gemstones to use? This guide is the perfect place to start.
Just enter your details below and we’ll send it directly to your inbox.
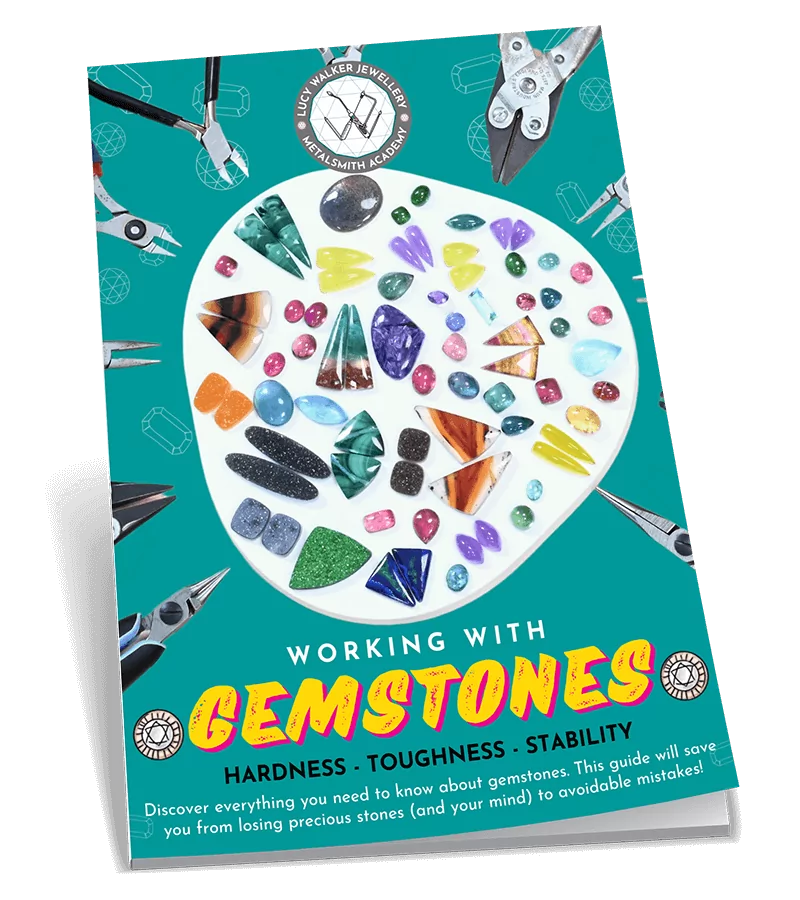
Download Our FREE Guide to Working With Gemstones now
Ready to officially become a Gemstone Guru and discover what you really need to know about choosing and using stones in your jewelry? This 31-page guide will help you select the right gemstones for your projects, and help you avoid buying gems that will cause you drama later on.
Just enter your details below and we’ll send it directly to your inbox.
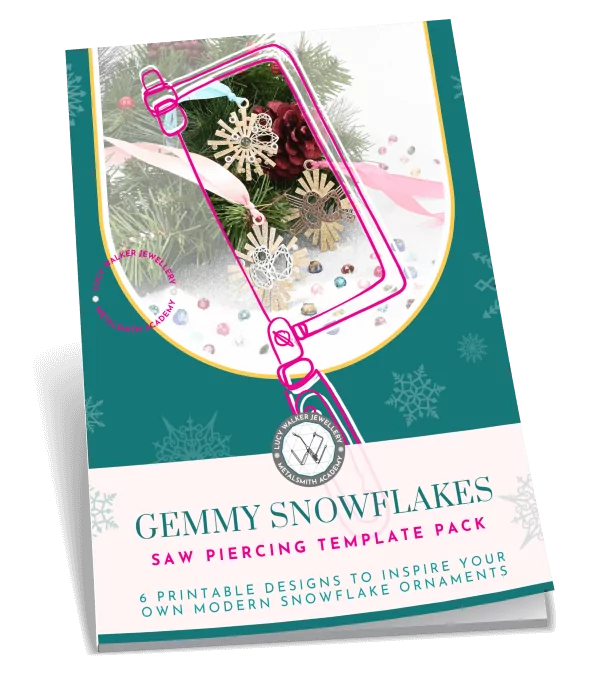
Download Our “Gemmy Christmas” Saw Pierced Template Pack Now for FREE
Ready to deck the halls with your own handmade and irresistibly festive Christmas ornaments? These 8 ready-to-use saw piercing templates are inspired by festive snowflakes and the shapes of your favorite gems! Just print them, stick them, and get saw piercing.
Just enter your details below and we’ll send it directly to your inbox.
Download our FREE Jewelry Design eBook: Finding Inspiration From Anywhere
Ready to train your creative muscles to glean inspiration from (literally) anywhere, and design more creative jewelry? Learn our favorite method to find inspiration, elevate your designs, and create one-of-a-kind pieces that stand out from the crowd.
Just enter your details below and we’ll send it directly to your inbox.
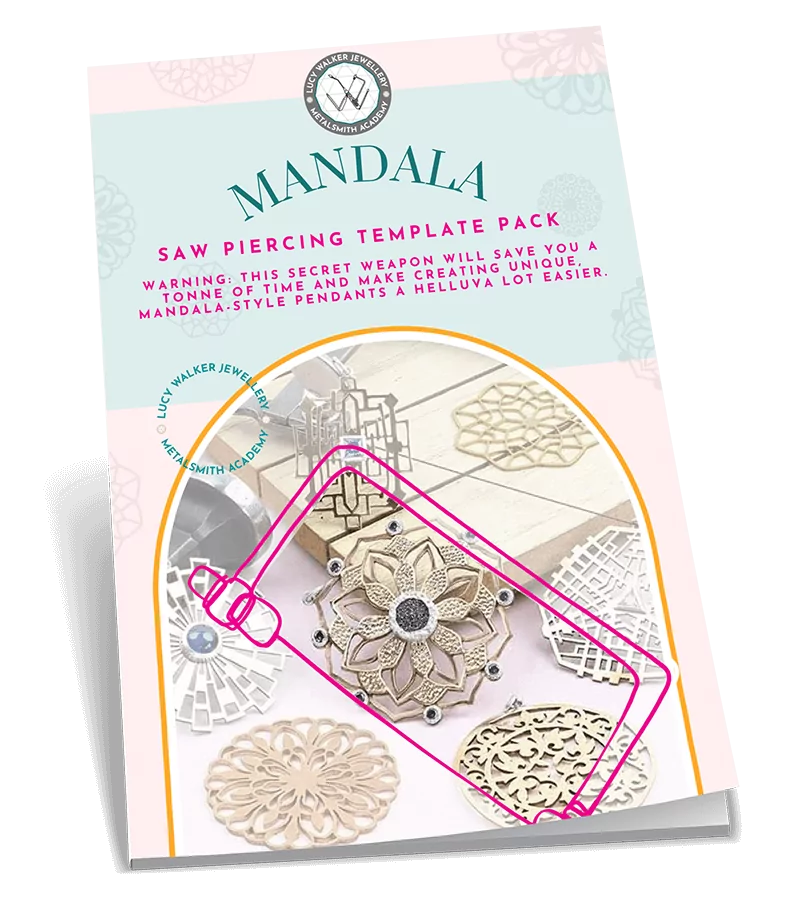
Swipe This Mandala Saw Piercing Template Pack Now for FREE
Warning: this secret weapon will save you a ton of time and make creating unique, mandala-style pendants a helluva lot easier. Skip the drawing and design phase, and simply download our designs, print them out, and pick up your saw frame to get creating!
Just enter your details below and we’ll send it directly to your inbox.
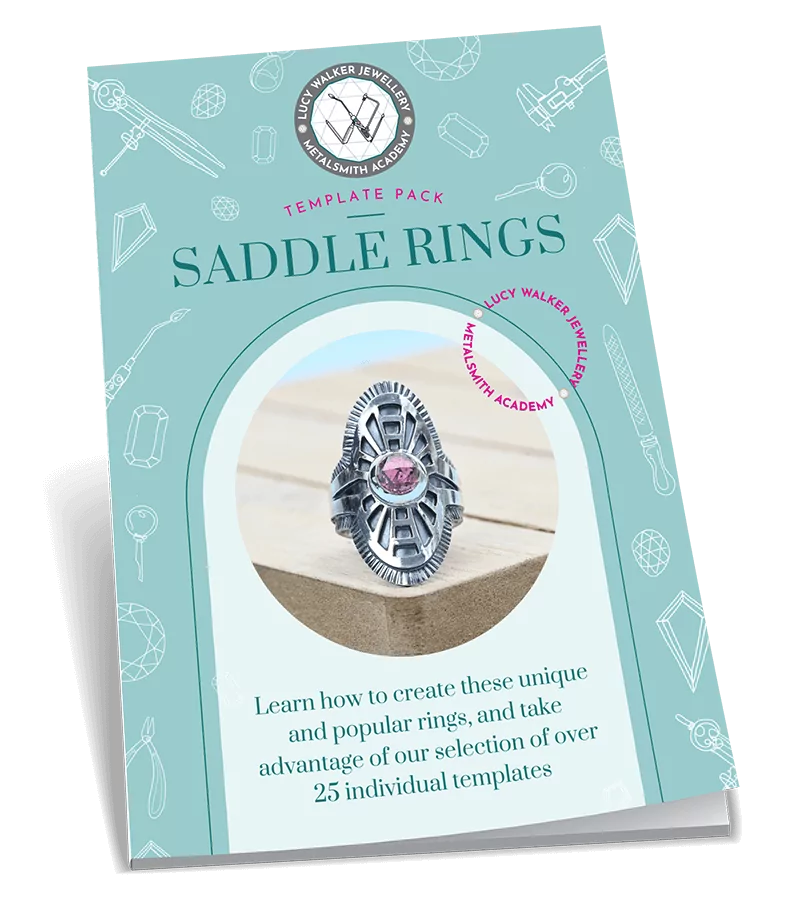
Download Our Pack of 27 Saddle Ring Templates Now for FREE
Ready to ditch the creative block, and get down to business creating your own beautiful, unique, and highly saleable saddle rings? These 27 design templates will get you creating stunning jewelry sooner! Plus, with 13 pages of step-by-step instructions on how to make your rings, you’ll be seriously set-up for success!
Just enter your details below and we’ll send it directly to your inbox.
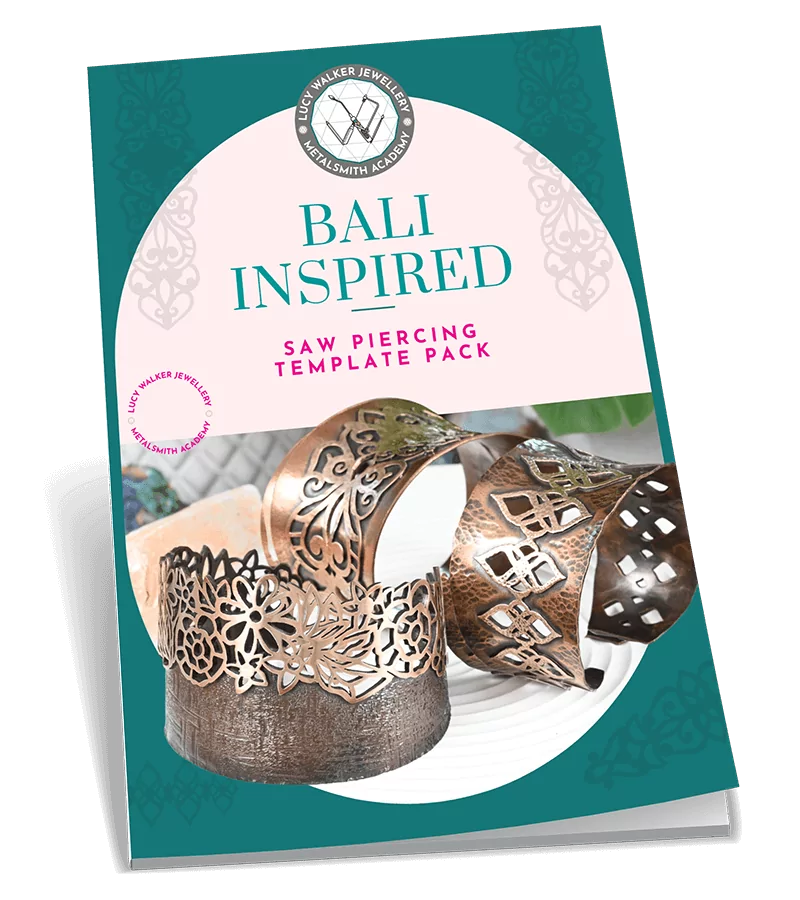
Download this Bali-Inspired Bangle Template Pack now for FREE
Swipe our printable Bali-inspired designs and add a touch of island paradise to your jewelry pieces! With 7 printable designs to choose from, you can skip the design phase, and simply print, trace, and get saw piercing.
Just enter your details below and we’ll send it directly to your inbox.
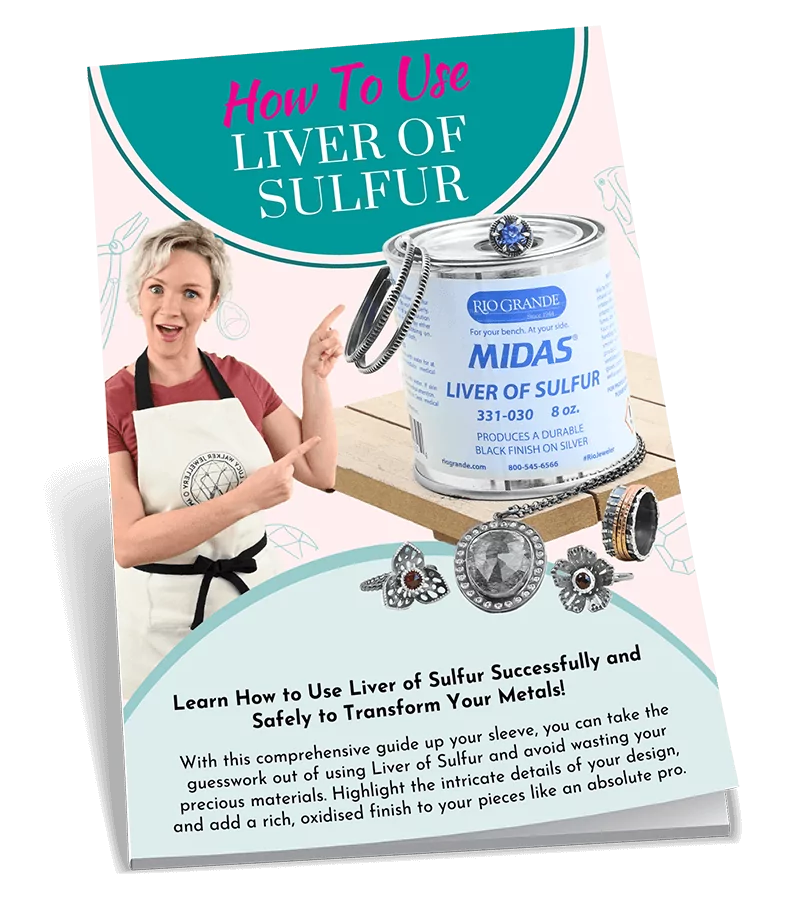
Download Our Simple, One-Stop Guide to Liver of Sulfur for FREE
Ready to learn how to give your metal jewelry a one-of-a-kind look with Liver of Sulfur? With so much competing information online about using Liver of Sulfur, this guide will strip things back and give you what you actually need to know. You’ll be ready to give this stinky substance a go in no time!
Just enter your details below and we’ll send it directly to your inbox.
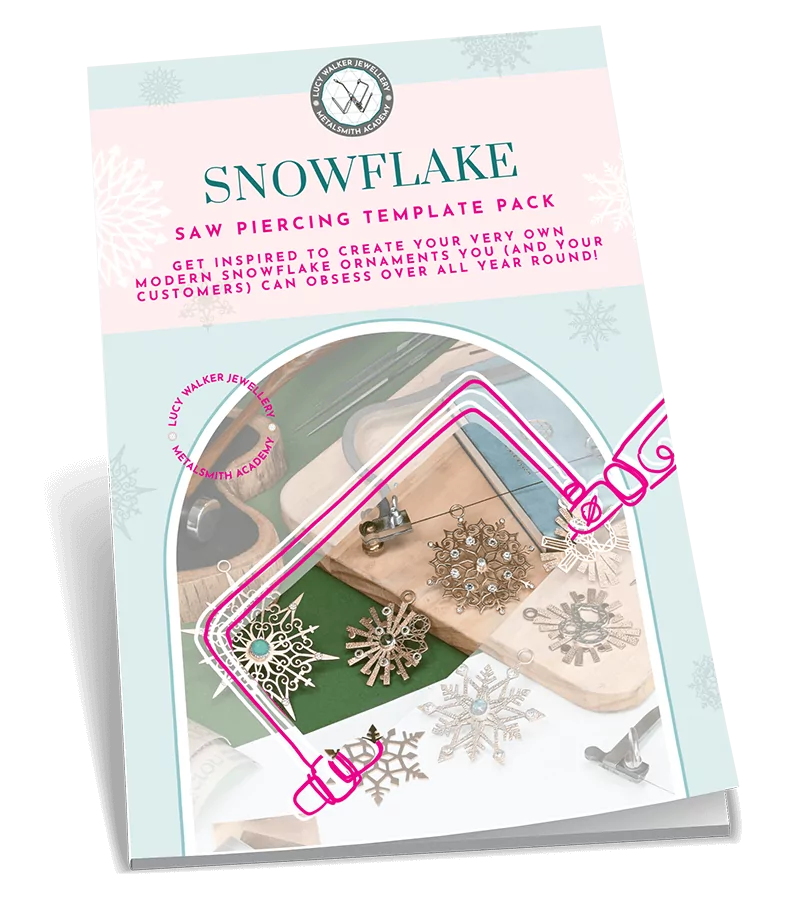
Download the Saw Pierced Snowflake Template Pack now for FREE
Get inspired to create your very own modern snowflake ornaments you (and your customers) can obsess over all year round! Avoid the creative block of designing your own, and instead steal these handy printable templates to make your saw piercing a dream.
Just enter your details below and we’ll send it directly to your inbox.
Sign up Now for Your Free Access to our Metalsmith Academy Membership Portal
Just pop your name and email below, and we’ll send through your free login details straight to your inbox.
Sign-up for Our Newsletter and Get Jewelry-Making Goodness Landing in Your Inbox Every Week
You’ll never be short of inspiration again with this newsletter in your life. Just enter your email below, and we’ll send you through all the non-annoying tips, sales, blog posts, and other jewelry-making malarkey you can dream of. Say hello to your new favorite weekly read!
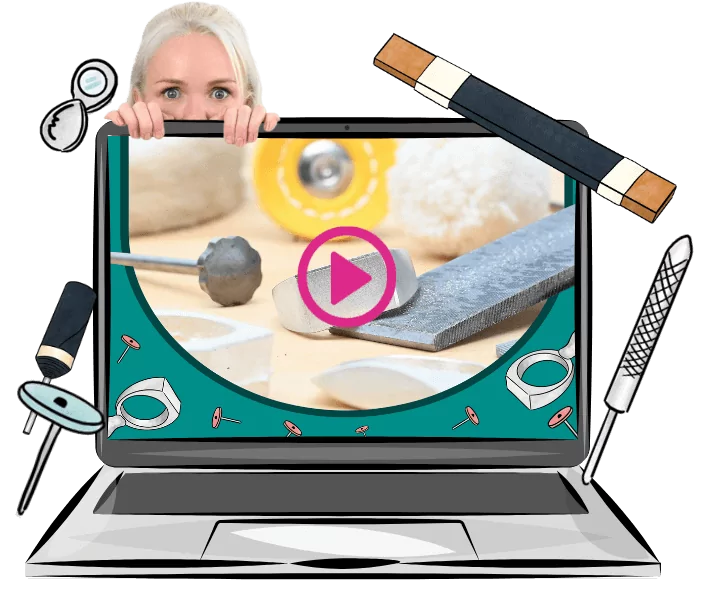
Master the Art of Polishing Sand Cast Rings
Learn how to clean up and polish your rings to a pro-level finish - even with all that pesky porosity. This 35-minute step-by-step video shows you exactly how it’s done.
Enter your details below and we’ll send a link to watch directly to your inbox.
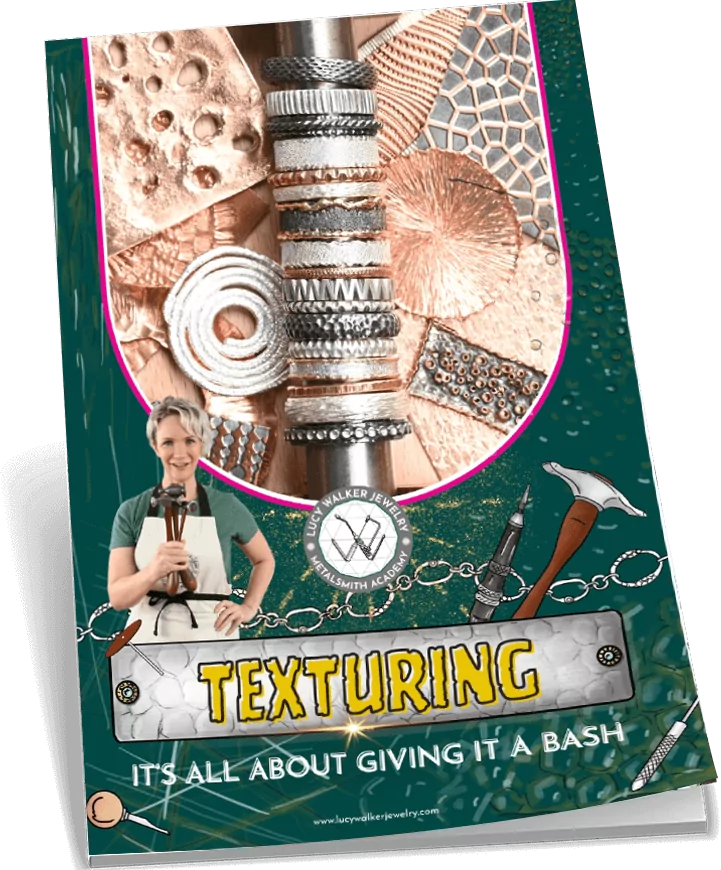
Download the FREE Jewelry Texturing Guide
Get inspired with 40+ texture ideas, techniques, and design inspirations! Enjoy pages of real samples, close-up photos and finished jewelry pieces to get your creative juices flowing.
Just enter your details below and we'll send a link directly to your inbox.