
Rendering Round Brilliant Diamonds Tools & Materials
Get Stocked Up With Everything You Need For This Class
Woaaah, put your wallet away, my friend!
Before you dive into purchasing all these tools and materials, please remember, we always recommend that you watch the class in full and check out the handouts before going out and buying the tools. You can watch the class as many times as you like to figure out which tools are best for you. So grab some popcorn or a coffee and enjoy the class (before you get out your wallet)!
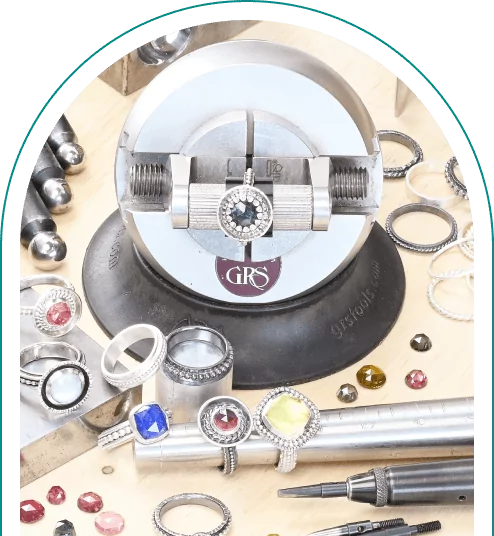
Remember, it’s not the size of your tool collection - it’s what you do with them that counts. Without further ado, here’s your one-stop-guide to every single tool we demo during this class (remember, you don’t need all of these!)
Ready to Get Started Creating Stunning Soldered Rings?
Check out our top picks for:
Materials
TOOLS
Magnification
Materials Guide
Check out what metals, wires, and gemstones we recommend to bring your stunning soldered rings to life. The best part about this project is how customizable it is to your unique style, so let your personality shine as you choose your gems and wire!
Metals & Wire
Where to Buy Metals & Wire:

USA: Rio Grande, Otto Frei, Stuller, Hoover and Strong, Halstead, Allcraft

Europe: K A Rasmussen, Herens & Herens, Bijou Moderne, Cookson Gold

Canada: Ormex

Australia: Koodak Palloys


South America: Fornitura
For more worldwide suppliers, check out our Suppliers and Discount page within the Metalsmith Academy.
What You May Need:
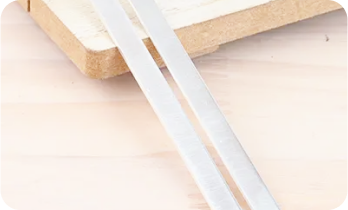
16 gauge (1.3mm) or 18 gauge (1mm) sterling silver sheet for the ring band
The amount required will depend on the size and width you wish to make each ring band (but 7cm x 2cm should be more than enough for 2-3 rings).
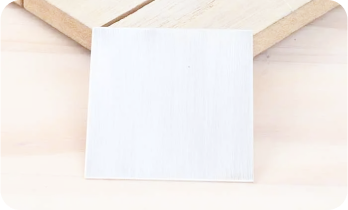
18 gauge (1mm) sterling silver sheet for the domed portion of the setting
2cm x 2cm will be more than enough for this project. Hard, half hard or dead soft is perfectly fine for this. However, if you do purchase hard or half hard, you will need to anneal this before forming your dome.
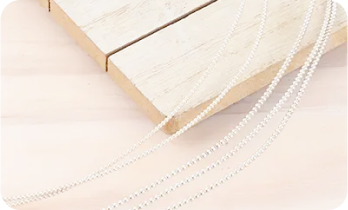
Beaded or twisted sterling silver wire for the outer ring bands
I used 1.9mm beaded wire in the handout and 1.5mm beaded wire in the video. The size you choose is entirely up to you. You can also use plain round wire or any other wire if you prefer. Halstead and Rio Grande have a great selection in the USA. Cooksons would be my go-to in the UK.
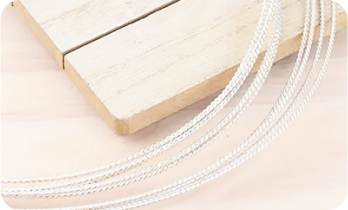
Beaded or twisted wire for the bezel setting border
5cm should be enough for one ring, but it does depend on the size of your stone. I used 12 gauge twisted wire in the handout and 16 gauge twisted wire for the video – again, this is entirely personal preference. The size you choose is entirely up to you. You can also use plain round wire or any other wire if you prefer.
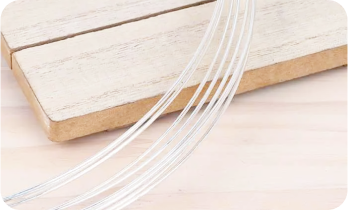
16 gauge sterling silver wire for the bezel seat
4cm should be enough for one ring, but it does depend on the size of your stone.
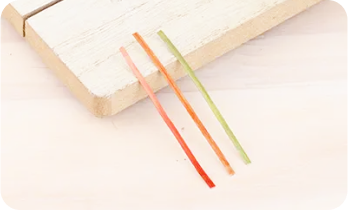
20 or 22 gauge wire silver solder in hard and medium and easy
I like to use 22 gauge wire solder which I roll out as thin as possible using a rolling mill. You can also do this with a hammer if you don’t have a mill.
Gemstones
Where to Buy Gemstones:

Lucy Walker Jewellery Bazaar
Rare Earth Minerals
Gems By Genovese
Clam Shell Gems
For cheap-as-chips cabochons you can practise with, check out Ali-Express (they might not be real, but they’re cheap!)
The best place to buy gemstones is really at a gem show. If you can find one locally, it’s always worth the trip!
What You May Need:
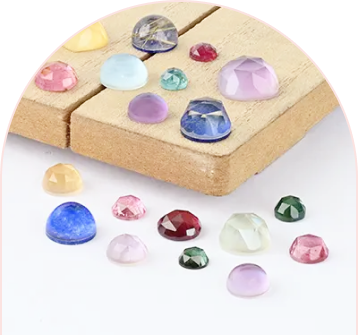
Round cabochon or rose cut gemstone (7-10mm is ideal)
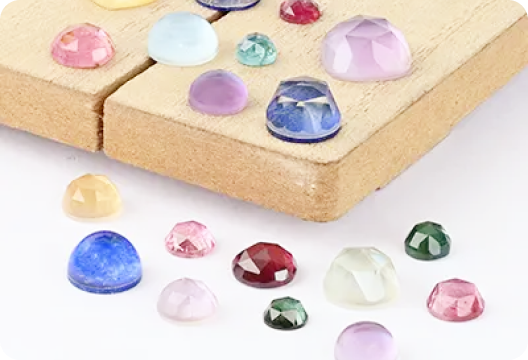
We cover bezel setting a 7.3mm rose cut in a bezel setting as part of the class. Ideally, you’ll want a cabochon with a flat base for an easier life, however this style will work with cabochons that have slightly domed bases.
Tools Guide
FYI: in this intermediate class, we won’t be covering any basic tools or soldering equipment - we assume you’re set-up with the soldering basics like saws, files, flex shafts etc. If you don’t have these on-hand, we recommend picking a different, less advanced class altogether, like our Bezel Set Pendant and Chunky Bezel Set Ring classes.
Where to Buy Tools (With Cheeky Discounts!)
Please enter the code at checkout for an exclusive discount.


What You May Need:
Remember, you do NOT need everything listed here! Many of these tools do the same thing.
This is simply your one-stop-shop to every tool we discuss in this class:
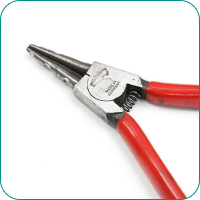
Reverse Action Ring Opening Pliers
Super handy for opening up joins in ring bands and bezels to place solder.
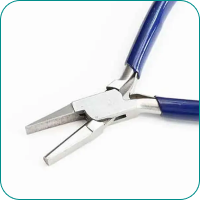
Flat and Half-Round Pliers
With one flat and one half round jaw, these pliers are ideal for basic light-weight work such as forming ring bands.
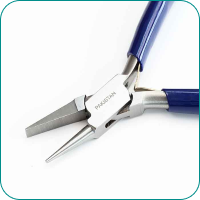
Flat and Round-Nose Pliers
With one flat and one round jaw, these pliers are again ideal for basic light-weight forming work requiring tighter bends than the flat and half round pliers previously mentioned.
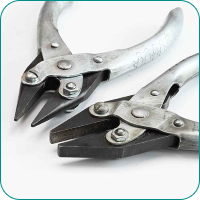
Maun Parallel Pliers
Parallel jaw pliers are a must in my opinion. A budget option of these is available, but Maun are certainly the best, and more comfortable to use. I recommend the flat nose, and chain nose options.
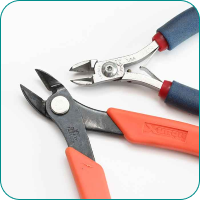
Flush Cutters
Flush cut snips, as they’re also known as, are another must. You get what you pay for with these and my favorite brand by far is Tronex – however they are a little pricey. Second in line and more reasonably priced are Xuron.
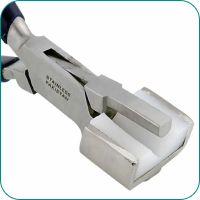
Ring Bending Pliers with Nylon Jaws
Great for helping to close up heavier gauge ring bands without leaving marks on your metal.
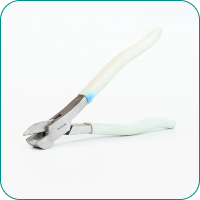
Ring Bending Pliers
If you’re intending to make rings with heavier gauge metal and you don’t have strong hands – these are a big help.
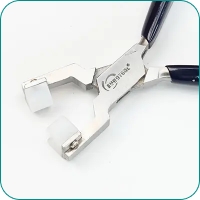
Ring Forming Pliers
Handy to have for forming rings, but not really necessary – the main issue with these is they only come in one size.
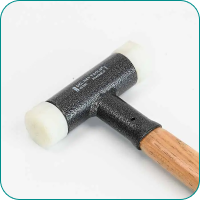
Dead Blow Mallet
If you’re going to buy a mallet, buy a dead blow mallet. There’s steel shot inside, so this mallet really packs a punch.
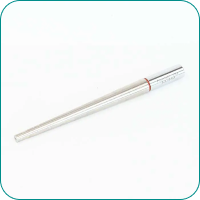
Ring Mandrel
If you’re going to make rings, you’re really going to need one of these. Never blindly trust the measurements on these things though, always check it against the ring sizing set you’re using at the time to make sure the sizes match.
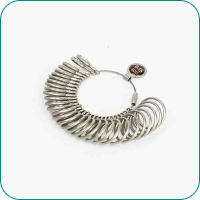
Ring Sizer / Finger Gauge
If you’re going to make rings, you’re going to need a set of these. Again, don’t trust these blindly, always measure! I’d suggest getting a couple of sets in different widths if you plan on making a lot of rings.
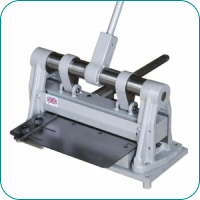
Durston Tools Guillotine Shear
For sure, you don’t need this just for this project, but I just wanted to make sure I linked to the exact one that I used in the class. It certainly saves a lot of time cutting straight lines with a saw frame.
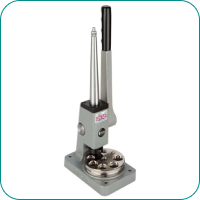
Durston Tools Ring Stretcher
Again you really don’t need one of these, but they are exceptionally handy to have.
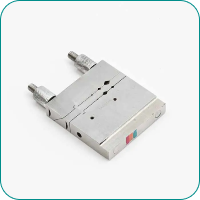
Miter Vice
These aren’t absolutely necessary, but they do help ensure you have perfectly flat and perpendicular edges when filing. This is just the economy one which works fine, but there are more expensive ones available.
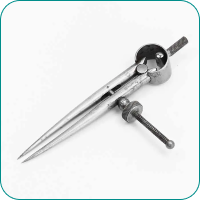
Starrett Dividers
If you want to work accurately, then a pair of dividers are a must. Starrett are my favorite (reasonably priced) brand, but budget options are available too which will work perfectly well.
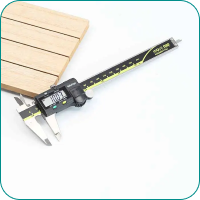
Mitutoyo Electronic Digital Caliper, 6"
There are cheaper options available, but this brand is by far my favorite! You will notice the difference in accuracy with a cheaper pair and those certainly don’t last as long (in my experience).
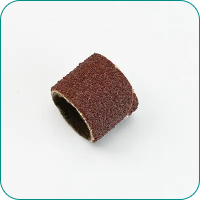
Sandpaper Bands
I use these in 120 grit to clean up the inside of ring bands. These will need to be used with the Drum Arbor next door.
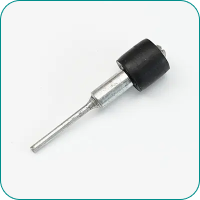
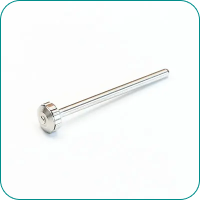
Drum Arbor
If you want to use the abrasive bands previously mentioned, you’re going to need one of these to mount them on.
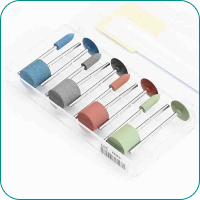
Eveflex Rubber Wheel Kit
You can buy these wheels individually, but I highly recommend starting out with a kit.
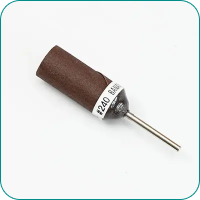
240 Grit Sandpaper Rolls
I used just the 240 grit for this particular ring, however they’re super handy to have in 400, 600, 800 and 1000 grits too. These are my favorite brand as they tear off cleanly.
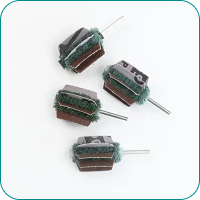
Coarse Mini-Mounted Abrasive Buff Set
I used these in the video to clean up the inside of our ring band – not necessary (a regular sandpaper roll would work) but I do really like them!
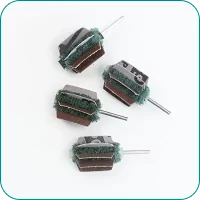
1000 grit Mini-Mounted Abrasive Buffs
The 1000 grit is for some reason not part of the abrasive buff set. Either 1000 grit or 1200 grit would work perfectly well. Again, sandpaper rolls will work too.
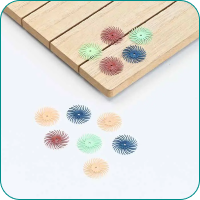
3M Radial Disk Set
I find these to be invaluable in certain clean up situations. My advice would be to use sandpaper where you can and save these for when you really need them.
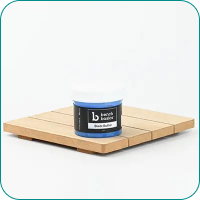
Pepe Tools Blade Butter
Any lubrication will do, but this is always my go-to for my disk cutters.
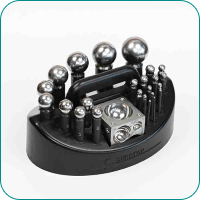
Durston Tools Dapping Set
You don’t have to use this particular model for sure, but it’s the one I used in the video.
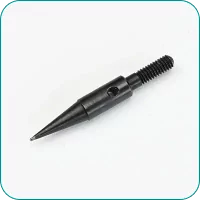
Fine Point Anvil for Foredom Hammer Handpiece
We used this (with a little modification) to texture our ring band.
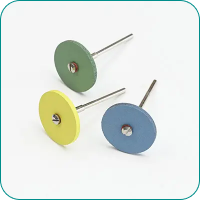
Dedeco Diamond Polishing Wheels
I used these to shape my hammer handpiece anvil – but the Eveflex rubber wheel set will work well too – it will be a slower process however.
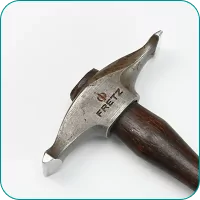
Fretz Sharp Texturing Hammer
I used this to texture the side of my ring band in the videos. A cheap riveting hammer will also work perfectly well!
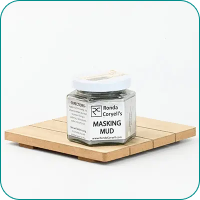
Ronda Coryell's Masking Mud
An excellent option for coating solder joins you don’t want to flow again. Yellow ochre also works well for this!
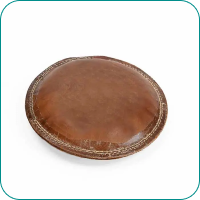
Sand Bag
Probably one of the most underrated studio tools out there. I highly recommend getting one for a huge variety of jobs.
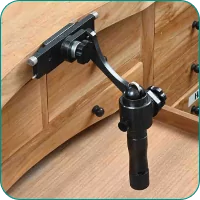
GRS Bench Mate
I love this system, it is quite the investment though, so I do recommend taking some time to see if it is right for you. But, to find out whether it’s right for you check out our blog post below:
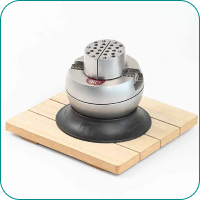
GRS Microblock Vice
Another great system for holding work during stone setting. Thankfully, there is a budget option ball vice also available. It’s not quite as smooth and sophisticated as the GRS model, but it gets the job done effectively.
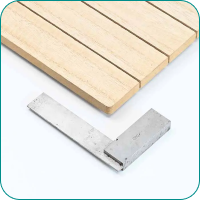
Engineers Square
Your local hardware store should sell these. If not, Amazon has a decent selection. Just don’t buy anything too huge.
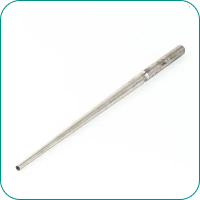
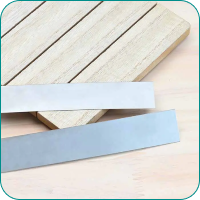
Titanium sheet
I used this to make my little soldering stand. Not necessary, but I found it super handy. I used 22 gauge.
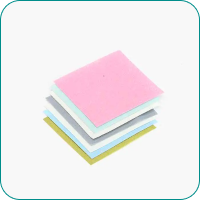
3M polishing paper set
I use this to polish up the sides of ring bands while keeping them perfectly flat. Not entirely necessary, just an option.
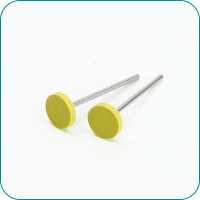
Mounted Medium Grit Pumice Wheel
An easy alternative to using a pumice wheel on a screw mandrel. I also love the size of these!
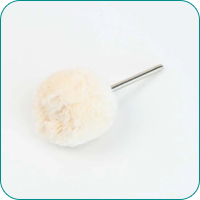
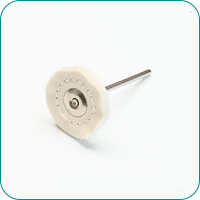
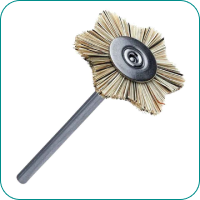
Bristle Brush
These are great for getting right into the details for polishing. Although I didn’t use this in the video, these are my favorites.
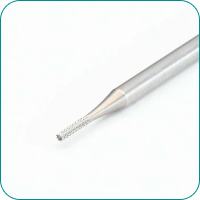
Busch Cross Cut Cylinder Bur
I used this in 2.5mm to cut a chamfer around the edge of my bezel. Busch and Fox are my brands of choice – don’t buy cheap burs!
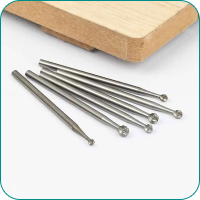
2-5mm ball bur
I use a ball bur for carving out a recess in the ring band to fit the setting. 2-3mm in size will work perfectly. Again, Busch or Fox burs are recommended.
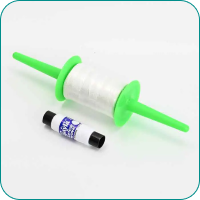
Kite String
This is only mentioned in the handout, but it’s exceptionally useful for polishing in hard to reach places using a process called thrumming.
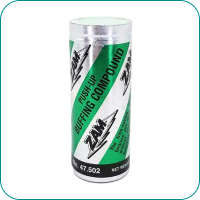
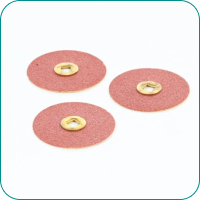
Fine sanding disks 400 grit - ish
These are snap on sandpaper disks and so will need to be used with the snap on mandrel next door.
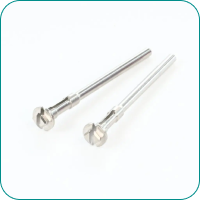
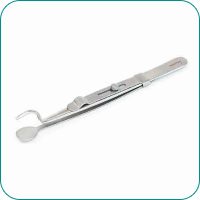
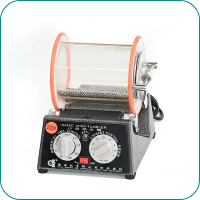
Tumbler
This is not the exact model I have – unfortunately I can no longer find it. I do, however, recommend plastic barreled tumblers over rubber ones.
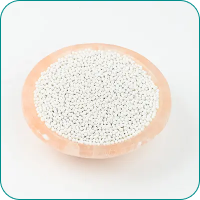
2mm ceramic balls for tumbler
We used these in the video to finish up the ring. We actually used 2mm balls rather than 3mm as mentioned in the video.
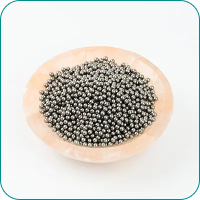
3mm stainless steel balls for tumbler
We used these in the video to finish up the ring – as with many things on this page, not necessary, just an option.
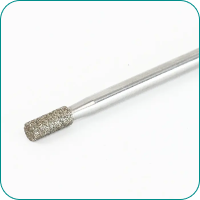
Diamond cylinder bur (3mm)
We didn’t use this, but I did mention it as an alternative to the cross cut cylinder bur in the video on setting the stone.
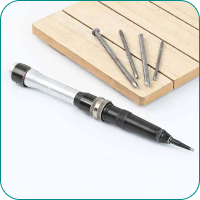
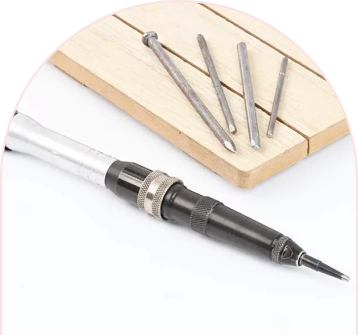
Foredom Hammer Handpiece
Rather than rotating, this handpiece runs in a back and forth... Read More
Magnification Guide
When it comes to stone setting, magnification makes all the difference. But, what are the options? Here’s our top picks for magnification tools to help you create more precise, delicate, and high-quality jewelry.
What You May Need:
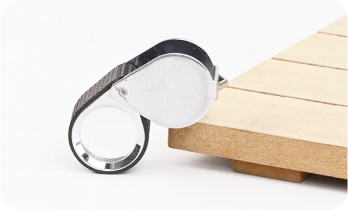
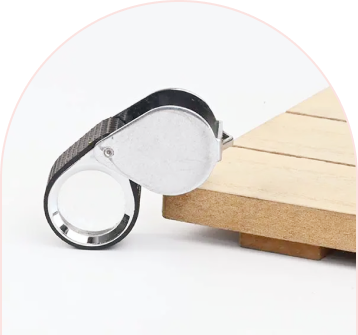
Triplet Loupe
If we’re working on precise projects, we need to clearly see what we’re working on. We can use a magnifying tool called a loupe to help us check our work at each step. The most common loupe and the best choice for jewelers is the triplet loupe with a 10x magnification. If we use a loupe with a higher magnification, the object can easily become out of focus and we’ll have less of the object in focus at one time. A triplet loupe has three lenses that help correct color and other distortions which provide better optics than a single or double lens loupe.
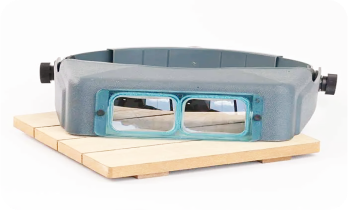
Optivisor
You might need something to help you see better while you work, in addition to a loupe. You can use an Optivisor, which is the tool that jewelers usually use. I recommend using 2.5x magnification. It’s important to know that if the magnification is higher, you’ll need to be closer to what you’re working on. Remember, more magnification is not always better.
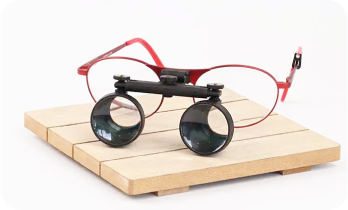
CraftOptics
If you are wanting something a bit more comfortable to use than an optivisor, I can’t recommend CraftOptics enough. I have a pair for soldering which have a longer focal distance and a pair for general bench work with a shorter focal distance. If you do want a pair of these, I’d suggest calling the company to discuss your needs in detail – they’re always happy to help.
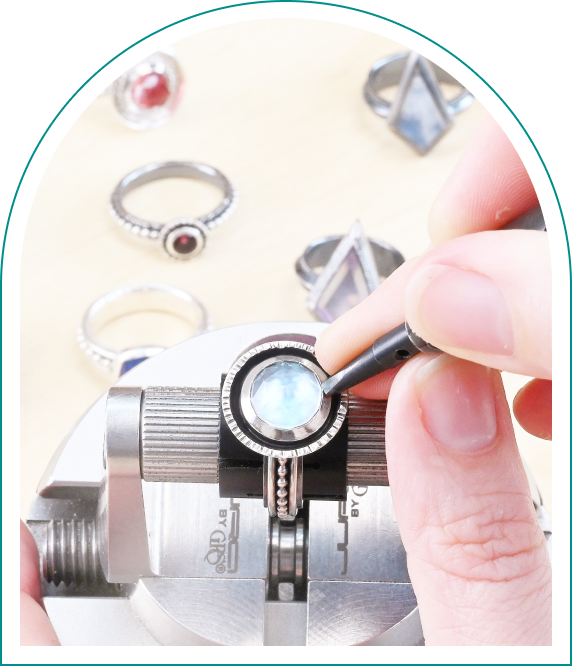
You might be wondering, do I really need a microscope for stone setting?
The short answer is no. But, there isn’t one single tool in the world that can make as big of a difference to the quality of your work as a microscope. I personally do all my stone setting under a Leica S9D. As microscopes go, it’s undoubtedly spectacular, but it does cost a fortune.
But thankfully, they don’t have to cost that much. Whilst there is a difference in quality between budget microscopes and Leicas, it is a much smaller difference than you might think. And having a budget microscope is still 1000 times better than having no microscope at all.
Check out AmScope, Vevor, Vision Scientific and Amazon for budget stereo binocular microscopes. And of course, to find out what others have bought and tried, visit our community forums – it’s quite a big topic over there.
Rings Within Rings
Learn How to Create Multi-Layered Soldered Ring Bands Like a Pro
Supercharge jewelry-making with this 4-hour intermediate ring making class, designed to take your soldering, fabrication and finishing skills to the next level. Learn how you can combine these techniques to seamlessly create unique rings you (and your customers) will obsess over.

Just looking to purchase the individual course?
Get 12-months access to Rings Within Rings and lifetime access to 100+ page full colour handout for $179
Get lifetime access to the 150+ page full-colour handout that walks you step-by-step through creating your rings (yep, that’s larger than your average jewelry-making book and contains SO much incredible information to make sure nothing stands between you and your brilliant ring creations!)

Want to get Rings Within Rings for FREE?
Join the Metalsmith Academy on a 7-day trial, and get this class (and ALL our others!) for FREE
We know this is kind of outrageous, but we want to make sure you have both the training AND the support you need along your journey. As a member, you’ll have unlimited access to our entire training library, Q&A forums, membership community, tools lists and so much more.
Unleash Your Creative Spark Today
Ready to take your jewelry-making skills to the next level? Join The Metalsmith Academy and start making pieces of jewelry you’re proud to show off. Don't let self-doubt hold you back - join The Metalsmith Academy today and begin your journey toward becoming a jewelry-making pro!
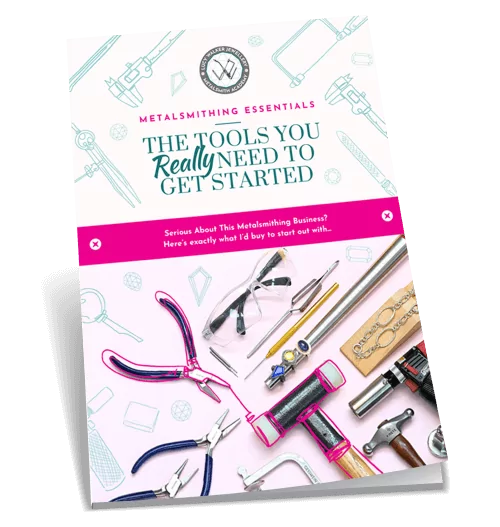
Get Started for free With Our Jewelry-Making Tools Ebook
New to the metalsmithing malarkey and wondering what tools you really need to spend your hard-earned money on?! Where to splurge, and where to save (money, time and sanity?) Download our highly-popular eBook and start creating your jewelry-making obsession collection today!
Privacy Policy
Last Updated: 1 March 2021
Lucy Walker Jewelry PLT (“LWJ” and any reference to “we”, “us” or “our” shall mean LWJ) respects and is committed to the protection of your personal data and your privacy. This Personal Data Protection Notice (“Privacy Notice”) explains how LWJ collects and handles your personal data in accordance with the Personal Data Protection Act 2010 of Malaysia and other applicable privacy laws we are to adhere to. Please note that LWJ may amend this Privacy Notice at any time without prior notice and will notify you of any such amendment via our website or by such other means of communication as deemed suitable by LWJ.
1. Personal Data
1.1 Type of personal data
Personal data means any information which relates to you or in respect of a third party and which was collected or provided to LWJ for any of the purposes stated in Section 2 below (“Purposes”).
Your personal data may include, but is not limited to, your name, address, email address, contact information and IP address.
1.2 Source of personal data
LWJ collects your personal data whether directly from you or indirectly from third parties such as your third party representatives in connection with any submission, transaction, arrangements and/or enquiries made with LWJ including when you send us enquiries, register for an account on our website, purchase products or memberships from us, or join our online competitions and contests.
1.3 Obligatory personal data
All information requested for in the relevant forms and documents is obligatory to be provided by you unless stated otherwise.
Should you fail to provide the obligatory information, we may be unable to process your request and/or provide you with relevant services and products.
2. Purposes of collecting and further processing (including disclosing) your personal data
Your personal data is collected and further processed by LWJ as required or permitted by law and to give effect to your requested commercial transaction, including the following (Purposes):
(a) to assess and process your request for our products and services;
(b) to administer and give effect to your commercial transaction
(c) to facilitate your participation in, and our administration of, any events including contests, promotions or campaigns;
(d) to administer and communicate with you in relation to our products, services, promotions and/or events;
(e) to process any payments related to products and services requested by you;
(f) for internal investigations, compliance, audit or security purposes including without limitation for crime detection, prevention and prosecution;
(g) to conduct research for internal marketing analysis and analysis of customer patterns and choices;
(h) to better manage our business and your relationship with LWJ;
(i) to respond to your enquiries and to resolve any issues and disputes which may arise in connection with any dealings with LWJ;
(j) to comply with LWJ’s legal and regulatory obligations in the conduct of its business including to meet any disclosure requirements of any law binding upon LWJ;
(k) to contact you and/or provide you with information regarding products, services, upcoming events, promotions, advertising, marketing and commercial materials which may be of interest to you;
(l) to ensure that the content from our website is presented in the most effective manner for you and for your computer and/or device;
(m) for LWJ’s internal records management; or
(n) for any other purpose that is required or permitted by any laws, regulations, guidelines including the requirements of any governmental or regulatory authorities.
Where you have indicated your consent to receiving marketing or promotional updates from LWJ, you may opt-out from receiving such marketing or promotional material at any time. You may select the “unsubscribe” option provided in our email blasts or you may contact LWJ at the contact details provided in Section (6) below.
3. Disclosure or transfer of personal data (within or outside of Malaysia)
Classes of third parties
Your personal data may be disclosed or transferred to relevant third parties (within or outside of Malaysia) as required under law, pursuant to relevant contractual relationship (for example, our third party service providers) or for the Purposes (or directly related to Purposes).
Your personal data may be disclosed to the following classes of third parties:
Third parties appointed by us to provide services to us or on our behalf (such as banks or financial institutions, auditors, lawyers, company secretary, information technology (IT) system / software vendors, contractors, marketing consultants and other advisers);
Any financial institutions, merchants, credit card associations, or payment gateways in connection with your use of any credit or debit card in any transactions made with us;
Law enforcement agencies including courts, tribunals or authorities, whether governmental or quasi-governmental having jurisdiction over LWJ;
Relevant governmental agencies, statutory authorities, industry regulators and local councils; and
Any persons, authorities or regulators to whom LWJ is permitted or required to disclose to under the laws of any country.
4. Websites
4.1 Links to other sites
Content in any website run by LWJ (“LWJ Websites”) may include links to third party websites. LWJ is not responsible for the content on such linked third party websites and users should observe the separate privacy policies applicable to the respective third parties website.
4.2 Cookies
LWJ may collect information about your visits to the LWJ Websites without you actively submitting such information. Unidentifiable information may be collected using various technologies, such as cookies, and web beacons. Cookies are small text files that are transferred to your computer’s hard disk by a website. Web beacons (also referred to as GIF files, pixels or Internet tags) help LWJ recognise a unique cookie on your browser. Your internet browser automatically transmits to LWJ some of this unidentifiable information, such as the URL of the LWJ Website you just visited and the browser version your computer is operating.
Passive information collection technologies can make your use of the LWJ Websites easier by allowing LWJ to provide better service, customise the LWJ Websites based on consumer preferences, compile statistics, analyse trends, and otherwise administer and improve the LWJ Websites. Certain features of the LWJ Websites may not work without use of passive information collection technologies. Information collected by these technologies cannot be used to identify you without additional identifiable information and LWJ will not collect additional identifiable information with information collected through the use of such tracking technologies.
5. Right to access and correct personal data
You have the right to access and correct your personal data held by us (subject always to certain exceptions). We will make every endeavour to ensure your personal data is accurate and up to date therefore we ask that if there are changes to your information you should notify us directly at the contact details set out in Item (6) below
6. Limiting the processing of personal data, further enquiries and complaints
If:
you would like to obtain further information on how to limit the processing of your personal data;
you have any further query; or
you would like to make a complaint in respect of your personal data,
you may contact :-
Designation : Business Director
Email Address : shaun@lucywalkerjewellery.com
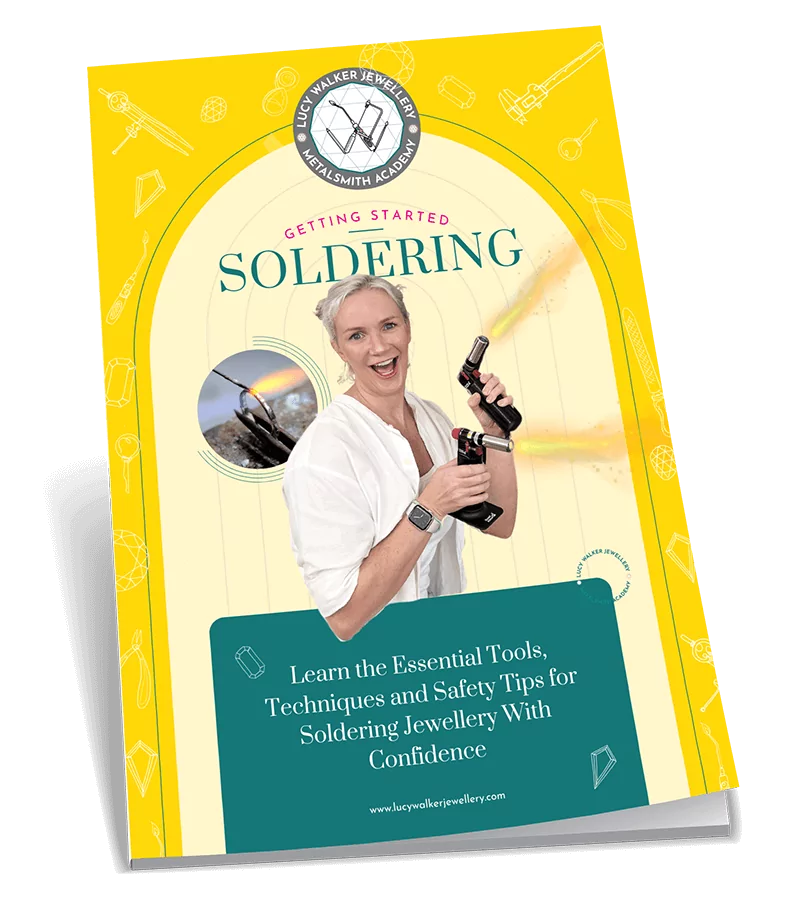
Download the Getting Started Soldering Guide now for FREE
Ready to overcome your flaming fears and master the #1 technique every metalsmith needs to create stunning jewelry? This outrageously comprehensive guide will give you the down-low on everything you need to know to start soldering with confidence!Ready to overcome your flaming fears and master the #1 technique every metalsmith needs to create stunning jewelry?
Just enter your details below and we’ll send it directly to your inbox.
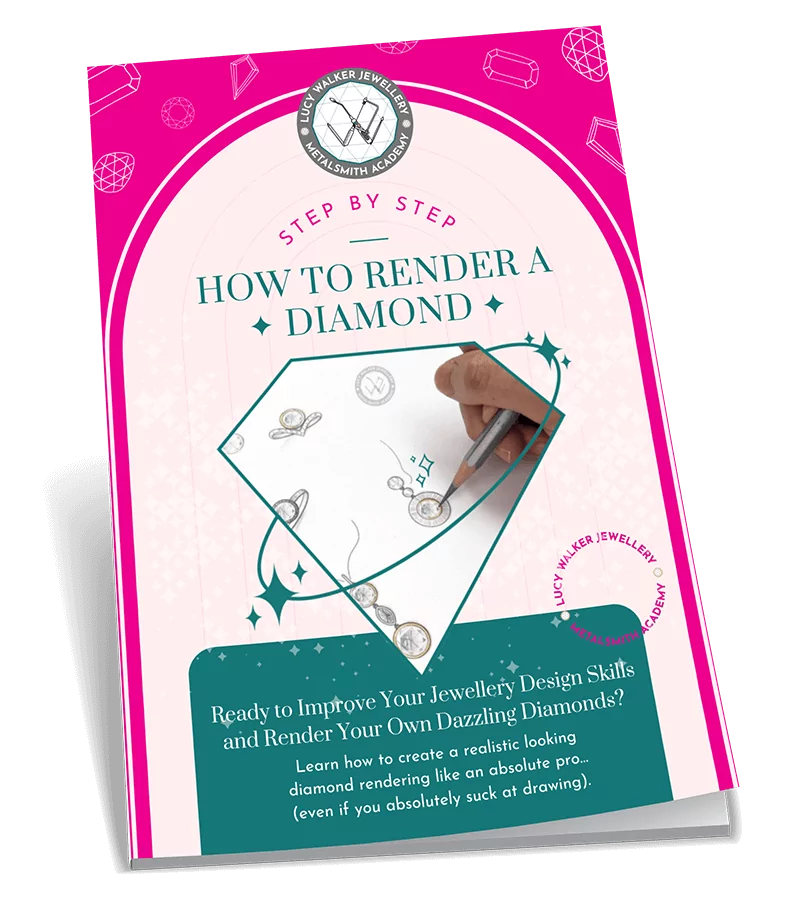
Download our Diamond Rendering Tutorial (PDF) now for FREE
Ready to learn the easier-than-you-think trick for rendering dazzling diamonds like a pro… even if drawing is soooo not your thing?! This handy PDF tutorial will be your sneaky shortcut to bring your diamond designs to life, without spending hours sketching.
Just enter your details below and we’ll send it directly to your inbox.
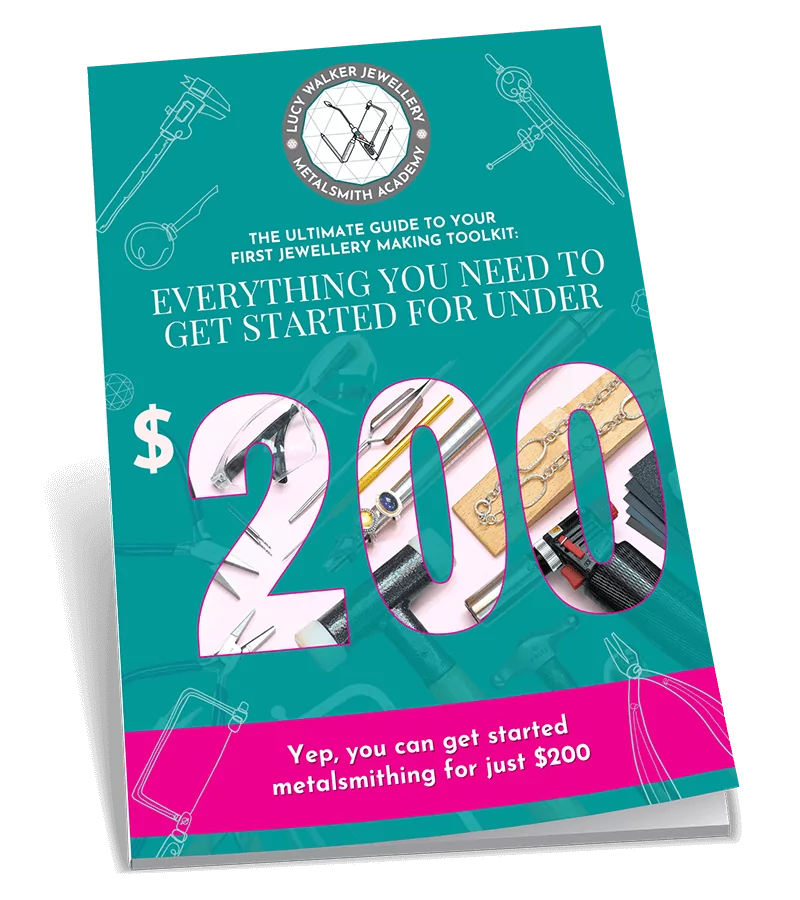
Download our $200 Jewelry-Making Tools List now for FREE
Ready to get the most bang for your buck and build your own beginner’s toolkit for less than $200? This 23-page guide will turn you into a smart and savvy jeweler, with all the tools you need to create elegant, high-quality, non-boring jewelry on a budget.
Just enter your details below and we’ll send it directly to your inbox.
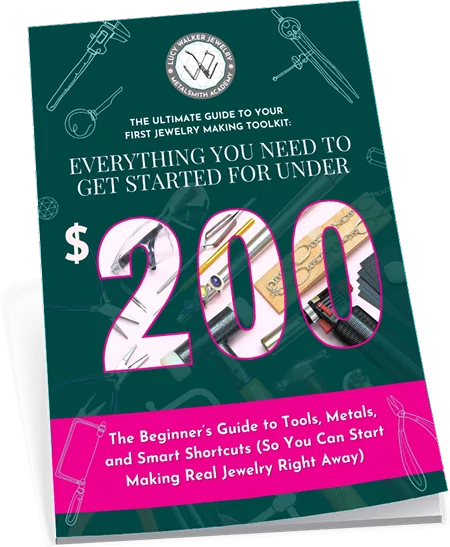
Download our $200 Jewelry-Making Tools List now for FREE
Ready to get the most bang for your buck and start making your own jewelry for less than $200?
Just enter your details below and we’ll send the free guide directly to your inbox.
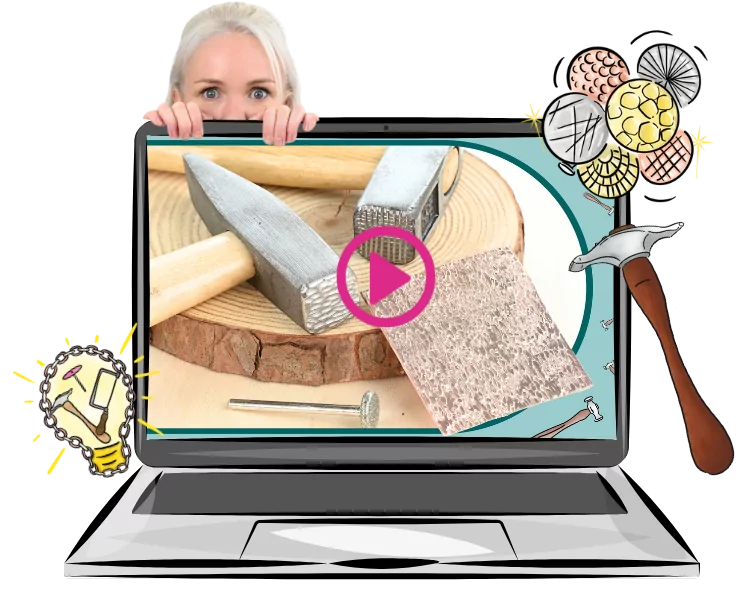
Turn a $4 Dud into a Texture Stud
In this fast and fun tutorial, you’ll learn how to transform a cheap-as-chips hammer into a seriously impressive texture tool - no fancy budget required.
Just enter your details below and we’ll send a link to watch directly to your inbox.
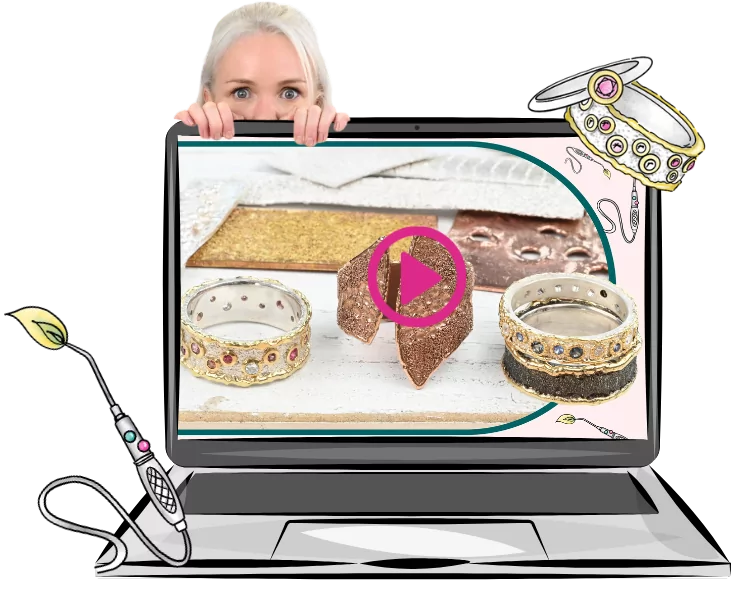
Love Playing With Fire? You’ll Love This.
In this free 20-minute video, you’ll learn how to turn metal dust into magic and master the art of wild, organic, melty textures - using nothing but a torch and a bit of control.
Just enter your details below and we’ll send a link to watch directly to your inbox.
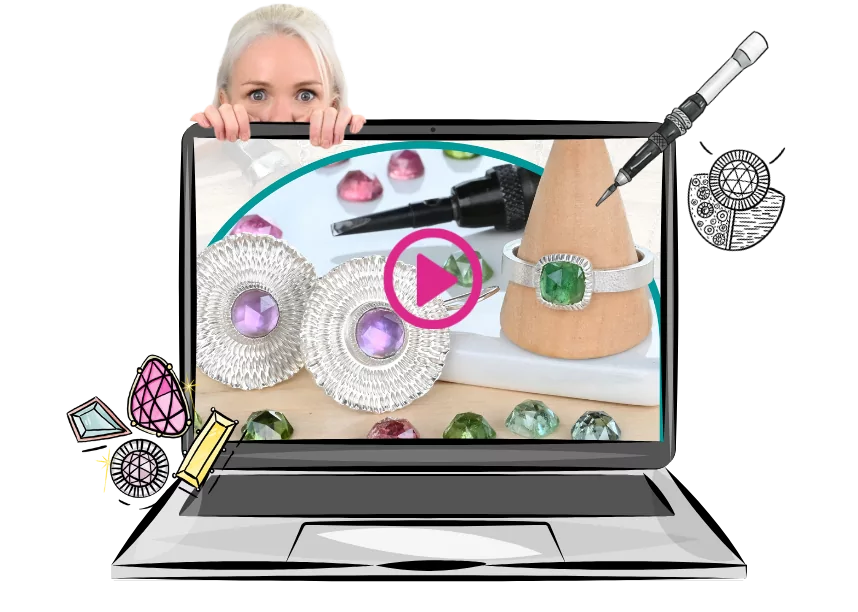
Learn How to Make Starburst Bezels (In Under 15 Minutes)
Ready to add some serious sparkle to your settings with this ridiculously satisfying technique? It’s quick, it’s fun, and these textured bezels are way easier to make than they look.
Just enter your details below and we’ll send a link to watch directly to your inbox.
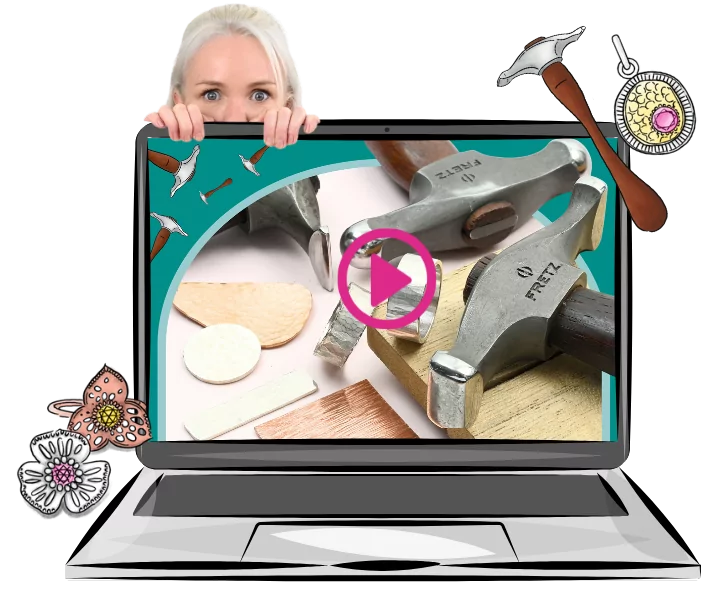
Unlock the Secrets to Gorgeous Hammer Textures
There’s a right way to whack metal - and this free 18-minute video shows you how. Say goodbye to messy textures and hello to finishes that actually look intentional (and professional).
Just enter your details below and we’ll send a link to watch directly to your inbox.
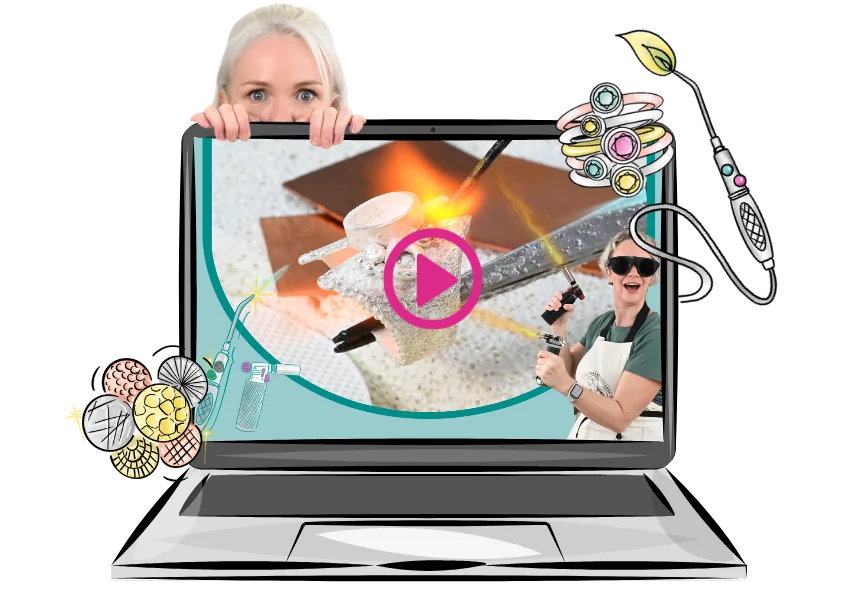
Struggling With Soldering? Start Here.
There’s a right way to whack metal - and this free 18-minute video shows you how. Say goodbye to messy textures and hello to finishes that actually look intentional (and professional).
Just enter your details below and we’ll send a link to watch directly to your inbox.
Download our FREE Jewelry-Making Tools eBook Now
Ready to build your must-have metalsmithing toolkit? Despite popular belief, you don't need all the tools to get started - or much at all! This eBook will take the guesswork out of your tool-buying and show you what you actually need (and what you can avoid wasting your coins on).
Just enter your details below and we’ll send it directly to your inbox.
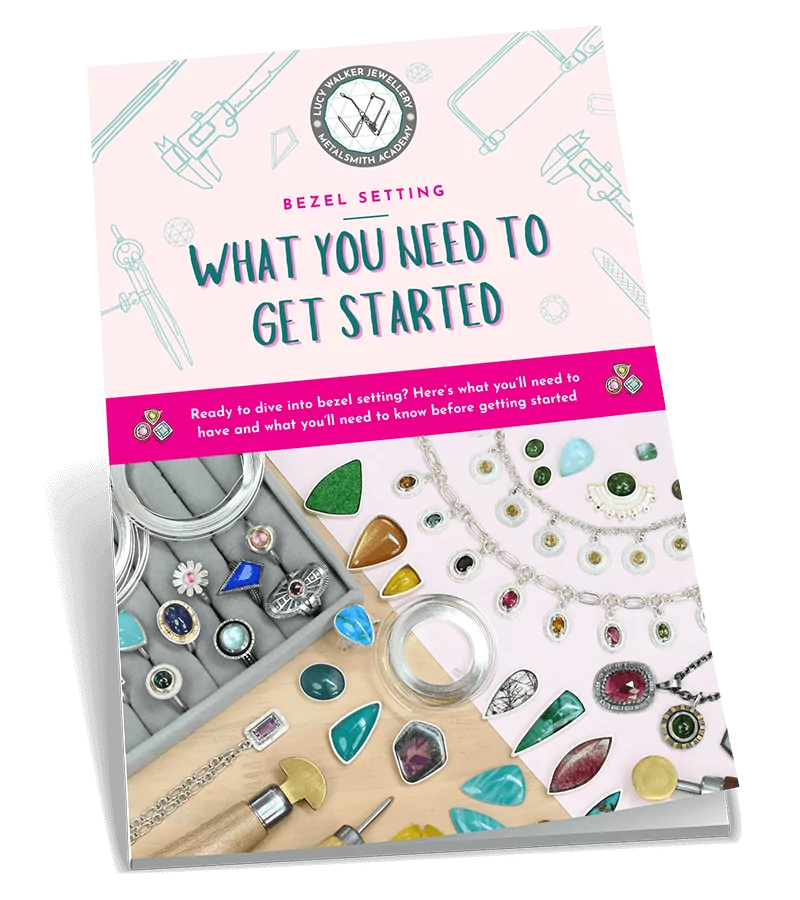
Download Our Beginners Guide to Bezel Setting now for FREE
Ready to learn all about bezel setting, so you can start putting your stash of gemstones to use? This guide is the perfect place to start.
Just enter your details below and we’ll send it directly to your inbox.
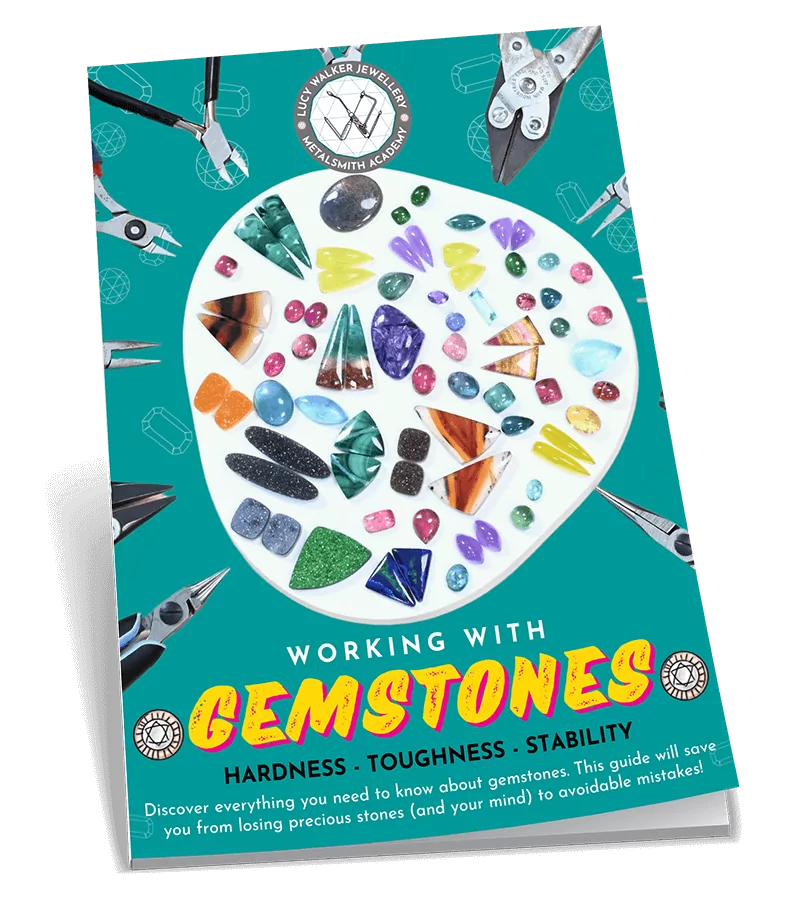
Download Our FREE Guide to Working With Gemstones now
Ready to officially become a Gemstone Guru and discover what you really need to know about choosing and using stones in your jewelry? This 31-page guide will help you select the right gemstones for your projects, and help you avoid buying gems that will cause you drama later on.
Just enter your details below and we’ll send it directly to your inbox.
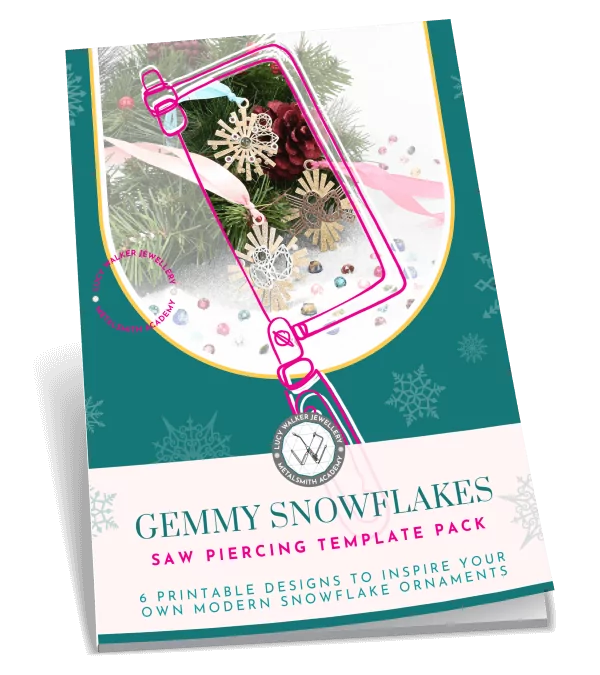
Download Our “Gemmy Christmas” Saw Pierced Template Pack Now for FREE
Ready to deck the halls with your own handmade and irresistibly festive Christmas ornaments? These 8 ready-to-use saw piercing templates are inspired by festive snowflakes and the shapes of your favorite gems! Just print them, stick them, and get saw piercing.
Just enter your details below and we’ll send it directly to your inbox.
Download our FREE Jewelry Design eBook: Finding Inspiration From Anywhere
Ready to train your creative muscles to glean inspiration from (literally) anywhere, and design more creative jewelry? Learn our favorite method to find inspiration, elevate your designs, and create one-of-a-kind pieces that stand out from the crowd.
Just enter your details below and we’ll send it directly to your inbox.
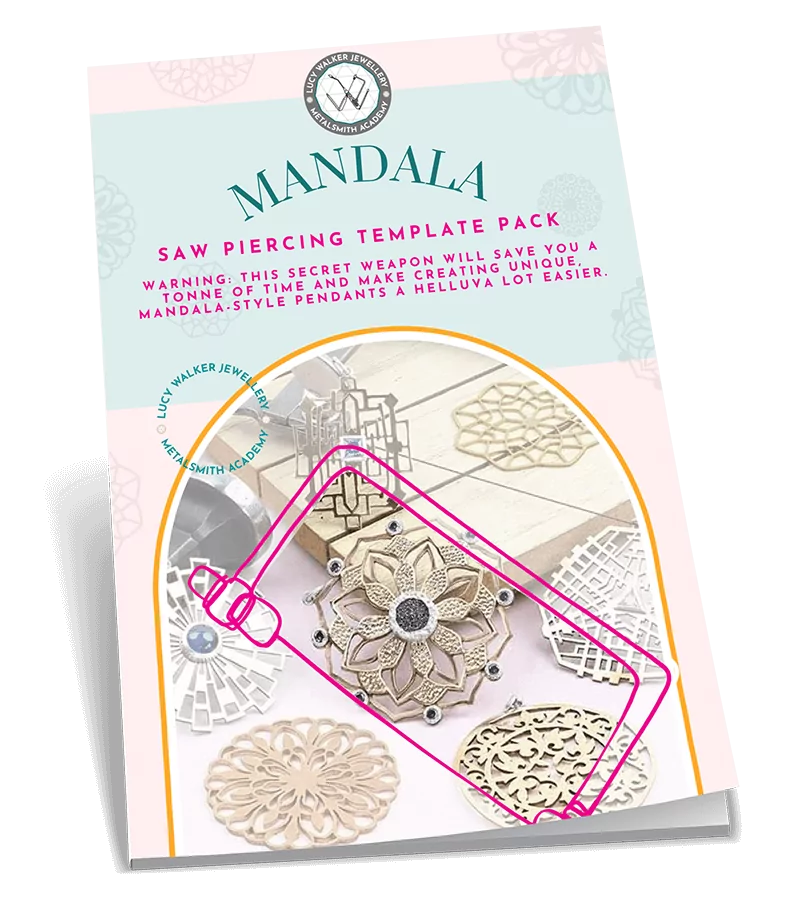
Swipe This Mandala Saw Piercing Template Pack Now for FREE
Warning: this secret weapon will save you a ton of time and make creating unique, mandala-style pendants a helluva lot easier. Skip the drawing and design phase, and simply download our designs, print them out, and pick up your saw frame to get creating!
Just enter your details below and we’ll send it directly to your inbox.
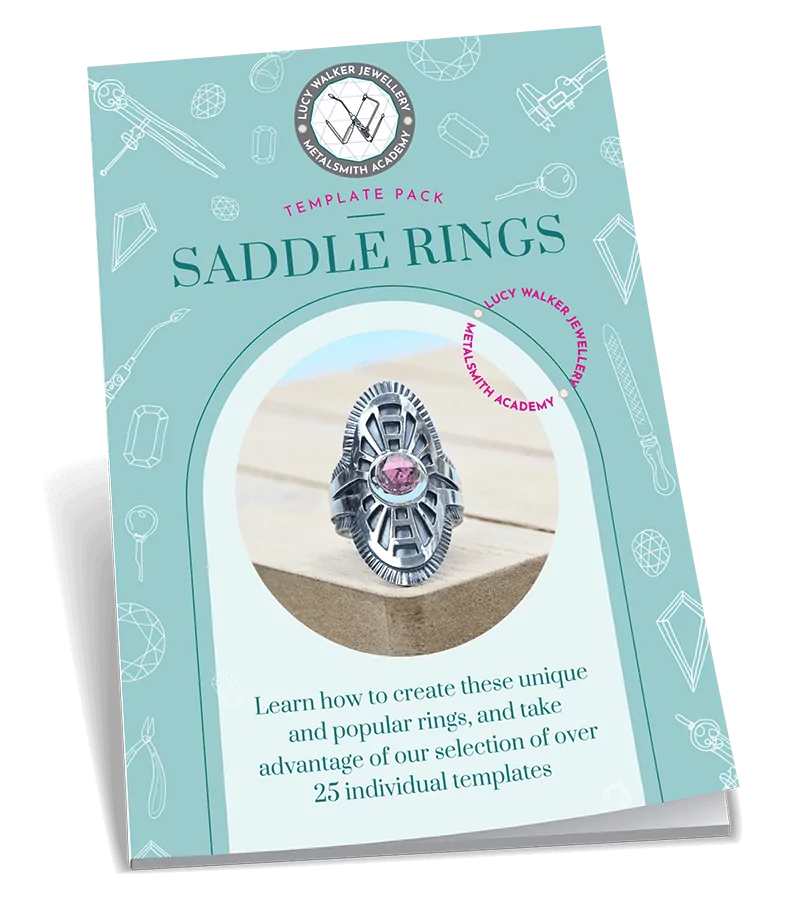
Download Our Pack of 27 Saddle Ring Templates Now for FREE
Ready to ditch the creative block, and get down to business creating your own beautiful, unique, and highly saleable saddle rings? These 27 design templates will get you creating stunning jewelry sooner! Plus, with 13 pages of step-by-step instructions on how to make your rings, you’ll be seriously set-up for success!
Just enter your details below and we’ll send it directly to your inbox.
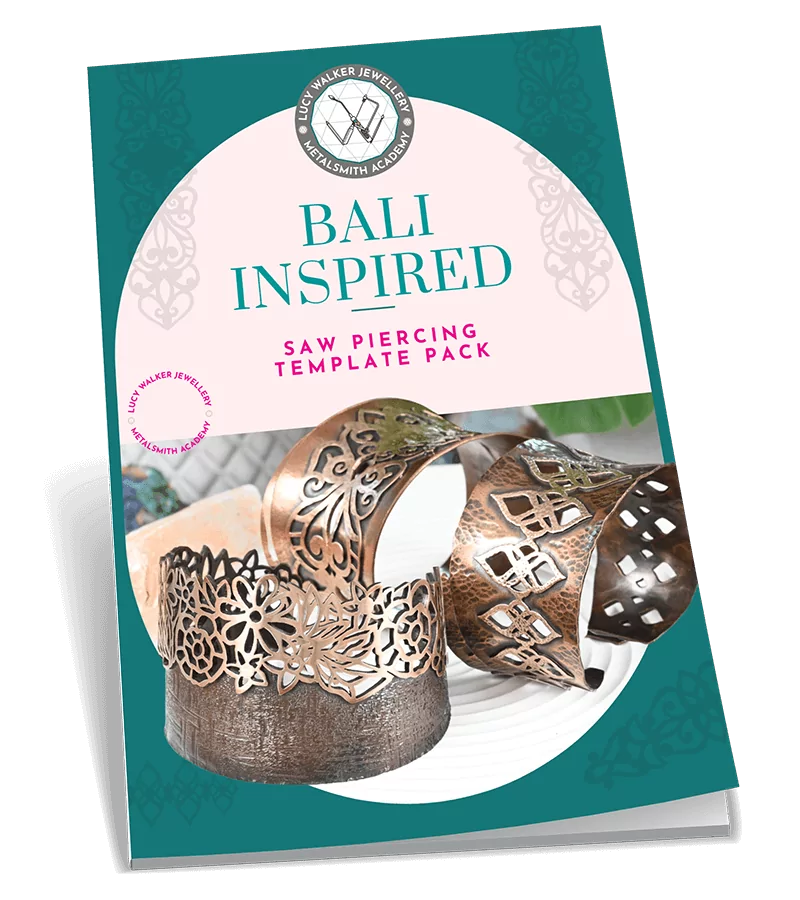
Download this Bali-Inspired Bangle Template Pack now for FREE
Swipe our printable Bali-inspired designs and add a touch of island paradise to your jewelry pieces! With 7 printable designs to choose from, you can skip the design phase, and simply print, trace, and get saw piercing.
Just enter your details below and we’ll send it directly to your inbox.
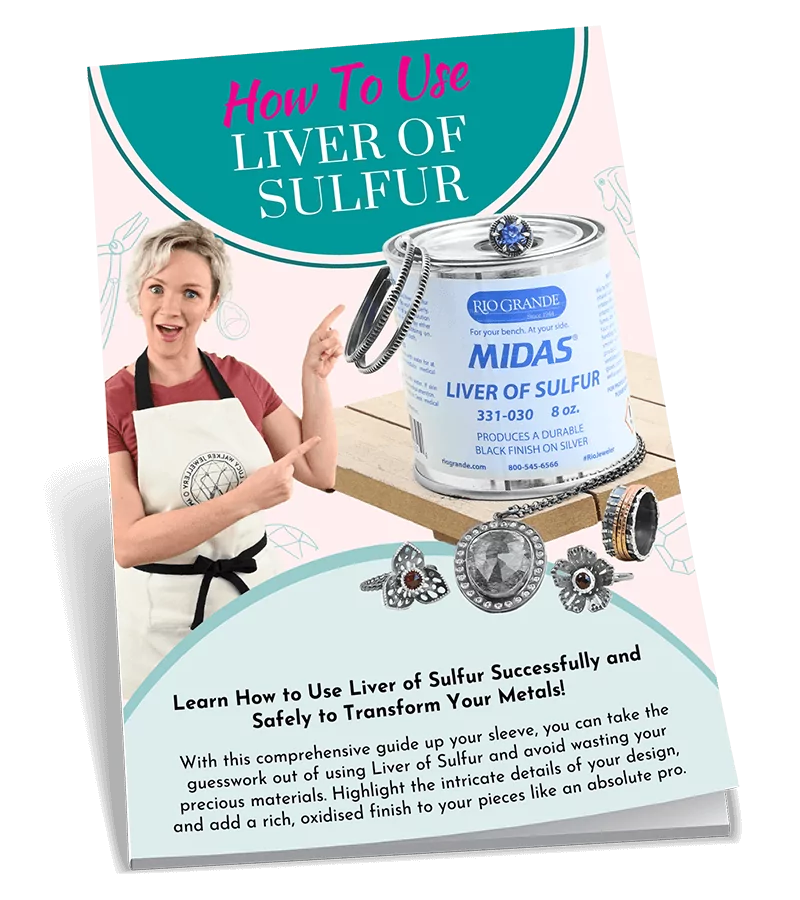
Download Our Simple, One-Stop Guide to Liver of Sulfur for FREE
Ready to learn how to give your metal jewelry a one-of-a-kind look with Liver of Sulfur? With so much competing information online about using Liver of Sulfur, this guide will strip things back and give you what you actually need to know. You’ll be ready to give this stinky substance a go in no time!
Just enter your details below and we’ll send it directly to your inbox.
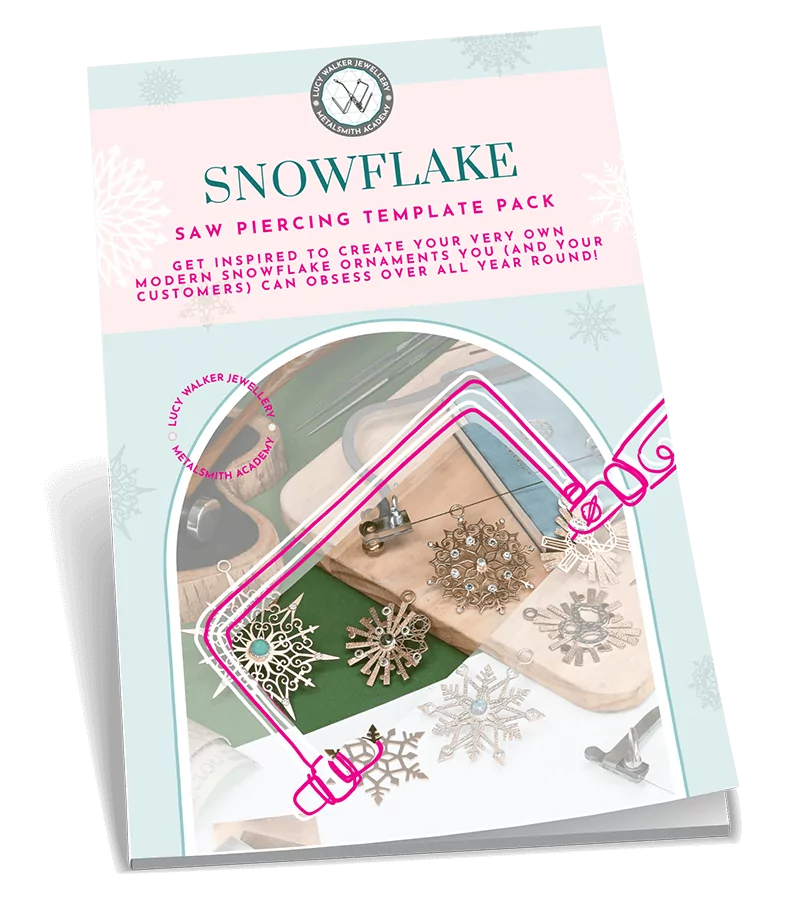
Download the Saw Pierced Snowflake Template Pack now for FREE
Get inspired to create your very own modern snowflake ornaments you (and your customers) can obsess over all year round! Avoid the creative block of designing your own, and instead steal these handy printable templates to make your saw piercing a dream.
Just enter your details below and we’ll send it directly to your inbox.
Sign up Now for Your Free Access to our Metalsmith Academy Membership Portal
Just pop your name and email below, and we’ll send through your free login details straight to your inbox.
Sign-up for Our Newsletter and Get Jewelry-Making Goodness Landing in Your Inbox Every Week
You’ll never be short of inspiration again with this newsletter in your life. Just enter your email below, and we’ll send you through all the non-annoying tips, sales, blog posts, and other jewelry-making malarkey you can dream of. Say hello to your new favorite weekly read!
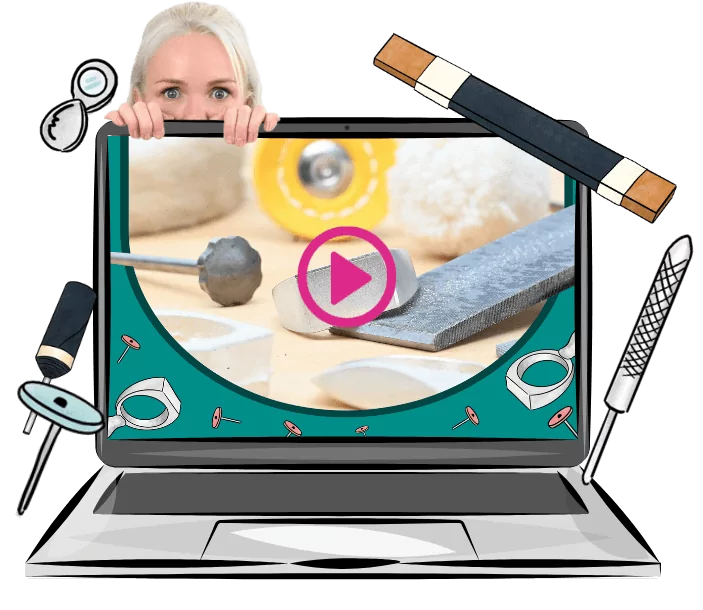
Master the Art of Polishing Sand Cast Rings
Learn how to clean up and polish your rings to a pro-level finish - even with all that pesky porosity. This 35-minute step-by-step video shows you exactly how it’s done.
Enter your details below and we’ll send a link to watch directly to your inbox.
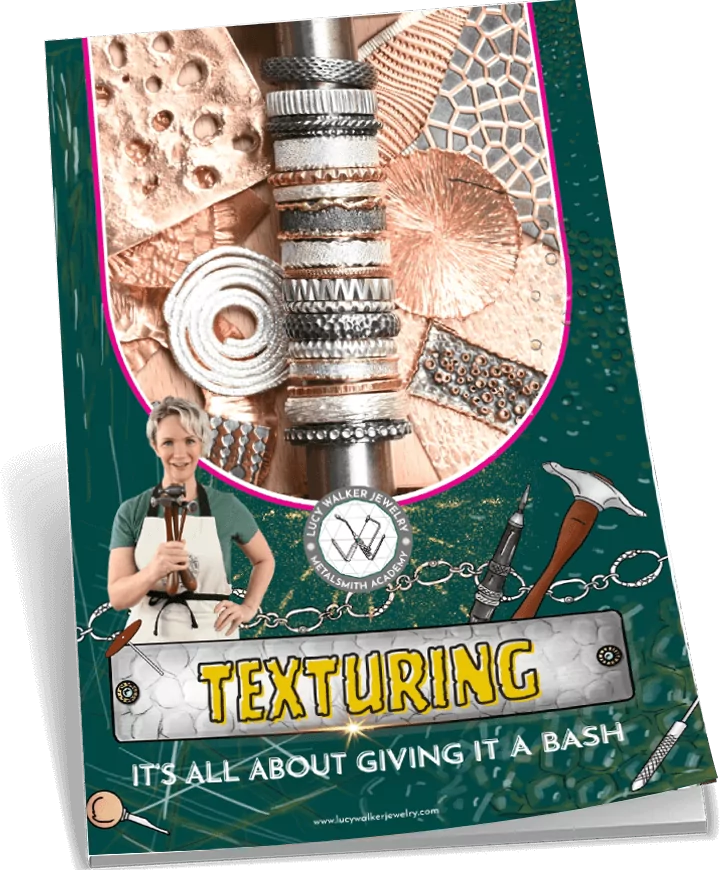
Download the FREE Jewelry Texturing Guide
Get inspired with 40+ texture ideas, techniques, and design inspirations! Enjoy pages of real samples, close-up photos and finished jewelry pieces to get your creative juices flowing.
Just enter your details below and we'll send a link directly to your inbox.