
In this article
In this article
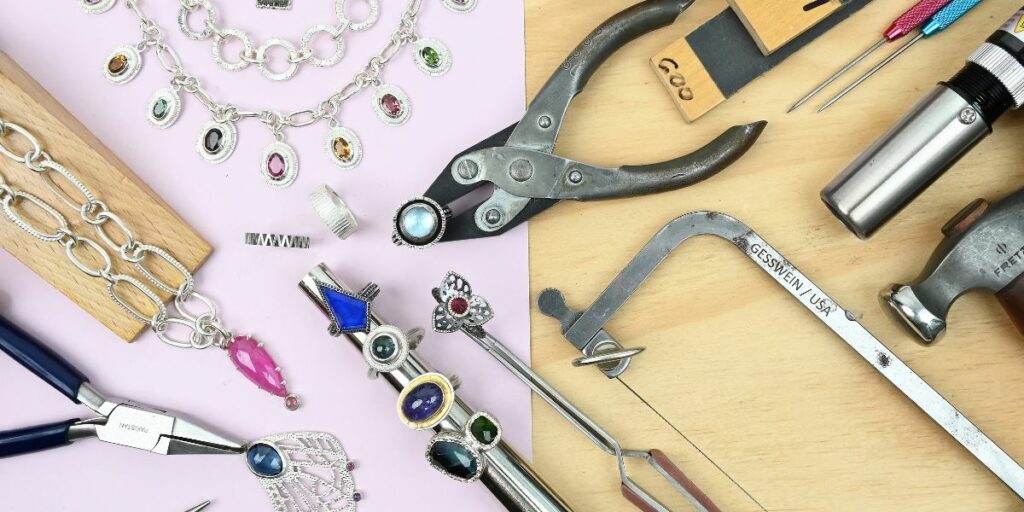
A question I get asked all the time: How much does it cost to get started making jewelry?
Well, this is a big question, and there is no firm answer here. It really does depend on what you're going to make. But I came up with a plan to help you get started less than $500 - although full disclosure, this plan involves you borrowing a rotary tool! More on why I'm insisting on borrowing, not buying, later on!
Of course, there's also the metals you'll need to get started making jewelry, but I'm not going to cover the materials portion of this question here, as this blog post is getting a little too long already. I will cover the ideal tools to get started, and show you that with a little ingenuity and DIY-ing, you really can get started for less than $500.
If you want to cut to the chase, you can find (almost) all the products mentioned in this post right here:

Safety glasses, mask, ear protection and a fire extinguisher.
These are absolutely the first tools you should have before you even pick up a hammer!
For more information on health and safety in the studio,
I can’t recommend The Jewelry Workshop Safety Report by Charles Lewton Brain enough.
Let's dive in and take a look at the tools you need to start making jewelry.
The very first thing you're going to need is a place to work. A sturdy work surface in a well-ventilated area.
For health and safety reasons, you'll want to set this up somewhere away from where you'll be eating and away from children and pets!
When selecting a work surface, we're looking for something relatively heavy duty that doesn't wobble and preferably something a little on the taller side for maximum working comfort.
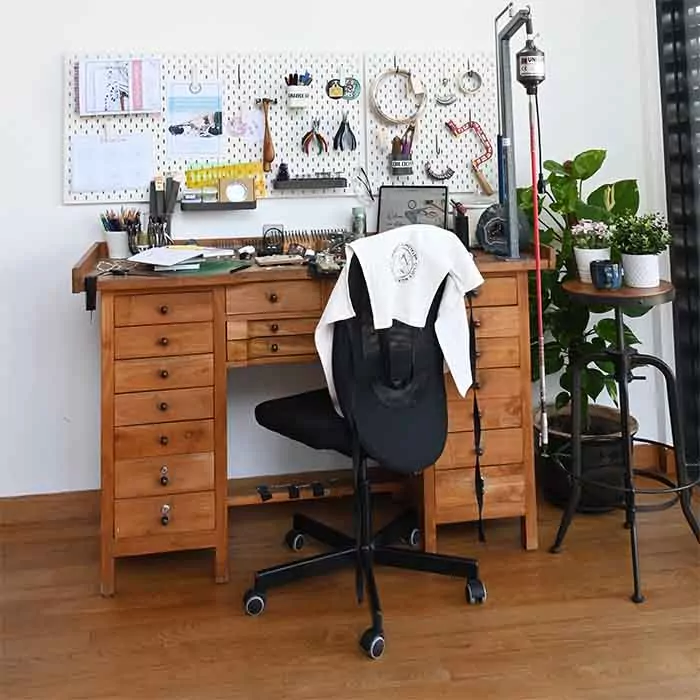
If you don't have anything that fits the bill, I'd suggest checking out Facebook marketplace or any secondhand sellers you can find. Whatever it is you're going to work on will get dinged up over time, so I'm just saying, don't go ruining your lovely new dining table when you can pick something up off craigslist for $20!
The piccy above is of a traditional jewelers workbench. You really don't need anything quite this fancy to start with, but hopefully it gives you an idea of the ideal height.
Alrighty, but what about the actual jewelers tools you need to start metalsmithing? I'd better get on with them.....
I realized I've waffled enough, so I'm getting direct to the list here. But if you do want to read a little more, and understand what these tools are used for - keep scrolling down!
Total spent - $400
I left an extra $100 for the next part!
Drills for Making Jewelry
Yeah.... I missed the drill out of the main list, because I wanna talk about that in a little detail.
So, what kind of drill should you buy for making jewelry?
This is a bit of a weird one, because I don't want you to buy one of these, they're not really ideal for jewelry making but it will work to begin with before investing in a flex shaft motor (I'll talk about these later).
So, if you can find a friend who would be willing to lend you a drill of some sort, such as a dremel or even a hand drill, that would be awesome. But like I said, I don't recommend buying one of these.
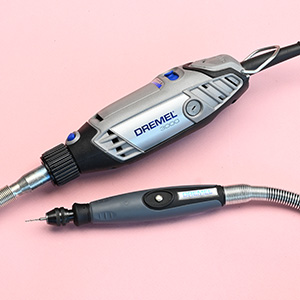
If you really can't find a drill to borrow for a while, and you must buy a Dremel, I don't recommend going for any of the cheaper models such as a "Dremel Lite" or a Dremel Stylo. I have bought these and tested them out just for you, and they do not have enough power to drill through metal.
$255.00
Click here for the details
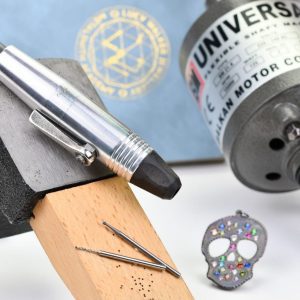
In an ideal world, but only when you have figured out that you really want to get into this jewelry making malarkey for real, you'll want to buy a flex shaft. And you'll want to buy a good one.
My personal favorite is the model I've linked to from Universal Motors, which comes with a quick-change handpiece as standard. Despite having some very expensive micro-motors at my disposal, this is my go-to machine for almost everything rotary.
When you do buy a flex shaft, you'll need to purchase a flex shaft hanger too.
When we dive into more details on each of the tools I've recommended, which I'll do below, you'll see I'm all for saving money where you can. But, a flex shaft is not where you should be trying to save money, you will only end up replacing a cheaper model later on. I've had and used cheaper models, and whilst they are in my opinion still a better option than a Dremel, I have found that the speed control goes very quickly and it's almost impossible to run these at slower speeds after 6 months or so.
Another excellent choice for a quality flex shaft would be the Foredom SR. The SR can be ordered with a quick-change handpiece - for ease of use, or a standard chuck style #30 handpiece which can be used with a variety of drill bit sizes.
My personal choice would always be a quick-change handpiece, and this is what I use 99% of the time.
$339
Foredom Flex Shaft with Quick Change Handpiece
$316
Foredom Flex Shaft with Standard Chuck Handpiece
$15.75 / Pkg. of 6
Click here for the details
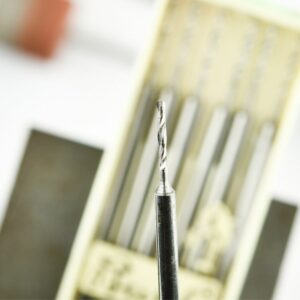
Jewelers Drill bits - 1mm
If you're going to get a drill or a flex shaft, then one thing you're going to need for sure are drill bits. Drill bits, along with saw blades are one consumable that I do not recommend going cheap on. My favorite brands are Busch or Fox, and for 90% of my metalsmithing work, I use a 1mm drill bit - they're small enough for most things, but sturdy enough not to break too often. However, please be aware that if you're just starting out, you are liable to break a few drill bits, so a 6 pack is pretty much a necessity.
One thing I get asked all the time: why are there different types of steel drill bits, which should I buy?
Basically, it's a choice between tungsten vanadium steel and carbide steel. Go for tungsten vanadium. Carbide steel is extortionately expensive and not necessary when just starting out. If you get into micro-pave in the future - you may want to consider carbide steel, but until then, stick with the tungsten vanadium! If you're confused, just look at the price, a pack of tungsten vanadium bits run around $16 for 6 pieces, whilst carbide steel drill bits will set you back around $35 for just two pieces!!!
Surely with just these tools I'll be stuck with simple jewelry making projects?
Of course you'll be able to get started making simple jewelry projects with these tools. And I really recommend starting simple, but focusing on doing it well when you're just starting out.
All the projects to the right were made using just these tools. But that's not to say that's all you can do with these basic jewelry making tools.
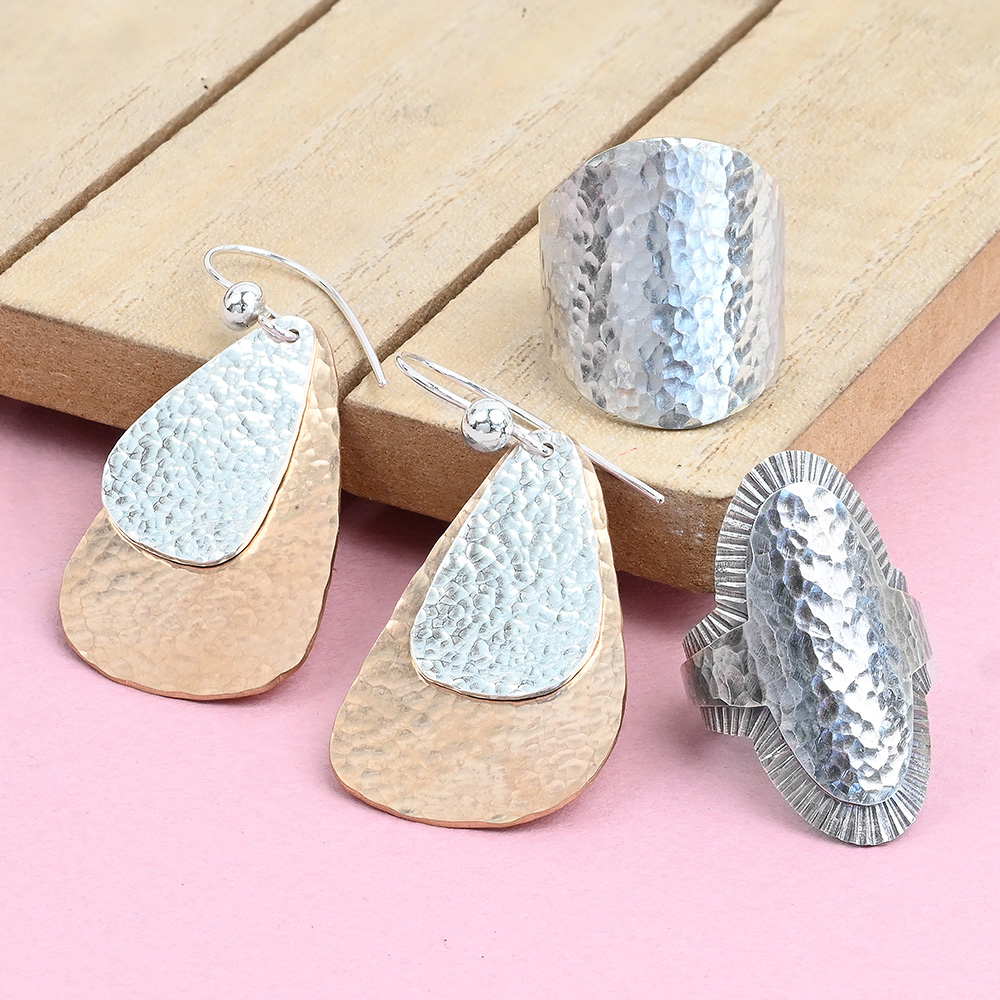
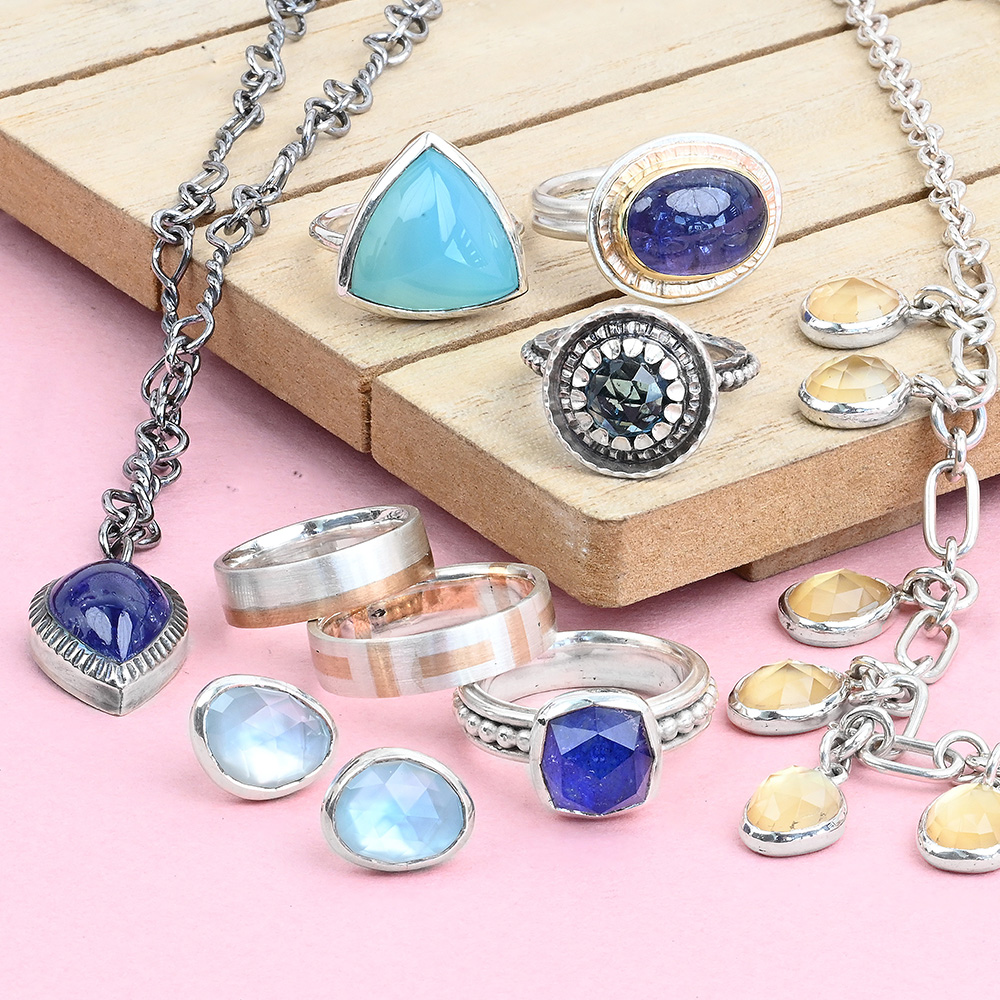
The pieces in the piccy to the left are all possible with just the few jewelry making tools mentioned in this article - (plus a few handmade setting punches).
It really isn't about the size of the tool collection, it's what you do with them that counts! A little ingenuity is a lot more valuable than a huge tool collection.
I'm not going to deny it though, you are probably (just like the rest of us) going to end up a tool whore. It is what it is, I love tools!! But when just starting out, not only isn't it possible to have all the tools, but it's actually a benefit. By not having access to everything, we're forced to learn to use and truly master what we have.
But I want all the tools now goddamnit...
I hear you loud and clear!! So, here's what I'd suggest. If you want to become a fully-fledged tool whore:
Start by making simple but quality pieces, using just the basic tools, and then focus your attention on selling those. And there are a number of reasons to work this way:
1. Learning to sell your work is just as important, if not more so than learning to make it.
2. Making simple quality pieces that sell and building those skills slowly will mean you spend less time making practice projects, and more time making work that sells.
3. Making pieces that sell means that you can BUY MORE TOOLS!
Bench Tools for Jewelers
The absolute basics you'll need to get started making jewelry
$5.95 / Each
Click here for the details
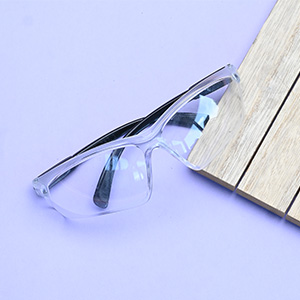
Safety Glasses
Before using any rotary tools, you'll most definitely want to get a pair of safety glasses. As jeweler's tools go, our eyes are by far the most valuable!
Ideally, you should wear these all the time in the studio. However, at a bare minimum they MUST be worn when using rotary tools, polishing motors, or bench grinders. You aren't daft, I know that, so if you feel there is any risk at all, my advice is to wear them.
In terms of health and safety, I also highly recommend getting an N95 face mask too.
$16.45 / Each
Click here for the details
Bench Pin and Anvil
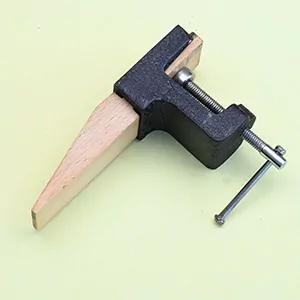
Most of the work we do as a jeweler isn't done on our bench, it's actually done on our bench pin. From sawing, to filing, to drilling, you'll do most of this on a bench pin.
These are available in a variety of styles, but my recommendation when just starting out would be to go for a clip-on version that includes a steel surface to use as a bench block. You get two tools this way for the price of one!
$9.00 / Each
Click here for the details
Jeweler's Saw Frame
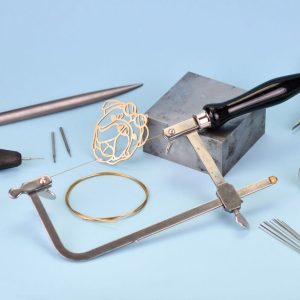
Saw frames come in a huge variety of styles, but they're all based on the same concept - they simply need to hold your saw blade tightly. If you're just starting out making jewelry, I'd suggest going for a simple saw German style frame.
In my opinion, there is no point in spending $100 or more on a frame that doesn't make sawing any easier. I have almost every jewelers saw frame out there and 100% of the time, I choose to use my $9 German style frame.
The standard German style frame comes in a variety of depths (the measurement from the back of the saw frame to the blade) to suit larger and smaller jobs. To start out with, for small scale jewelry work, I recommend going for a depth of around 2.5 inches to 4 inches in depth, but if you're intending to do larger scale work such as cuffs, you'll need something a little deeper. The smaller saw frames are easier to control than the deeper ones, which is why I don't use a deep saw frame for most of my work.
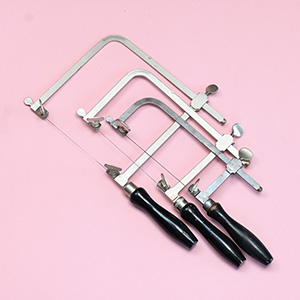
The standard German style frame comes in a variety of depths (the measurement from the back of the saw frame to the blade) to suit larger and smaller jobs. To start out with, for small scale jewelry work, I recommend going for a depth of around 2.5 inches to 4 inches in depth, but if you're intending to do larger scale work such as cuffs, you'll need something a little deeper. The smaller saw frames are easier to control than the deeper ones, which is why I don't use a deep saw frame for most of my work.
$3.25 / Pkg. of 12
Click here for the details
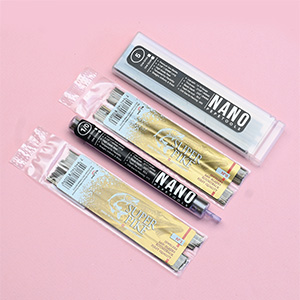
Quality Saw Blades - 2/0 and 4/0 in size
While I'm all in favor of cheap saw frames, there is little I detest more than cheap saw blades. They don't cut straight, they break regularly, and there is a chance they will lead to personal mental deterioration.
Super Pike & Nano amongst others are my personal preference.
Anything costing $5 for 100 or more blades is most likely going to be a bloody nightmare to use.
$6.95 / Each
Click here for the details
Lubrication
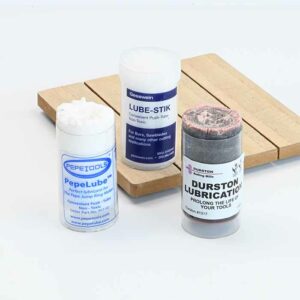
Everything works better with a little lube, including sawing and drilling. Lube sticks are a popular choice for jewelers. But don't get hung up on the brands, they're all the same thing - some just have a little colour to make them look different, but I have noticed zero difference in quality between the brands. Lubrication also comes in a variety of different forms, but if you want to save a few $$$, an old candle or a chunk of bees wax are a great options too.
$20.10 / Each
Click here for the details
Steel Ring Mandrel
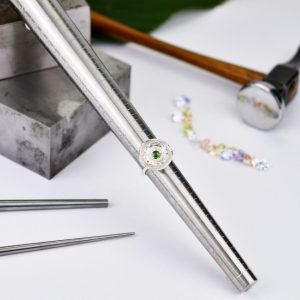
If you want to make rings, then one of these is a must. They're generally used for sizing and forming rings, but can be used for a variety of other things too, such as creating curved forms in sheet metal.
You may also want to buy a ring sizing set in order to measure your customer's finger if you intend to make custom rings.
SUPER IMPORTANT: Make sure you're buying a steel mandrel (aluminium mandrels are used for checking the size only of rings only).
$20.25 / Each
Click here for the details
Nylon Dead Blow Mallet
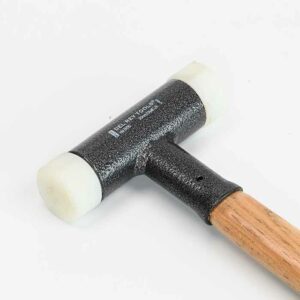
Everyone says to buy a rawhide or rubber mallet when just starting out, but in my opinion a dead blow mallet is worth the extra cost.
The head of the mallet contains steel shot which means it can really pack much more of a punch than a rawhide or rubber mallet.
You can get these in a variety of different weights, and the heavier the hammer the more expensive they tend to get. I've linked to a 16oz version which is what I use most often.
$6.35 / Each
Click here for the details
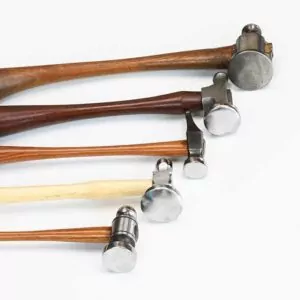
Ball-Peen Hammer
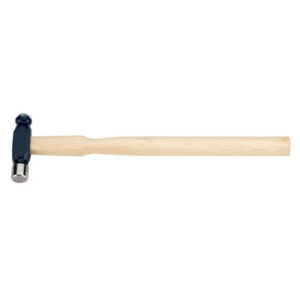
A ball peen hammer is a super handy piece of kit to have when just starting out. They're a fast and easy way to add texture to your work as well as being useful for forming.
Just be careful to take care of the faces of the hammer if you do intend it to use for texturing. If you make any marks on your hammer through careless use, they will transfer to the metal you're applying a hammer textured finish to.
$13.15 / Each
Click here for the details
Chasing Hammer
Chasing hammers are used regularly in the studio for forming work. But they're actually designed for chasing (or tapping the end of steel punches - as when bezel setting).
If you do use your chasing hammer as it's intended (for striking tools) I'd avoid using this again for forming metal. The repeated action of striking the end of steel tools will leave dings in most commercial hammer faces.
Files for Jewelers - These can get pricey!
Jeweler files are not cheap, but they are good! I'd say the best advice with files is to start with just a few and then add to the collection as necessary. Don't be tempted by the cheap hardware shop files, they're made from softer steel and will dull very quickly!
$14.50 / Each
Click here for the details
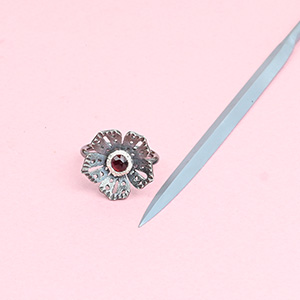
Barrette Needle File - Swiss cut #2
An absolute must for a jeweler's toolbox, the barrette needle file is one tool you'll find yourself using almost every day. From refining saw piercing work, to filing the edges of bezels or rings, you'll always need one of these on hand.
A Swiss cut #2 which is somewhere in the middle when it comes to coarseness (#0 is coarser, #4 is finer), will work perfectly for most jobs to start out with.
$17.25 / Each
Click here for the details
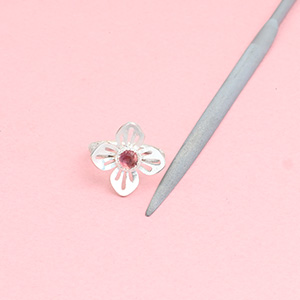
Half-Round Needle File - Swiss cut #2
Another needle file that's a must is the half round. Again, I'd go for this in a #2 cut.
But why do we need two different shaped needle files? Well basically for filing surfaces that are flat, you'll want to use the barrette file mentioned above which has a flat filing surface. But for filing concave surfaces, such as the inside of ring bands, you'll want to use a file with a curved surface.
If you can only afford one needle file to start with - I'd suggest the half round file as it does have a flat surface too. The reason I prefer not to use this for filing flat surfaces is because it's not able to reach the tight spaces that a barrette is able to reach without the half round portion of the file catching opposing surfaces.
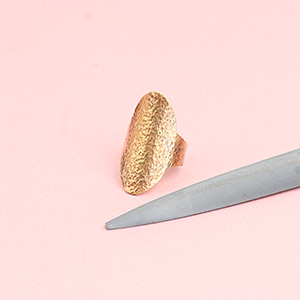
Half-Round Hand File - Swiss cut #2
A half round hand file comes with both a curved and flat surface again just like the needle file above. The difference in these files is just the size. Having a larger hand file makes larger jobs a lot easier and faster. If you can afford a flat hand file too, I'd suggest buying one of those in a Swiss #0 cut, however you can get by with just a half round hand file to start with.
After the three files mentioned above, the next file I'd be buying would be a flat hand file in a #0 cut, followed by a round, square and triangle needle file in a #2 or #3 cut.
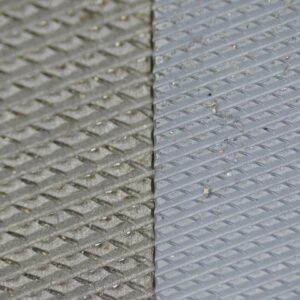
FYI: without getting into all the details, a #2 Swiss cut file generally leaves a finer finish than a #2 German cut file.
The close up shows a #2 cut German file on the left vs a #2 cut Swiss file on the right.
Pliers for Jewelers - you don't need to go broke!
I love cheap pliers! Don't get me wrong, I'm also a raving fan of Tronex, but when you consider that one pair of those will likely cost you as much as 10 pairs of budget pliers, well it kind of makes you rave just a little bit less.
I 100% recommend buying budget pliers to start out with. They might not be quite as comfortable to use as Tronex, but they more than get the job done. I'll also add that out of all my pliers, the ones that get the most use are my modified budget pliers by far. So just as with fancy saw frames, my advice would be to skip the fancy pliers for now.
$5.60 / Each
Click here for the details
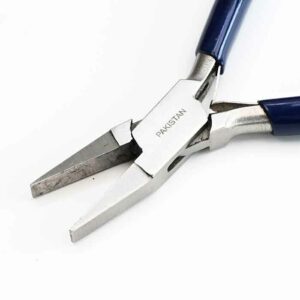
Flat-Nose Pliers
With two flat, wide jaws, flat nose pliers are one pair of pliers that you'll use pretty much every day as a jeweler. They're great for basic forming work, holding small pieces for filing, and of course for opening and closing jump rings.
I have a couple of pairs of these personally. One is unmodified, and the others have the edges rounded out and softened to various degrees so as not to mark my work as I use them.

$5.60 / Each
Click here for the details
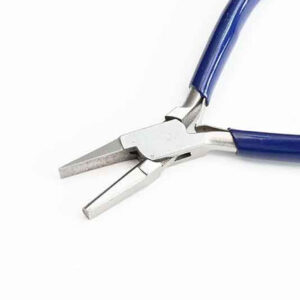
Chain-Nose Pliers
These are pretty much the same as the pliers above, and used for roughly the same kind of tasks. The difference being rather than having wide parallel jaws, the jaws on these taper to a narrow tip which just makes them able to reach into tighter spots.
Again, I have a couple of pairs, one that is unmodified for crisp bends, and a couple of others that have been modified as needed.
$10.80 / Each
Click here for the details
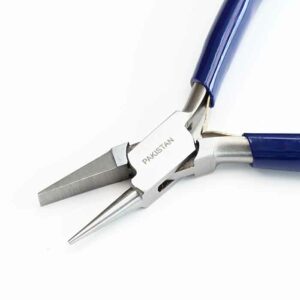
Flat/Half-Round Pliers
Every beginner jewelry making video out there will tell you to get a pair of half round pliers. I 100% disagree with this.
Get a pair of half round AND FLAT pliers. One jaw is half round, and one jaw is flat. The benefit of these over having pliers with two half round jaws is that these don't leave nearly as many marks on your work. I don't remember the last time I used a pair of purely half round pliers.
$7.50 / Each
Click here for the details
Flat/Round Pliers
Just as with the pliers above, I don't use round nose pliers with two round jaws. I much prefer pliers with one flat and one round jaw. Again, so they don't leave marks on your metal. You'll find these get used regularly for forming jump rings and small bezels, as well as for holding work for filing, etc.
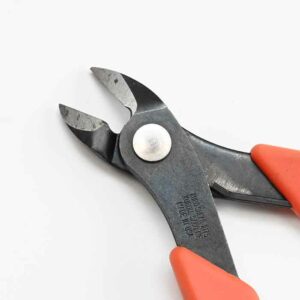
$19.15 / Each
Click here for the details
Xuron® Flush Cutter
While I love cheap pliers, cheap flush cutters quite simply don't work. The brand I have linked to is the best value decent quality cutters I've found.
These are also known as snips, and I only ever use the flush cut variety - they leave a much smoother finish on one side of the cut than regular snips / cutters.
Always check what gauge wire your snips are rated for. The bigger the snips, the heavier the gauge wire they can generally cut, but if you try to cut through 10-gauge wire with these, you're likely to break them.
Soldering Tools for Jewelers
The absolute bare basics - always make sure to have a fire extinguisher handy!
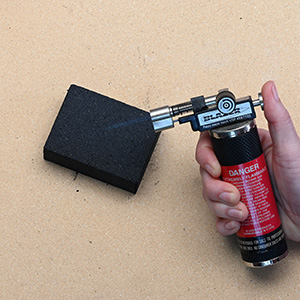
$66.65 / Each
Click here for the details
Blazer Micro Torch
A great way to start soldering confidently is to use a simple butane torch. These torches are used regularly in kitchens around the world and so are often referred to as creme brulee torches.
This particular torch is a smaller version, useful for soldering rings, jump rings and small pendants.
If you're intending to make larger pieces you may want to look at the Pepe Tools Tsumani torch or the Durston Standard Blow torch. There is however a limit to the size of work you can create with a butane torch.
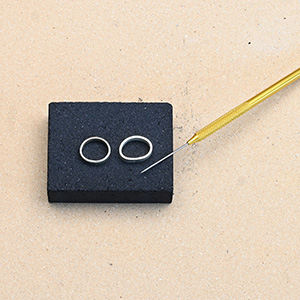
$14.95 / Each
Click here for the details
Compressed Charcoal Block
Compressed (or hard) charcoal is an excellent choice for a soldering surface when just starting out. Unlike soft charcoal, this won't crack / crumble / burn itself to hell during use.
The blocks are available in a variety of sizes, but personally I prefer the small ones. If necessary, I can use two at once.
PAY ATTENTION! These should not be used directly on your work bench, unless you want to set it on fire. Not only are they too small to avoid accidentally hitting your surroundings with the flame, but they also get very hot during use. Place these on a fire brick or floor tile for use. For an extra layer of safety, have all that sitting inside a low lipped baking tray on your bench just incase anything you're working on rolls off whilst hot.
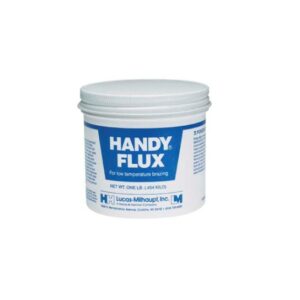
$10.95 / Each
Click here for the details
Handy® Flux
My favorite flux! This is perfect for working in silver, brass, bronze or copper. It's super durable and lasts really well under longer soldering operations where a liquid flux might burn off.
If you've had trouble soldering brass, bronze and copper before, I recommend giving this flux a try.
TOP TIP: If your flux starts to dry out, just add a little water.
Crock Pot and Citric Acid for Pickling
Citric acid makes for a great pickle, it's cheap and easy to use. I use a ratio of about 1 cup of acid to 5 or 6 cups of water. Remember to always add acid to water just like your chemistry teacher told you! You'll also want a pair of copper tweezers for placing items in the pickle.
To keep it warm, I use a slow cooker. Pickle works best hot (not boiling hot ok - just like a nice hot bath). Pickle vapors aren't healthy so don't let it boil. I'd recommend having one with an automatic off switch, so if you forget about it (it happens), it will automatically turn itself off. The one I use most regularly also has a warm and a hot setting - the warm setting works perfectly to leave on all day without boiling.
$18.99 / Each
Click here for the details
$5.75 / Each
Click here for the details
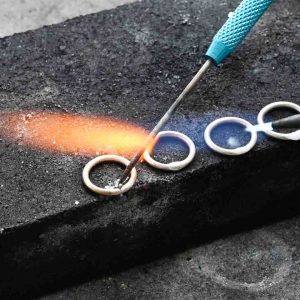
Titanium Solder Pick
I love my titanium solder pick. It speeds up soldering no end for me in comparison with using tweezers. It takes a little bit of practice to get used to, but once you do, you’ll wonder how you ever lived without it.
To pick up the solder, make sure you have a little flux on the pick, place the pick about an inch behind your solder and have the tip of your flame about one inch in front of the pick. Heat the solder until it turns into a ball, REMOVE THE HEAT, and scoop up the solder. Easy! But always remember to remove the heat before scooping.
$4.25 / Each
Click here for the details
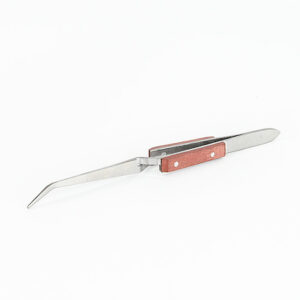
Cross-Locking Straight Insulated Tweezers
When it comes to holding work for soldering, it doesn't get much simpler than cross locking tweezers. Bonus points for the fact that they're cheap as chips. I rarely use third hands for soldering. When I can't lay something directly on my charcoal block for soldering, these are almost always my go-to!
These cross-locking tweezers have handles which are insulated to protect your fingers from the heat generated while soldering. You can purchase these with bent tips or straight tips - both are handy to have, but I use my straight tipped tweezers most often.
Fire Bricks
These are great for protecting work surfaces whilst soldering. Just place one or two underneath your charcoal block.
Not only are these great for fire protection, but they can also be used to create structures to aid heat retention when melting metal. Super handy to have, I just wish we could get hold of them easily here in Malaysia! Hence, there is no picture!
$22.52 / Pkg. of 6
Click here for the details
Basic Finishing / Polishing Tools for Making Jewelry
Polishing can get crazy, but it's easy as long as you finish everything to 1,000 grit first.
$4.95 / 1/4 lb Bar
Click here for the details
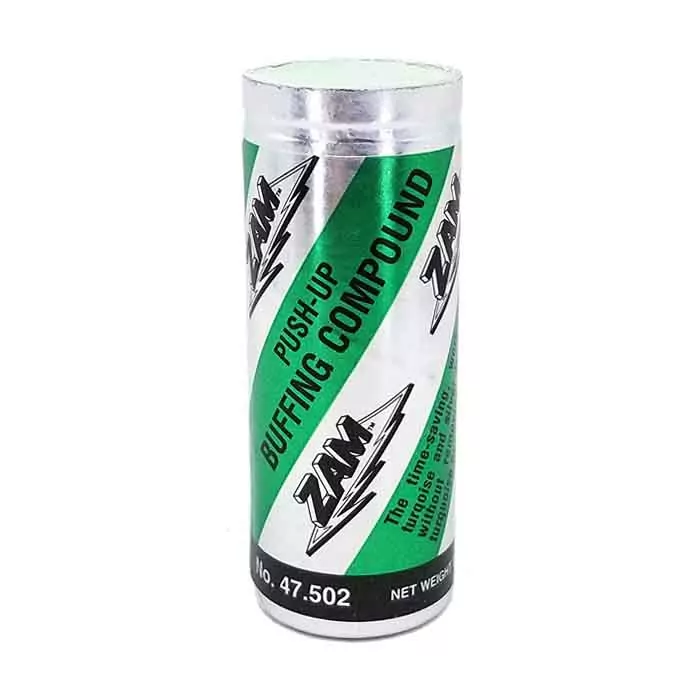
ZAM® - 1/4 lb
My favorite all round, one stop polishing compound. If you want a bright and shiny finish on your work, you're going to need this.
TOP TIP: Make sure to bring your work up to 1,000 grit sandpaper with no visible scratches before polishing. If there are scratches on your work when you start polishing, there will just be shiny scratches when you finish!
Wear a mask when polishing!
$2.65 / Each
Click here for the details
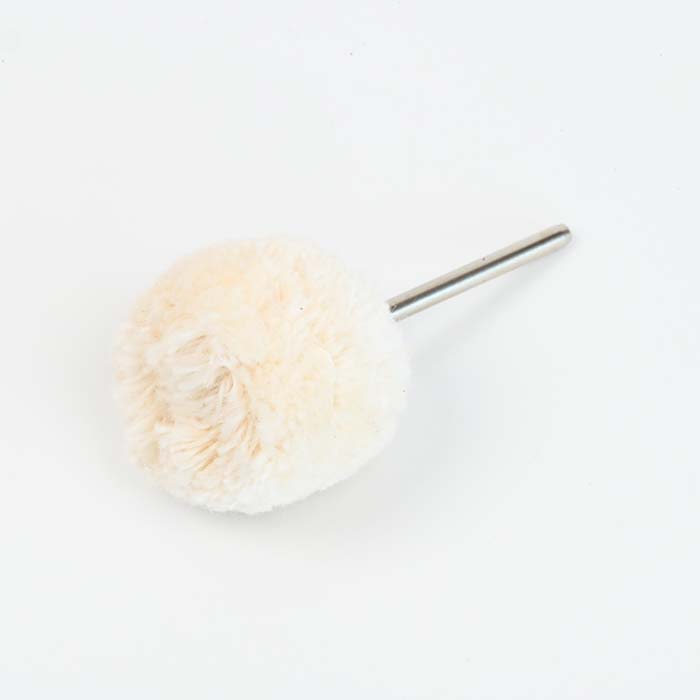
Mounted Cotton Buff
Bog standard and simple, these are my go-to buffs for a huge variety of small polishing operations.
These are used together with the polishing compound above and work perfectly for a variety of surfaces including the inside of ring bands.
Don't forget to wear a mask while using these, you really don't want to be breathing in either polishing compound or the tiny cotton fibers from the buff.
$25 Each
Click here for the details
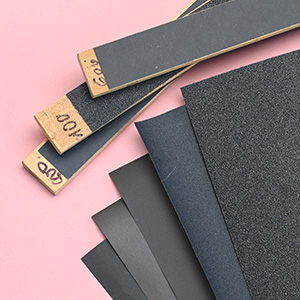
Sandpaper
The perfect finish does not come from polishing, it comes from the surface preparation that comes before polishing.
Sandpaper can be used in sheet form, but it can also be used to make sandpaper sticks and sandpaper rolls to make a variety of jobs a lot easier. It's something a jeweler can't live without, but thankfully it's the simplest and cheapest abrasive out there.
You can find almost all the tools mentioned in this blog post right here:
Other Tools You'll Want
Once you've started making money with the basics, a couple of super important things you'll want to add to your collection pretty soon are:
Dividers - I recommend the brand Starrett which are quite pricey at around $90 a pair. However, cheaper dividers will work, and a pair of $6 dividers is way better than no dividers at all.
Calipers - just as with dividers, it's worth saving for a pair of quality calipers. My favorite brand is Mitutoyo, but at around $180 a pair they are very expensive. If you can borrow a pair for a while great, if not, you can buy digital calipers for under $30 from Home Depot that will do the job for a while (just keep the receipt - as the cheap ones seem to die quite quickly).
Flex shaft - I mentioned this already, but just wanted to put it here too.
Engineer's Square - These are super simple but extremely handy tools for checking alignment. Thankfully, they're also cheap as chips and available at most hardware stores.
I really hope you found this post useful, and it helps in your decision of whether you want to dive into this jewelry making malarkey. Making jewelry isn't a cheap hobby for sure, but it is a very satisfying one, and one that with a little (well, a lot) of hard work, and business savviness that you can turn into a viable and rewarding business. If you do want to turn this into a business eventually though, my main advice would be this:
- Focus on learning marketing as much as you focus on learning to make jewelry.
- Take it slowly and focus on producing simple but high quality pieces to begin with - and then sell them. Don't get distracted by every new tool, gemstone or technique that tickles your fancy.
Ready to unleash your inner jewelry maker and create stunning pieces from scratch?

Inside our value-packed online membership, you’ll find all the skills, steps, and tools you need to start making high-quality jewelry from home. With 30+ online classes and 100+ resources, hands-on support from expert jewelers, and a friendly community of like-minded jewelers, you’ll be unstoppable at making your goals a reality. Whether you’re brand new to the game or a seasoned pro, you’ll find everything you need to get unstuck and level up your skills - all in one seamless, flexible, and fun online portal.
Unlock your potential, progress faster, and actually enjoy your jewelry-making journey inside the Metalsmith Academy.

Share Post


Get free Unlimited Access to The Metalsmith Academy for 7 Days
*Cancel anytime, no lock-in contracts.
Unleash Your Creative Spark Today
Ready to take your jewelry-making skills to the next level? Join The Metalsmith Academy and start making pieces of jewelry you’re proud to show off. Don't let self-doubt hold you back - join The Metalsmith Academy today and begin your journey toward becoming a jewelry-making pro!
Join The Metalsmith Academy Now
*Cancel anytime, no lock-in contracts
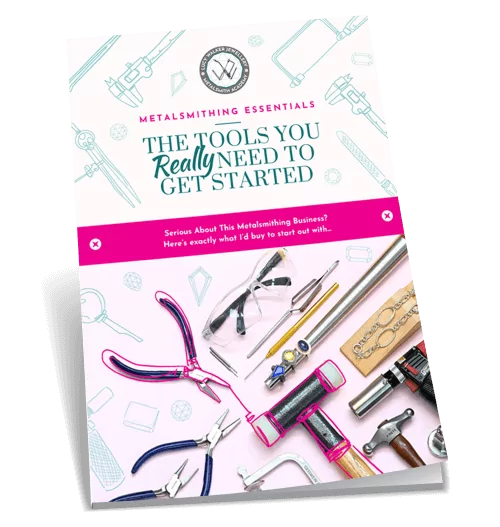
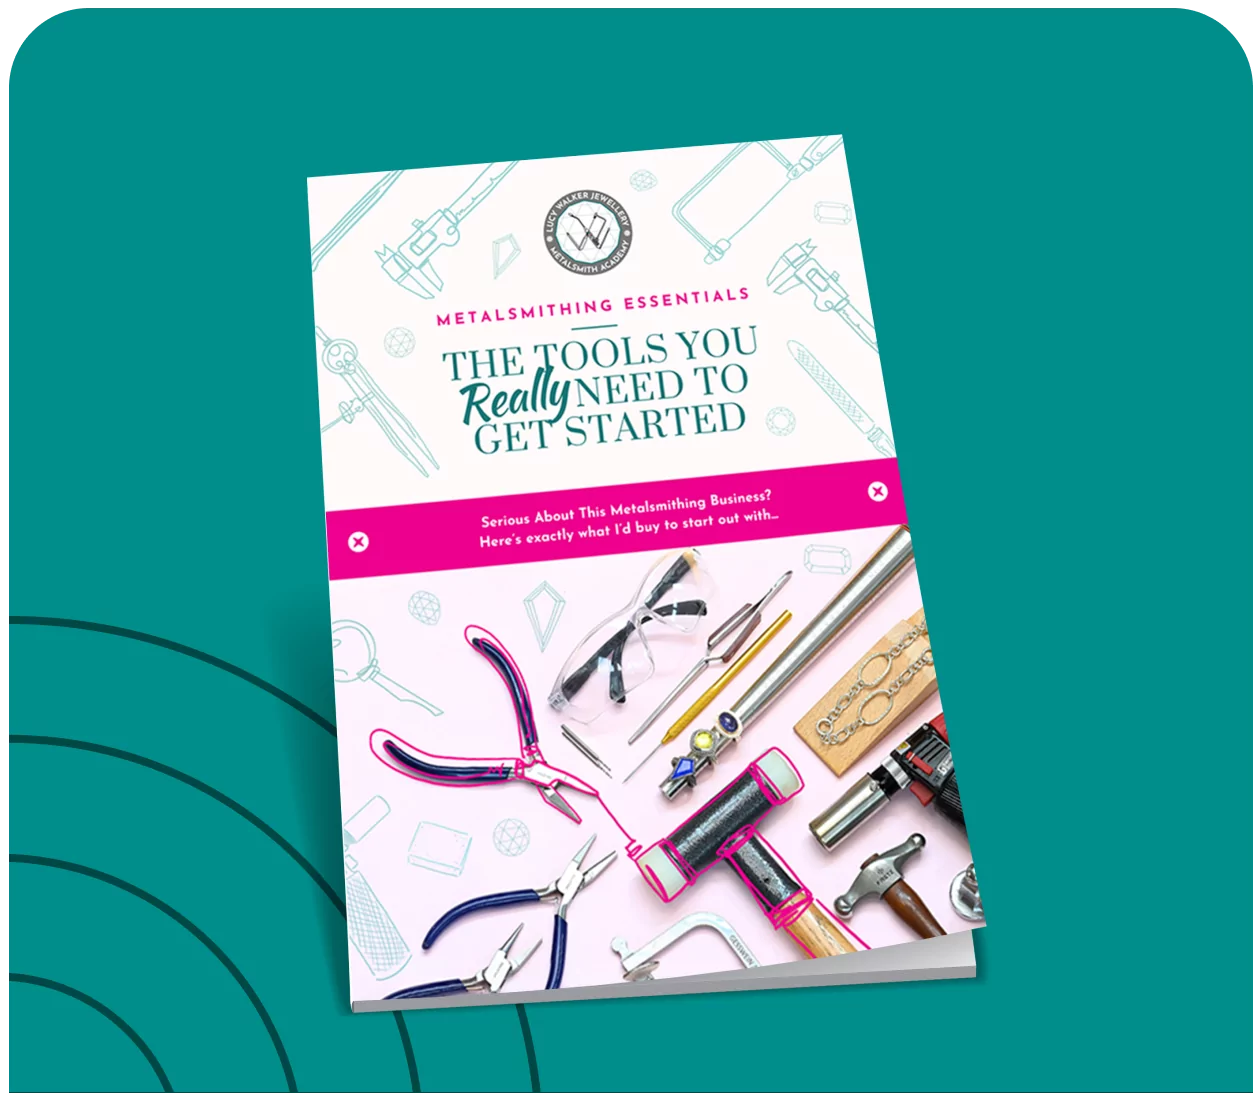
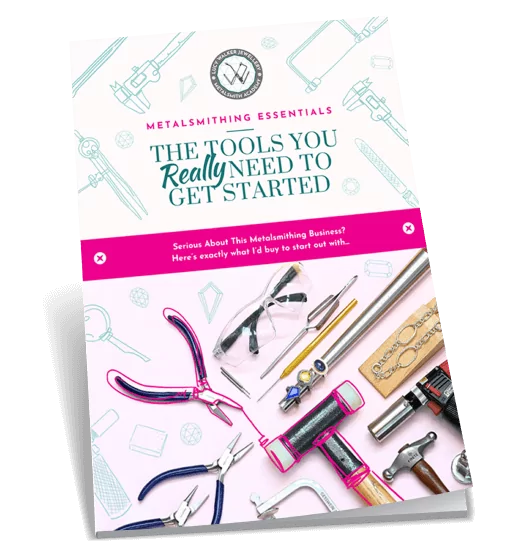
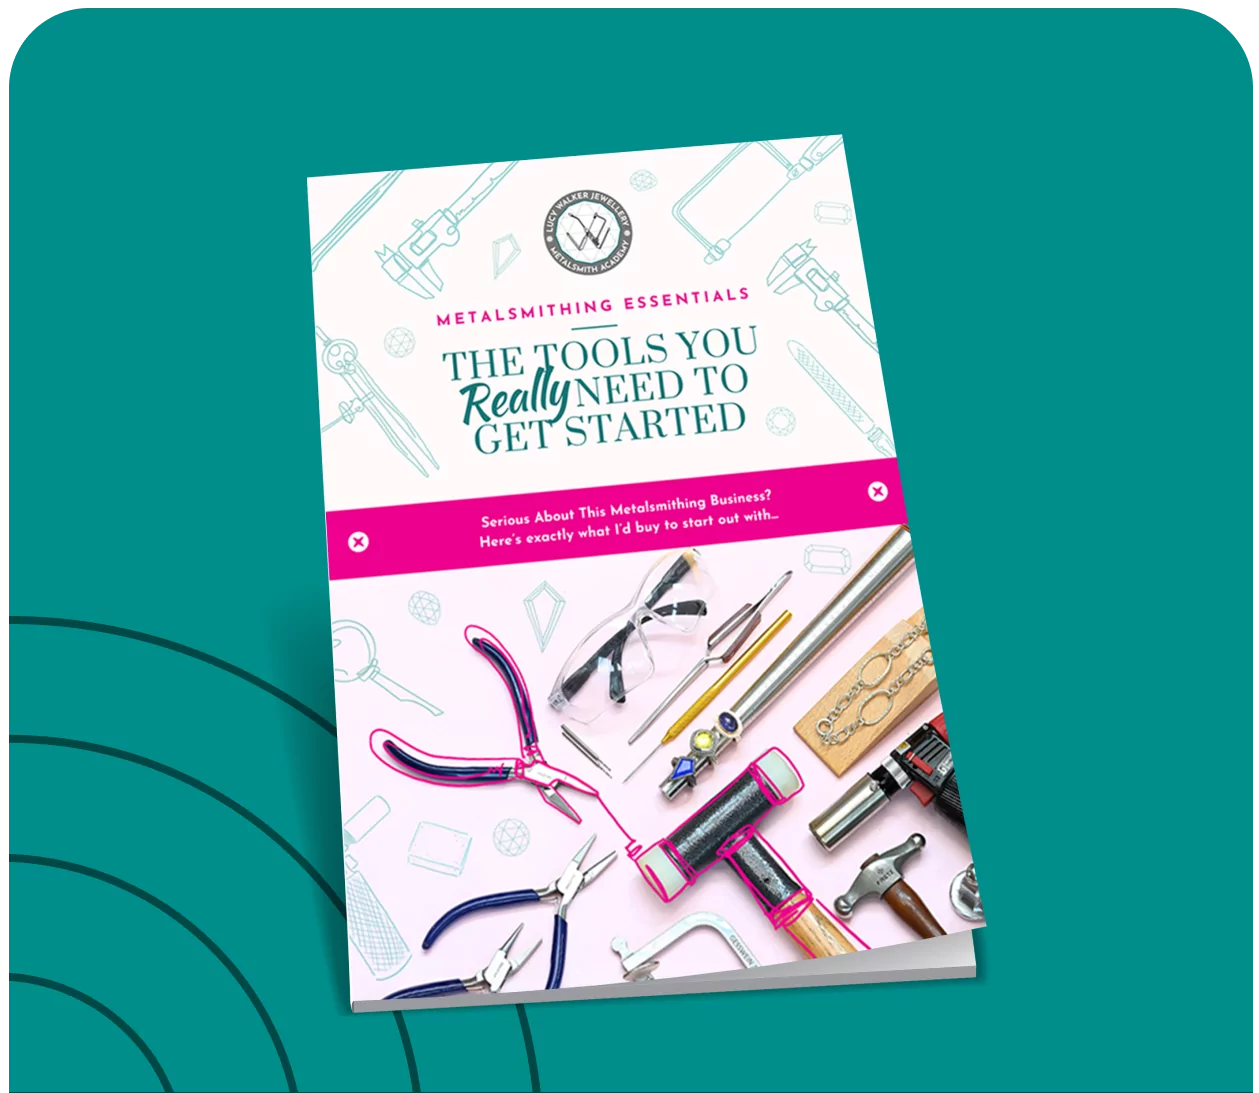
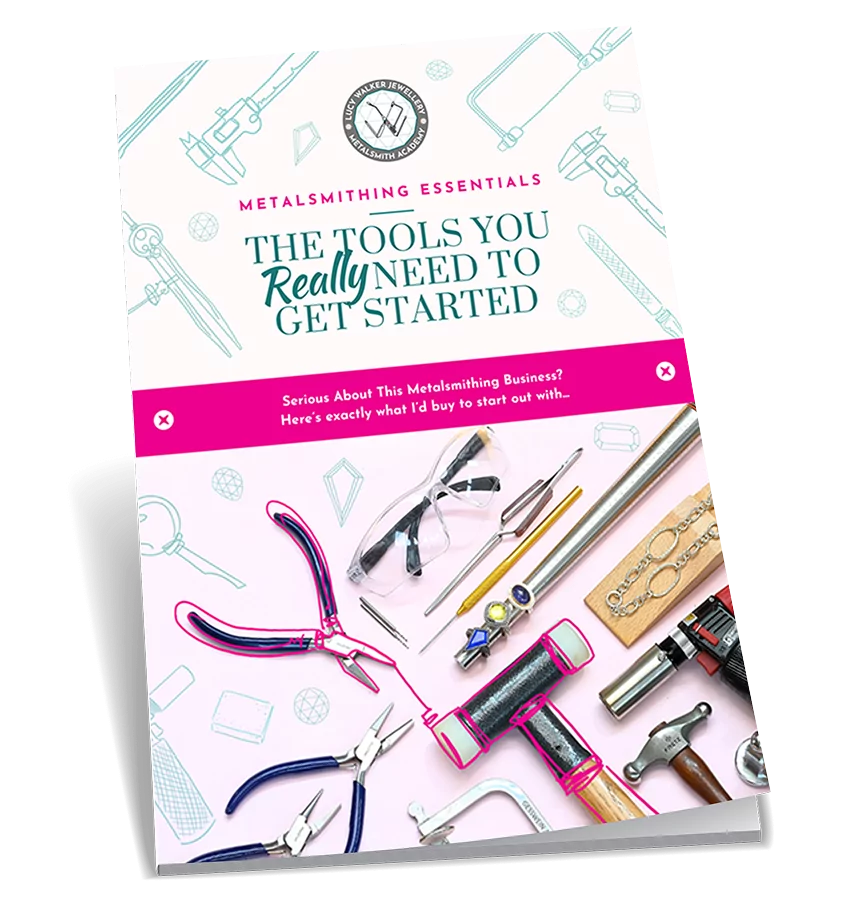
Get Started for free With Our Jewelry-Making Tools Ebook
New to the metalsmithing malarkey and wondering what tools you really need to spend your hard-earned money on?! Where to splurge, and where to save (money, time and sanity?) Download our highly-popular eBook and start creating your jewelry-making obsession collection today!
Privacy Policy
Last Updated: 1 March 2021
Lucy Walker Jewelry PLT (“LWJ” and any reference to “we”, “us” or “our” shall mean LWJ) respects and is committed to the protection of your personal data and your privacy. This Personal Data Protection Notice (“Privacy Notice”) explains how LWJ collects and handles your personal data in accordance with the Personal Data Protection Act 2010 of Malaysia and other applicable privacy laws we are to adhere to. Please note that LWJ may amend this Privacy Notice at any time without prior notice and will notify you of any such amendment via our website or by such other means of communication as deemed suitable by LWJ.
1. Personal Data
1.1 Type of personal data
Personal data means any information which relates to you or in respect of a third party and which was collected or provided to LWJ for any of the purposes stated in Section 2 below (“Purposes”).
Your personal data may include, but is not limited to, your name, address, email address, contact information and IP address.
1.2 Source of personal data
LWJ collects your personal data whether directly from you or indirectly from third parties such as your third party representatives in connection with any submission, transaction, arrangements and/or enquiries made with LWJ including when you send us enquiries, register for an account on our website, purchase products or memberships from us, or join our online competitions and contests.
1.3 Obligatory personal data
All information requested for in the relevant forms and documents is obligatory to be provided by you unless stated otherwise.
Should you fail to provide the obligatory information, we may be unable to process your request and/or provide you with relevant services and products.
2. Purposes of collecting and further processing (including disclosing) your personal data
Your personal data is collected and further processed by LWJ as required or permitted by law and to give effect to your requested commercial transaction, including the following (Purposes):
(a) to assess and process your request for our products and services;
(b) to administer and give effect to your commercial transaction
(c) to facilitate your participation in, and our administration of, any events including contests, promotions or campaigns;
(d) to administer and communicate with you in relation to our products, services, promotions and/or events;
(e) to process any payments related to products and services requested by you;
(f) for internal investigations, compliance, audit or security purposes including without limitation for crime detection, prevention and prosecution;
(g) to conduct research for internal marketing analysis and analysis of customer patterns and choices;
(h) to better manage our business and your relationship with LWJ;
(i) to respond to your enquiries and to resolve any issues and disputes which may arise in connection with any dealings with LWJ;
(j) to comply with LWJ’s legal and regulatory obligations in the conduct of its business including to meet any disclosure requirements of any law binding upon LWJ;
(k) to contact you and/or provide you with information regarding products, services, upcoming events, promotions, advertising, marketing and commercial materials which may be of interest to you;
(l) to ensure that the content from our website is presented in the most effective manner for you and for your computer and/or device;
(m) for LWJ’s internal records management; or
(n) for any other purpose that is required or permitted by any laws, regulations, guidelines including the requirements of any governmental or regulatory authorities.
Where you have indicated your consent to receiving marketing or promotional updates from LWJ, you may opt-out from receiving such marketing or promotional material at any time. You may select the “unsubscribe” option provided in our email blasts or you may contact LWJ at the contact details provided in Section (6) below.
3. Disclosure or transfer of personal data (within or outside of Malaysia)
Classes of third parties
Your personal data may be disclosed or transferred to relevant third parties (within or outside of Malaysia) as required under law, pursuant to relevant contractual relationship (for example, our third party service providers) or for the Purposes (or directly related to Purposes).
Your personal data may be disclosed to the following classes of third parties:
Third parties appointed by us to provide services to us or on our behalf (such as banks or financial institutions, auditors, lawyers, company secretary, information technology (IT) system / software vendors, contractors, marketing consultants and other advisers);
Any financial institutions, merchants, credit card associations, or payment gateways in connection with your use of any credit or debit card in any transactions made with us;
Law enforcement agencies including courts, tribunals or authorities, whether governmental or quasi-governmental having jurisdiction over LWJ;
Relevant governmental agencies, statutory authorities, industry regulators and local councils; and
Any persons, authorities or regulators to whom LWJ is permitted or required to disclose to under the laws of any country.
4. Websites
4.1 Links to other sites
Content in any website run by LWJ (“LWJ Websites”) may include links to third party websites. LWJ is not responsible for the content on such linked third party websites and users should observe the separate privacy policies applicable to the respective third parties website.
4.2 Cookies
LWJ may collect information about your visits to the LWJ Websites without you actively submitting such information. Unidentifiable information may be collected using various technologies, such as cookies, and web beacons. Cookies are small text files that are transferred to your computer’s hard disk by a website. Web beacons (also referred to as GIF files, pixels or Internet tags) help LWJ recognise a unique cookie on your browser. Your internet browser automatically transmits to LWJ some of this unidentifiable information, such as the URL of the LWJ Website you just visited and the browser version your computer is operating.
Passive information collection technologies can make your use of the LWJ Websites easier by allowing LWJ to provide better service, customise the LWJ Websites based on consumer preferences, compile statistics, analyse trends, and otherwise administer and improve the LWJ Websites. Certain features of the LWJ Websites may not work without use of passive information collection technologies. Information collected by these technologies cannot be used to identify you without additional identifiable information and LWJ will not collect additional identifiable information with information collected through the use of such tracking technologies.
5. Right to access and correct personal data
You have the right to access and correct your personal data held by us (subject always to certain exceptions). We will make every endeavour to ensure your personal data is accurate and up to date therefore we ask that if there are changes to your information you should notify us directly at the contact details set out in Item (6) below
6. Limiting the processing of personal data, further enquiries and complaints
If:
you would like to obtain further information on how to limit the processing of your personal data;
you have any further query; or
you would like to make a complaint in respect of your personal data,
you may contact :-
Designation : Business Director
Email Address : shaun@lucywalkerjewellery.com
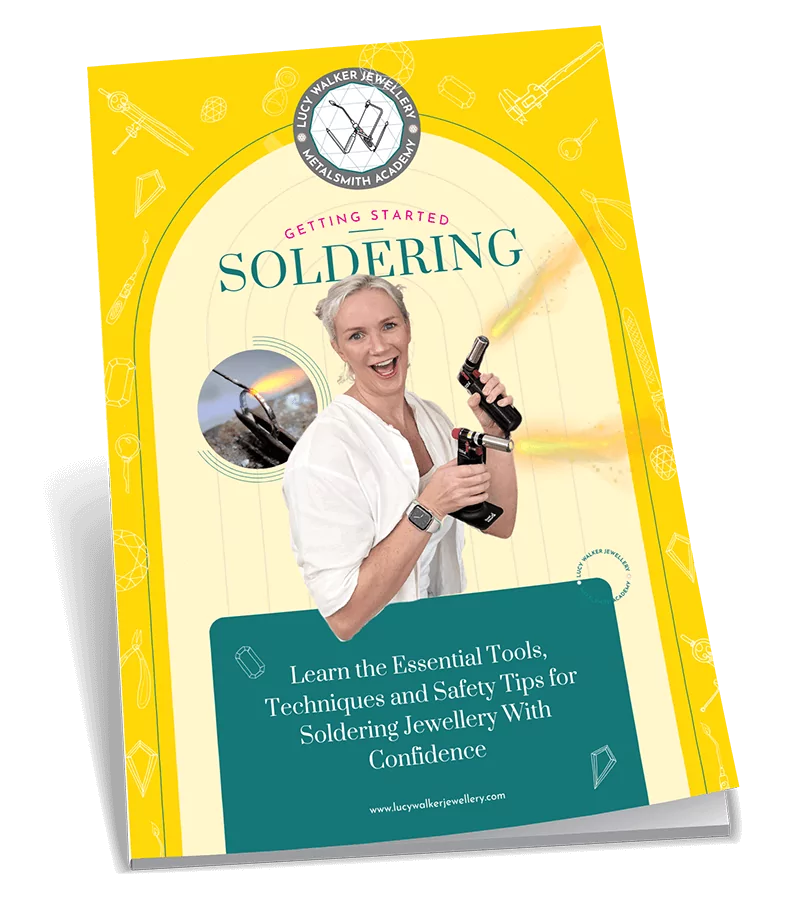
Download the Getting Started Soldering Guide now for FREE
Ready to overcome your flaming fears and master the #1 technique every metalsmith needs to create stunning jewelry? This outrageously comprehensive guide will give you the down-low on everything you need to know to start soldering with confidence!Ready to overcome your flaming fears and master the #1 technique every metalsmith needs to create stunning jewelry?
Just enter your details below and we’ll send it directly to your inbox.
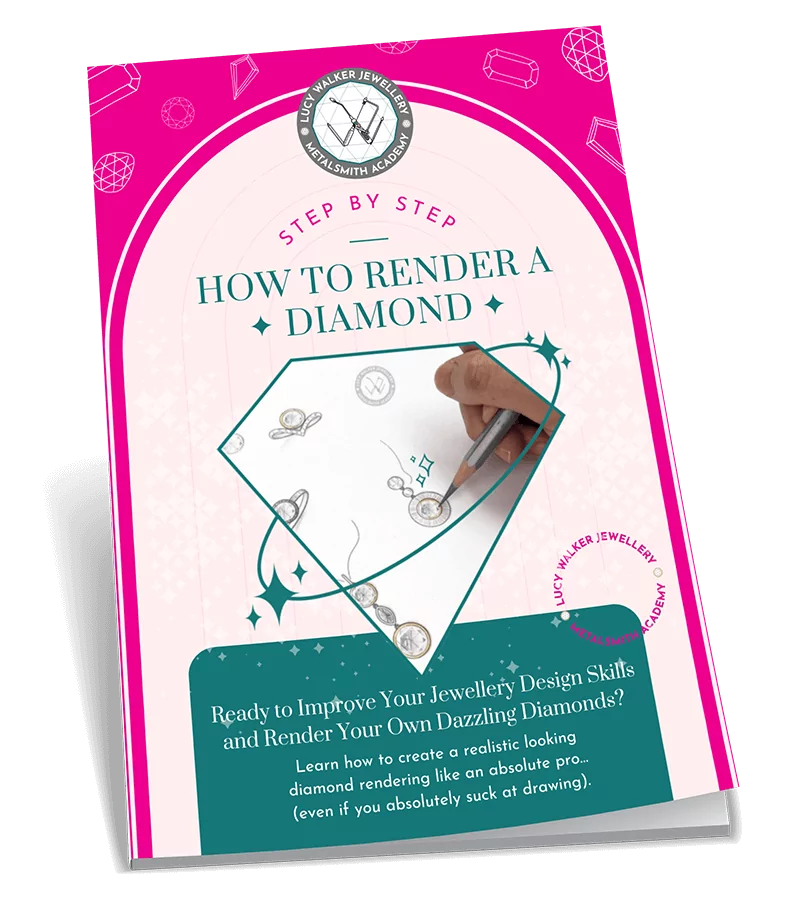
Download our Diamond Rendering Tutorial (PDF) now for FREE
Ready to learn the easier-than-you-think trick for rendering dazzling diamonds like a pro… even if drawing is soooo not your thing?! This handy PDF tutorial will be your sneaky shortcut to bring your diamond designs to life, without spending hours sketching.
Just enter your details below and we’ll send it directly to your inbox.
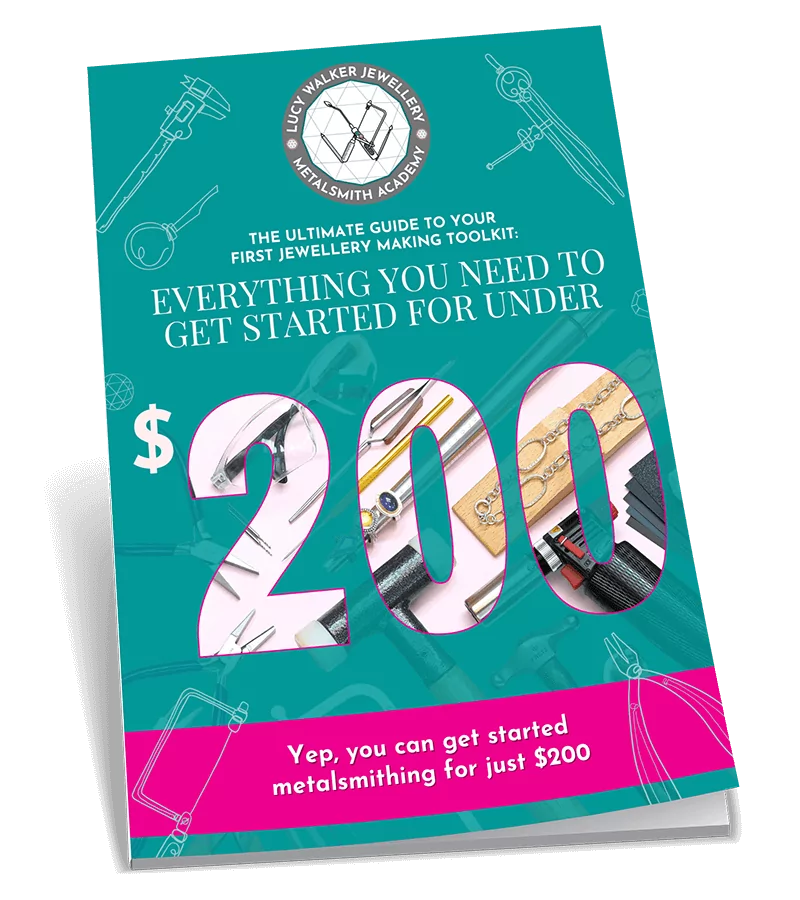
Download our $200 Jewelry-Making Tools List now for FREE
Ready to get the most bang for your buck and build your own beginner’s toolkit for less than $200? This 23-page guide will turn you into a smart and savvy jeweler, with all the tools you need to create elegant, high-quality, non-boring jewelry on a budget.
Just enter your details below and we’ll send it directly to your inbox.
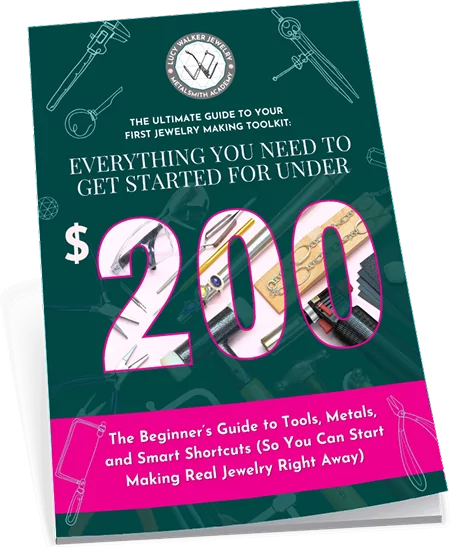
Download our $200 Jewelry-Making Tools List now for FREE
Ready to get the most bang for your buck and start making your own jewelry for less than $200?
Just enter your details below and we’ll send the free guide directly to your inbox.
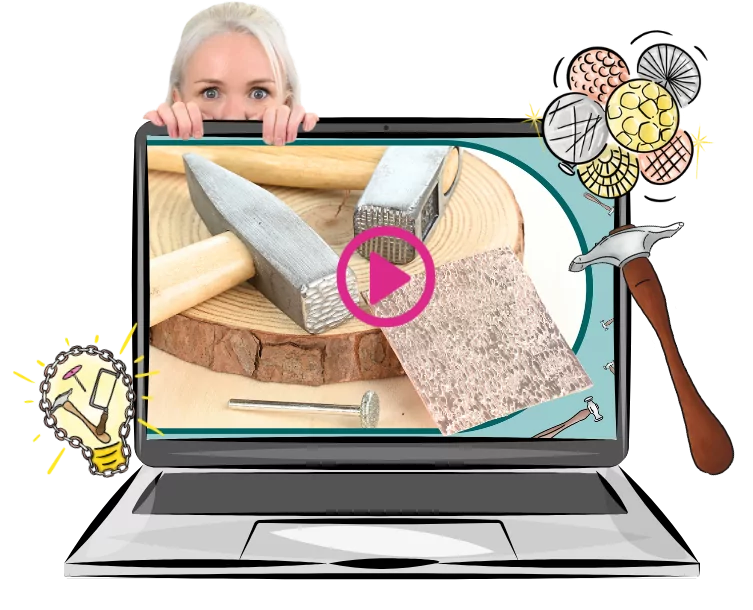
Turn a $4 Dud into a Texture Stud
In this fast and fun tutorial, you’ll learn how to transform a cheap-as-chips hammer into a seriously impressive texture tool - no fancy budget required.
Just enter your details below and we’ll send a link to watch directly to your inbox.
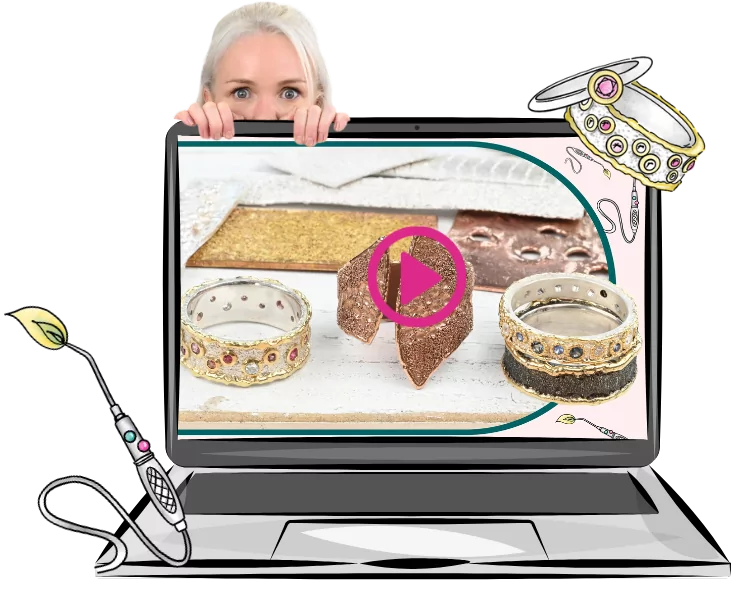
Love Playing With Fire? You’ll Love This.
In this free 20-minute video, you’ll learn how to turn metal dust into magic and master the art of wild, organic, melty textures - using nothing but a torch and a bit of control.
Just enter your details below and we’ll send a link to watch directly to your inbox.
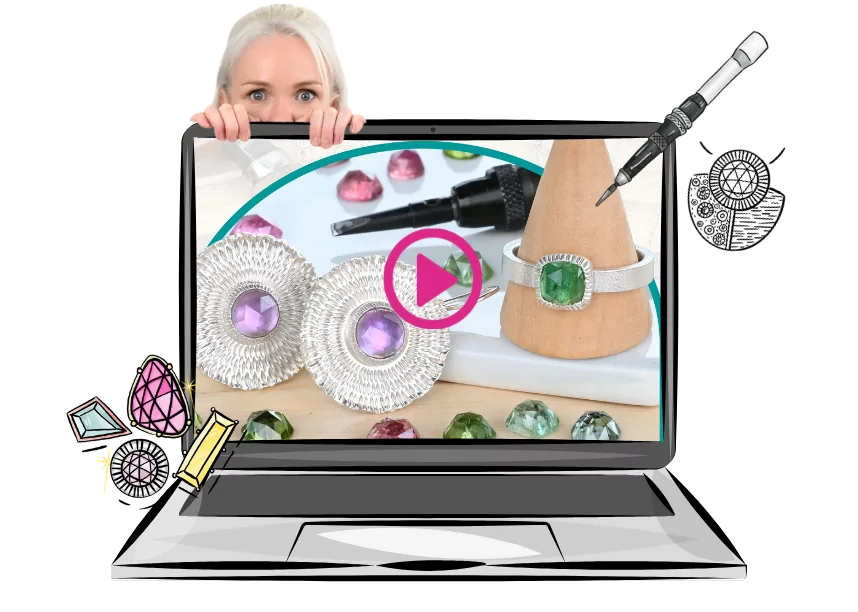
Learn How to Make Starburst Bezels (In Under 15 Minutes)
Ready to add some serious sparkle to your settings with this ridiculously satisfying technique? It’s quick, it’s fun, and these textured bezels are way easier to make than they look.
Just enter your details below and we’ll send a link to watch directly to your inbox.
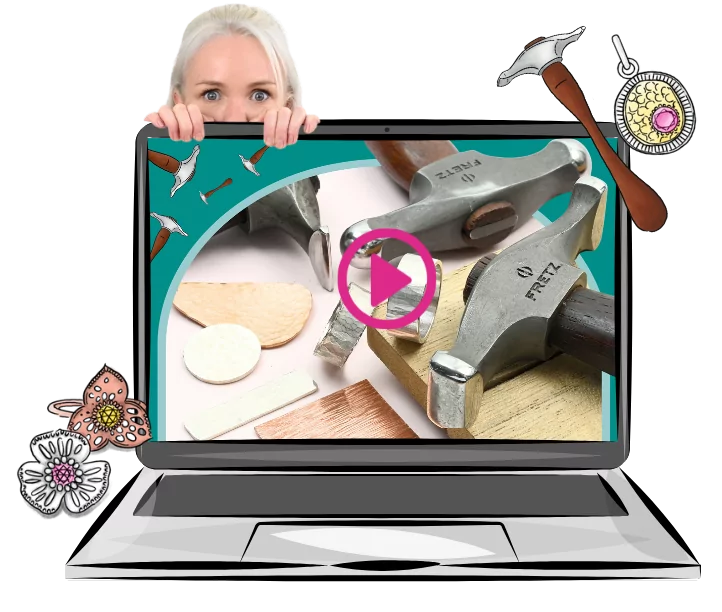
Unlock the Secrets to Gorgeous Hammer Textures
There’s a right way to whack metal - and this free 18-minute video shows you how. Say goodbye to messy textures and hello to finishes that actually look intentional (and professional).
Just enter your details below and we’ll send a link to watch directly to your inbox.
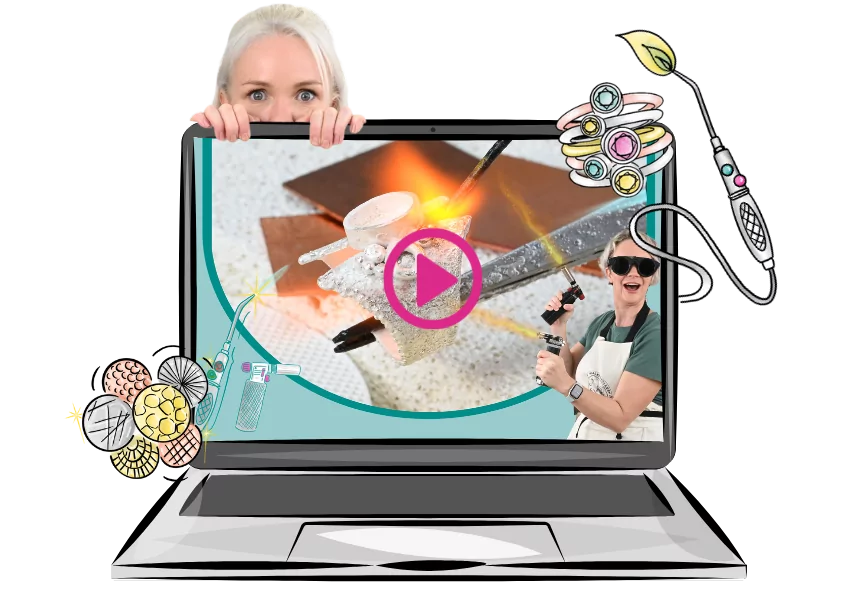
Struggling With Soldering? Start Here.
There’s a right way to whack metal - and this free 18-minute video shows you how. Say goodbye to messy textures and hello to finishes that actually look intentional (and professional).
Just enter your details below and we’ll send a link to watch directly to your inbox.
Download our FREE Jewelry-Making Tools eBook Now
Ready to build your must-have metalsmithing toolkit? Despite popular belief, you don't need all the tools to get started - or much at all! This eBook will take the guesswork out of your tool-buying and show you what you actually need (and what you can avoid wasting your coins on).
Just enter your details below and we’ll send it directly to your inbox.
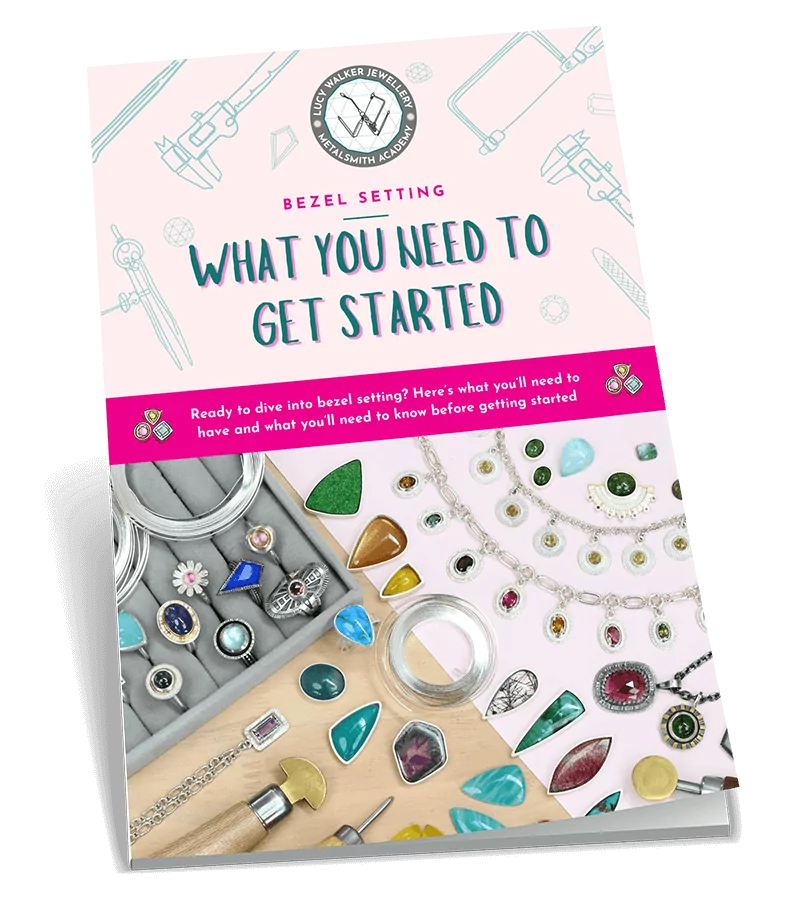
Download Our Beginners Guide to Bezel Setting now for FREE
Ready to learn all about bezel setting, so you can start putting your stash of gemstones to use? This guide is the perfect place to start.
Just enter your details below and we’ll send it directly to your inbox.
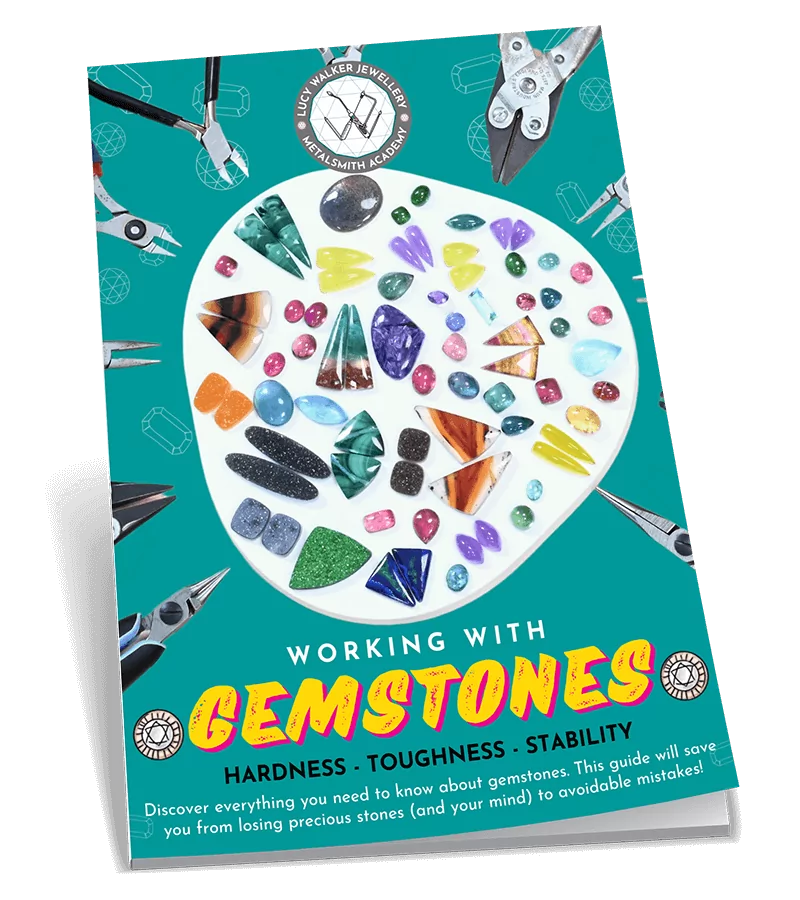
Download Our FREE Guide to Working With Gemstones now
Ready to officially become a Gemstone Guru and discover what you really need to know about choosing and using stones in your jewelry? This 31-page guide will help you select the right gemstones for your projects, and help you avoid buying gems that will cause you drama later on.
Just enter your details below and we’ll send it directly to your inbox.
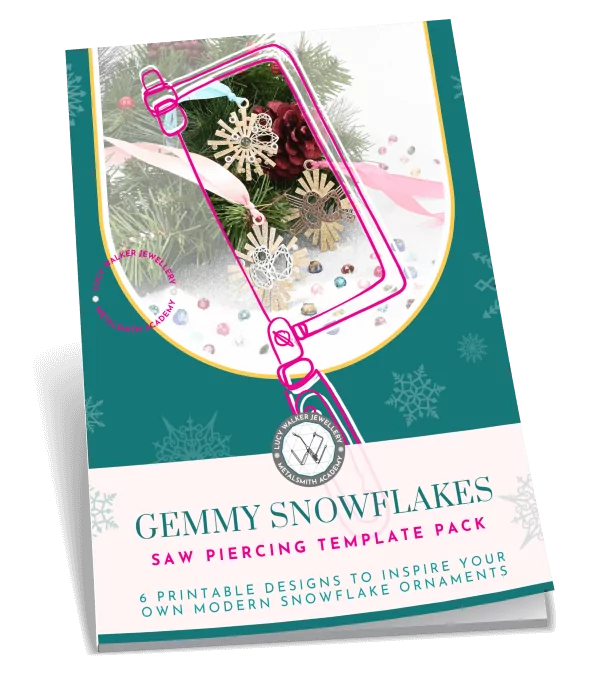
Download Our “Gemmy Christmas” Saw Pierced Template Pack Now for FREE
Ready to deck the halls with your own handmade and irresistibly festive Christmas ornaments? These 8 ready-to-use saw piercing templates are inspired by festive snowflakes and the shapes of your favorite gems! Just print them, stick them, and get saw piercing.
Just enter your details below and we’ll send it directly to your inbox.
Download our FREE Jewelry Design eBook: Finding Inspiration From Anywhere
Ready to train your creative muscles to glean inspiration from (literally) anywhere, and design more creative jewelry? Learn our favorite method to find inspiration, elevate your designs, and create one-of-a-kind pieces that stand out from the crowd.
Just enter your details below and we’ll send it directly to your inbox.
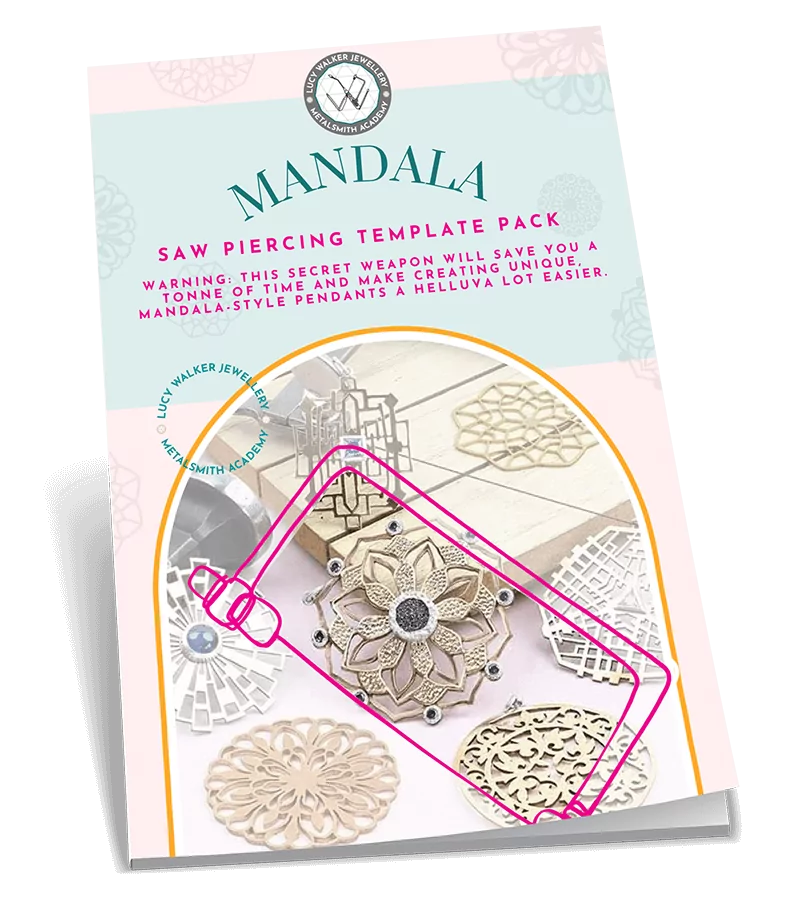
Swipe This Mandala Saw Piercing Template Pack Now for FREE
Warning: this secret weapon will save you a ton of time and make creating unique, mandala-style pendants a helluva lot easier. Skip the drawing and design phase, and simply download our designs, print them out, and pick up your saw frame to get creating!
Just enter your details below and we’ll send it directly to your inbox.
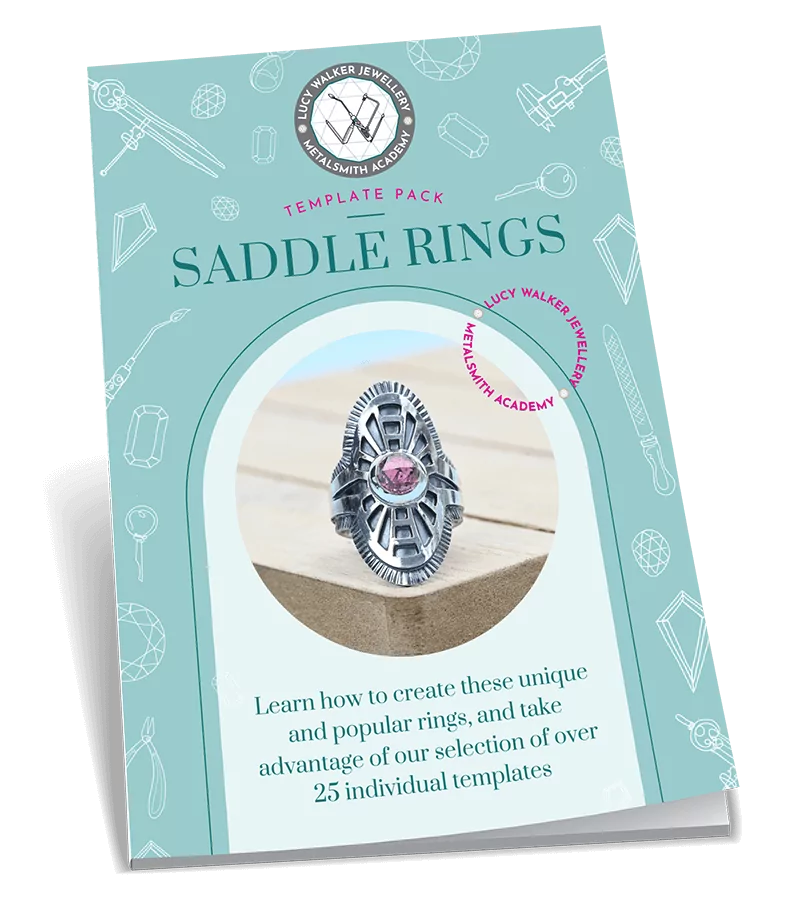
Download Our Pack of 27 Saddle Ring Templates Now for FREE
Ready to ditch the creative block, and get down to business creating your own beautiful, unique, and highly saleable saddle rings? These 27 design templates will get you creating stunning jewelry sooner! Plus, with 13 pages of step-by-step instructions on how to make your rings, you’ll be seriously set-up for success!
Just enter your details below and we’ll send it directly to your inbox.
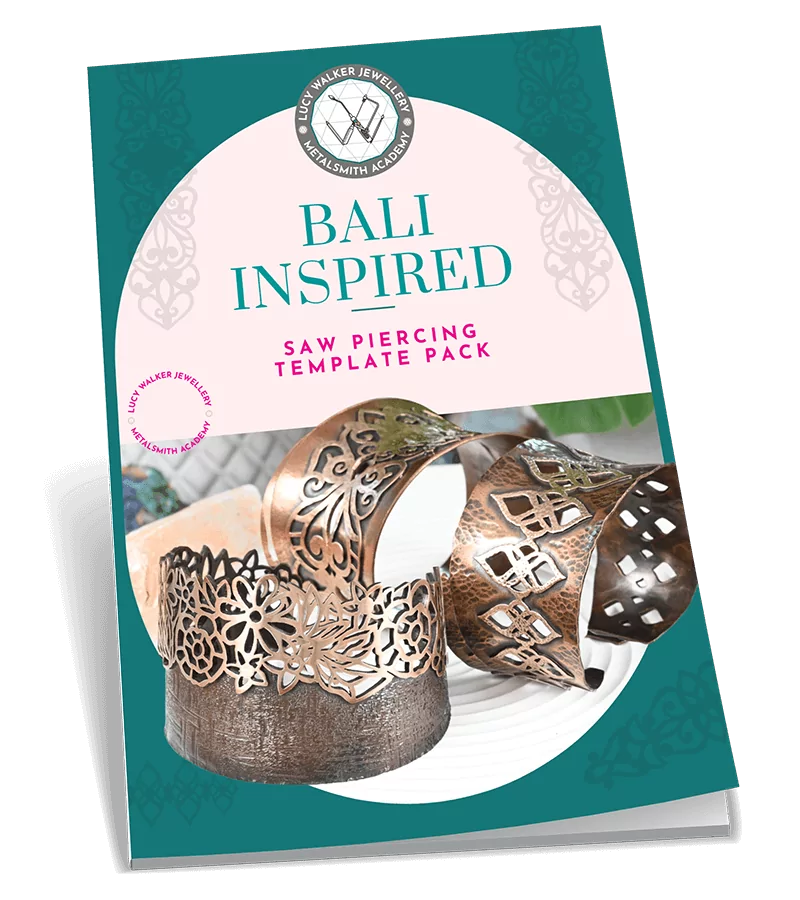
Download this Bali-Inspired Bangle Template Pack now for FREE
Swipe our printable Bali-inspired designs and add a touch of island paradise to your jewelry pieces! With 7 printable designs to choose from, you can skip the design phase, and simply print, trace, and get saw piercing.
Just enter your details below and we’ll send it directly to your inbox.
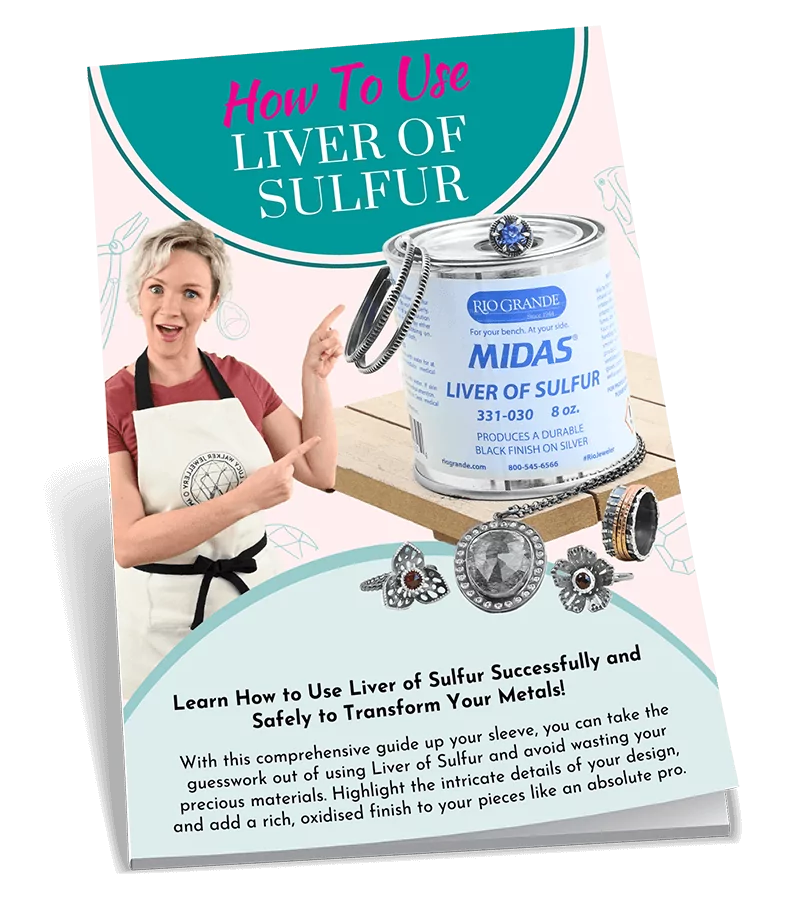
Download Our Simple, One-Stop Guide to Liver of Sulfur for FREE
Ready to learn how to give your metal jewelry a one-of-a-kind look with Liver of Sulfur? With so much competing information online about using Liver of Sulfur, this guide will strip things back and give you what you actually need to know. You’ll be ready to give this stinky substance a go in no time!
Just enter your details below and we’ll send it directly to your inbox.
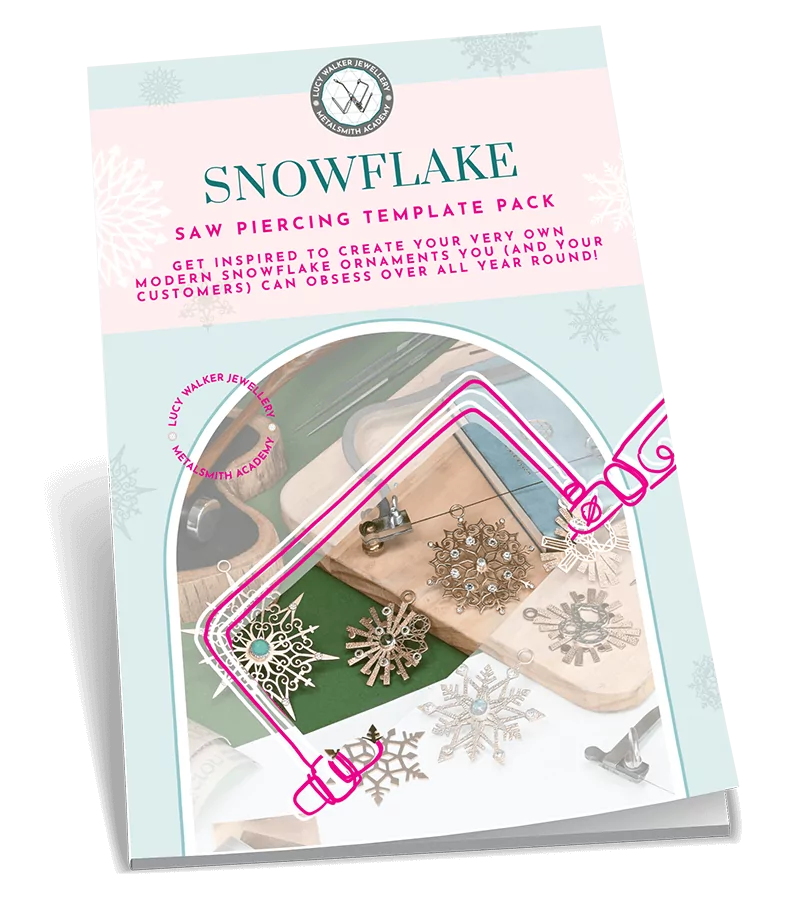
Download the Saw Pierced Snowflake Template Pack now for FREE
Get inspired to create your very own modern snowflake ornaments you (and your customers) can obsess over all year round! Avoid the creative block of designing your own, and instead steal these handy printable templates to make your saw piercing a dream.
Just enter your details below and we’ll send it directly to your inbox.
Sign up Now for Your Free Access to our Metalsmith Academy Membership Portal
Just pop your name and email below, and we’ll send through your free login details straight to your inbox.
Sign-up for Our Newsletter and Get Jewelry-Making Goodness Landing in Your Inbox Every Week
You’ll never be short of inspiration again with this newsletter in your life. Just enter your email below, and we’ll send you through all the non-annoying tips, sales, blog posts, and other jewelry-making malarkey you can dream of. Say hello to your new favorite weekly read!
Master the Art of Polishing Sand Cast Rings
Learn how to clean up and polish your rings to a pro-level finish - even with all that pesky porosity. This 35-minute step-by-step video shows you exactly how it’s done.
Enter your details below and we’ll send a link to watch directly to your inbox.
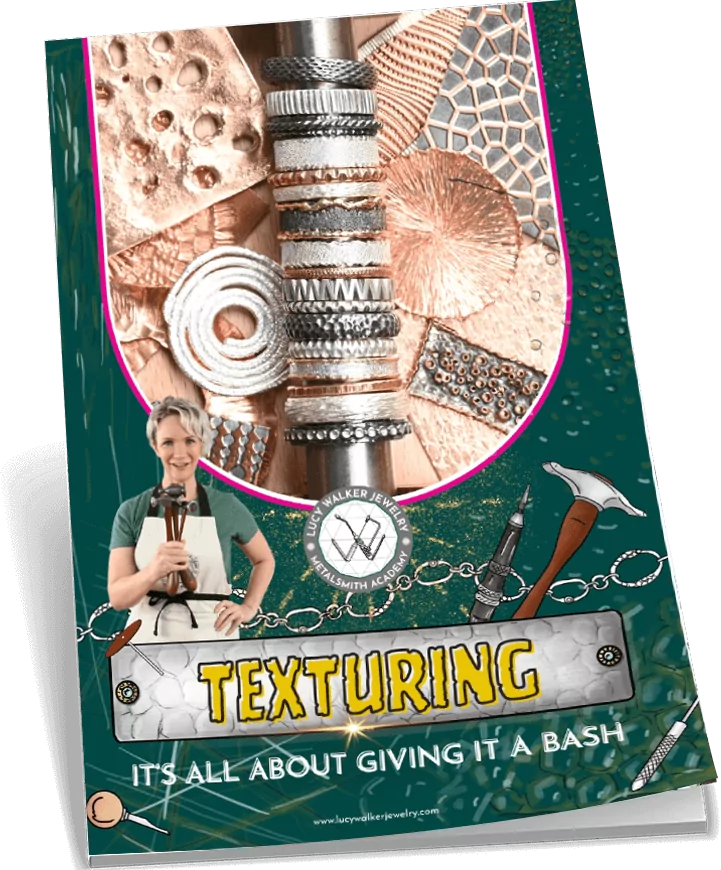
Download the FREE Jewelry Texturing Guide
Get inspired with 40+ texture ideas, techniques, and design inspirations! Enjoy pages of real samples, close-up photos and finished jewelry pieces to get your creative juices flowing.
Just enter your details below and we'll send a link directly to your inbox.